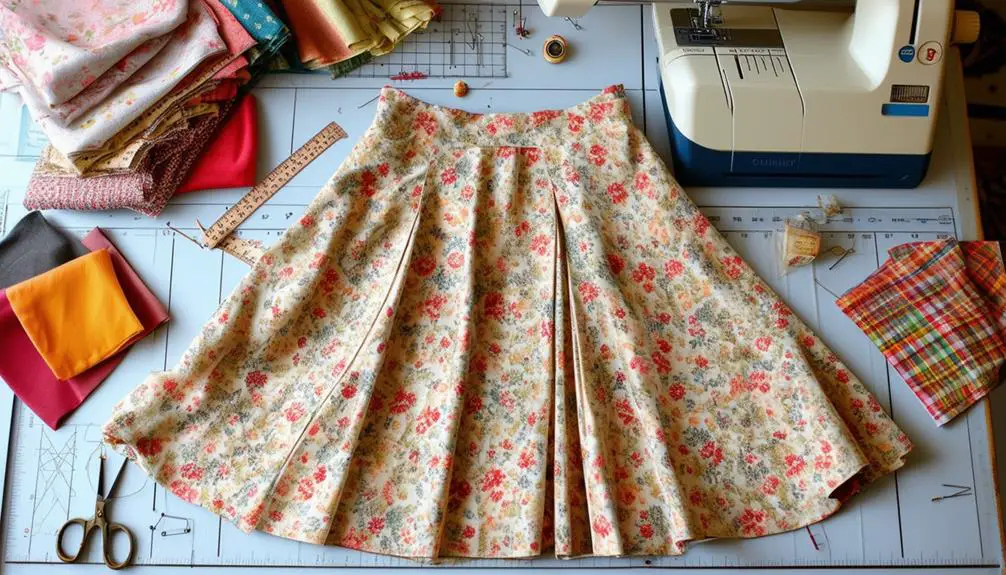
To tailor a vintage A-line skirt, start by turning it inside out for easier seam access. First, identify any loose areas, especially at the waist and hips. Use tailor's chalk to mark adjustments, keeping a half-inch seam allowance in mind. Unpick the waistband if necessary, adjusting for a snug fit. Pin new side seams firmly, ensuring they align flatly before sewing. Don't forget to finish edges with a zigzag stitch to prevent fraying. Finally, consider shortening or adding embellishments for a personal touch. Ready to transform your skirt? There are more tips waiting for you.
Overview of Vintage Skirt Alteration
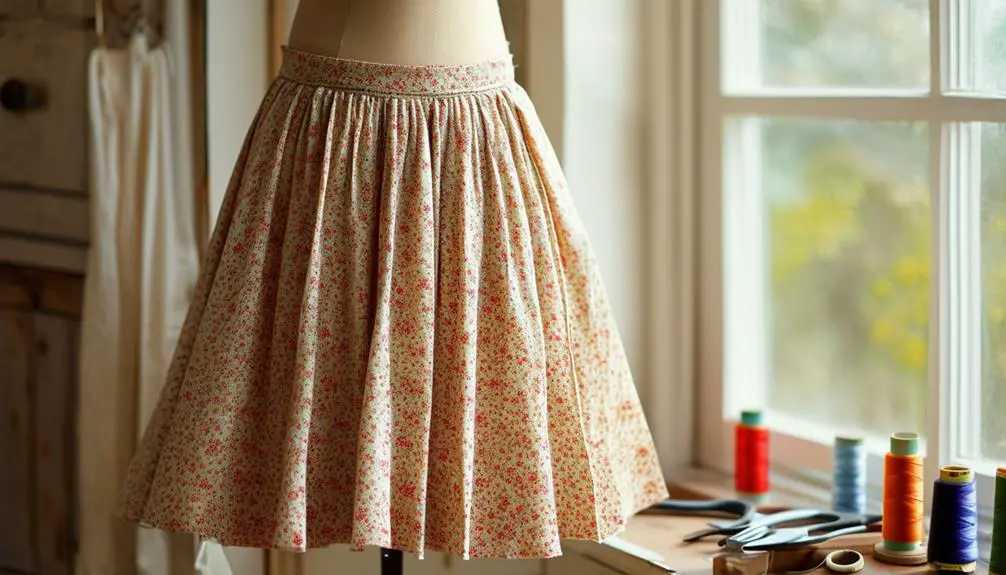
When it comes to altering a vintage A-line skirt, understanding the unique elements that set these pieces apart can make all the difference.
These skirts often feature elastic waistbands and side zippers, which add character but can complicate the alteration process. Vintage clothing labels can provide insight into the era and craftsmanship of the skirt, so it's beneficial to examine the label for authenticity and historical context vintage clothing characteristics.
Accurate measurements are essential for achieving a proper fit, so grab your measuring tape and carefully mark your desired adjustments.
The primary focus usually involves taking in the waistline and adjusting the side seams, ensuring the skirt retains its flattering A-line shape. You'll want to pay attention to the seam allowance as you make these adjustments; leaving too little could jeopardize the integrity of the garment.
Important tools like a sewing machine, seam ripper, pins, and tailor's chalk will become your best friends during this process.
When dealing with elastic waistbands, the adjustments can be made quickly. Measure the desired fit, then sew along the marked line before trimming any excess fabric.
This efficient method helps you maintain a polished look while ensuring comfort. Understanding these key elements will set you up for success in your vintage skirt alteration journey.
Preparing the Skirt for Alteration
To effectively prepare your vintage A-line skirt for alteration, start by turning it inside out. This way, you can easily access the seams on the skirt wrong side for precise measurements and adjustments.
Vintage clothing labels often provide insight into the garment's history, which can help you understand how to best approach your alterations, especially if the skirt is from a well-known brand or era vintage tag identification.
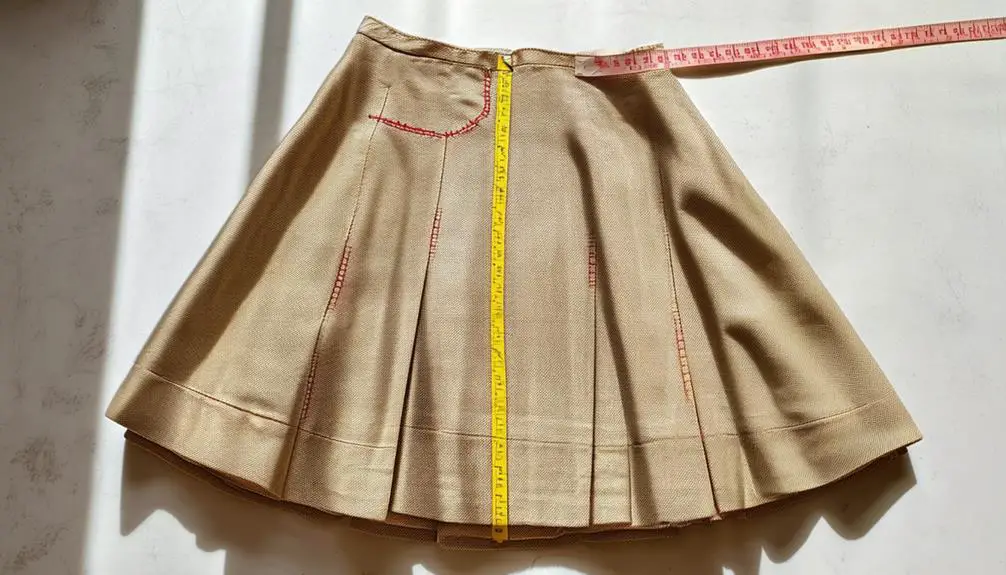
Slip the skirt on and use tailor's chalk to mark your desired waistline. This visual aid helps you see exactly where you need to adjust.
Next, measure the marked line and add a ½ inch seam allowance. This extra fabric is essential for sewing the new seam later on.
Once you've marked, it's time to seam rip the side seams down to the hemline. This step allows for easier and more uniform adjustments, ensuring your skirt maintains its shape.
Don't forget to trim any excess fabric from the waist band to the hemline. This keeps the final fit looking sleek and prevents any bulkiness that could detract from your skirt's vintage charm.
When you're ready to sew, make sure to use a zigzag stitch to secure the seams and maintain the fabric's integrity.
With these preparations, you're well on your way to achieving the perfect fit!
Identifying Fit Issues
Identifying fit issues in a vintage A-line skirt is essential for achieving that perfect silhouette. Start by trying the skirt on and noticing any areas that feel loose, especially around the waist and hips. These loose spots often indicate the need to take in the seams for a more fitted look.
To get a clear picture of how much adjustment is necessary, measure the waistband and hip circumference against your own body measurements.
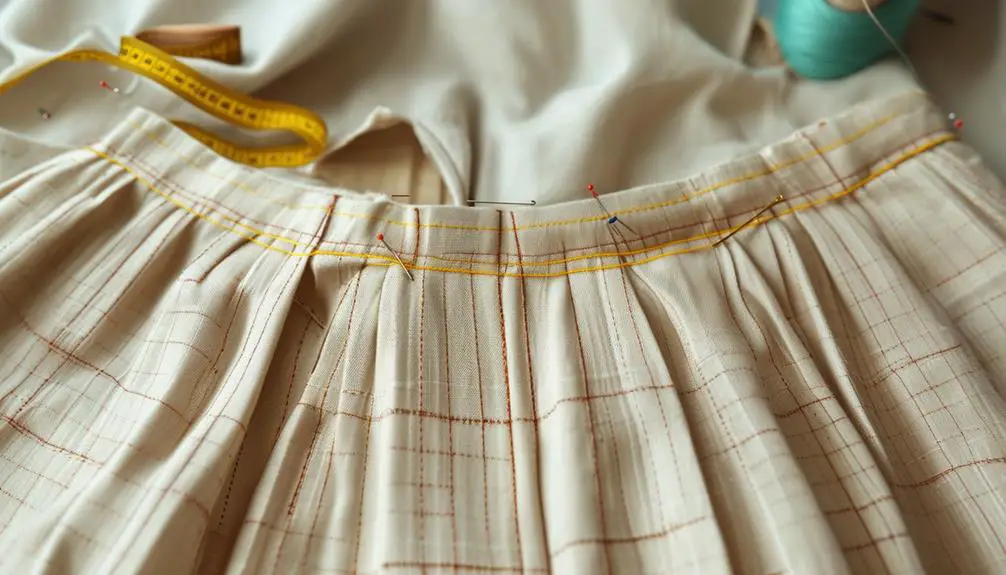
As you assess the fit, use tailor's chalk to outline the desired adjustments directly on the fabric. Mark where you can take in the material to achieve a smoother, more tailored appearance.
Pay close attention to the side seams; after pinning, check for any gaping or puckering. These irregularities can signal uneven fit, requiring further adjustments.
Adjusting the Side Seams
Adjusting the side seams of your vintage A-line skirt can transform its fit and elevate your overall look. To achieve a flattering silhouette, follow these steps:
- Turn the skirt inside out: This allows you to easily access the side seams you'll be adjusting.
- Mark your desired fit: Use tailor's chalk to outline where you want the new side seam, adding ½ inch for seam allowance.
- Pin the new side seam in place: Make sure the fabric lays flat and the seam runs straight from the waistline to the hem for a polished appearance.
- Sew and finish the edges: Use your sewing machine to sew along the pinned line, maintaining consistent seam width.
Afterward, finish the edges with a zigzag stitch or an overlocker to prevent fraying.
Once you've sewn the new seam, trim any excess fabric and press it flat for a crisp finish.
Waistband Modification Techniques
After fine-tuning the side seams for a better fit, the next step is to focus on the waistband of your vintage A-line skirt. If the waistband is wide, consider unpicking it entirely to make seamless alterations at the side seams. This method guarantees a polished finish.
For skirts with elastic waistbands that are too large, you can simply cut the waistband and sew it tighter for a snug fit, bypassing the need to reattach the entire waistband.
If the waistband is small, fold it over and sew it down to reduce its size while preserving the original look.
No matter which modification you choose, always use a zigzag stitch or overlock the edges of the waistband after alterations. This prevents fraying and assures durability, guaranteeing your skirt stands the test of time.
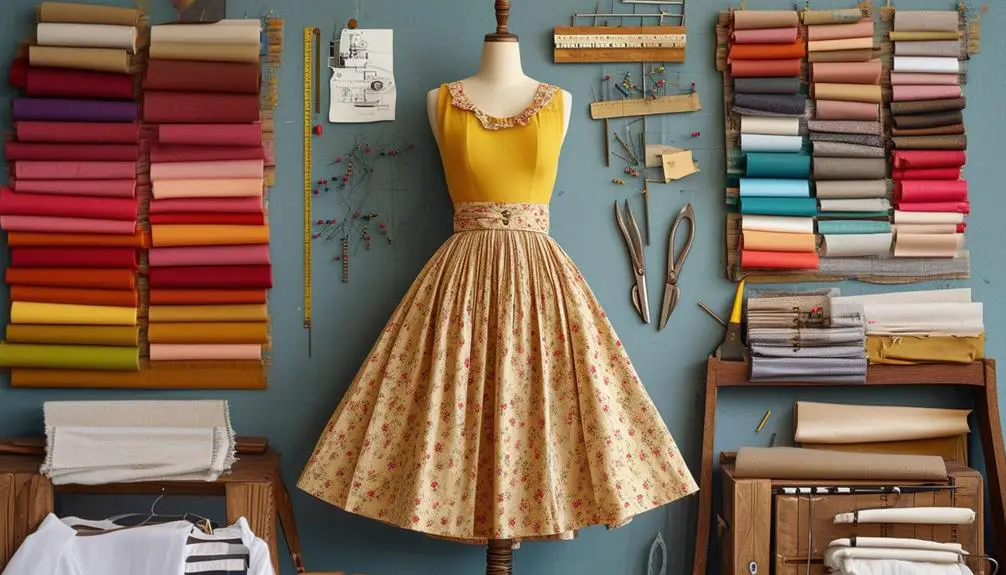
Creative Alterations and Finishing Touches
Transforming a vintage A-line skirt into a personalized masterpiece is a rewarding endeavor that allows your creativity to shine.
Once you've tailored the fit, consider these creative alterations and finishing touches to elevate your skirt:
- Shorten the Length: Cut the skirt to your desired hemline, ensuring the waist remains fitted for a balanced silhouette.
- Repurpose Cut-off Fabric: Use any cut-off fabric to create playful ruffles or unique embellishments, enhancing the skirt's overall design.
- Attach Ruffles Securely: Sew the ruffles to the skirt using a straight stitch along the top edge, making sure they lay flat and complement the skirt's shape.
- Finish the Hemline Neatly: Fold the hemline under and sew with a straight stitch, or opt for a blind hem stitch for a polished look.
Practical Sewing Tips
When you immerse yourself in the world of sewing alterations, keeping a few practical tips in mind can make all the difference in achieving a polished look for your vintage A-line skirt.
Start by turning the skirt inside out; this allows you to easily access the seams and accurately mark the desired fit. Using tailor's chalk, outline the new seam line, making sure to add a ½ inch seam allowance for a clean finish.
As you take in the skirt, pin the fabric along the marked line. This step guarantees stability and gives you a chance to check the fit before you commit to stitching.
Remember to regularly try on the skirt during the alteration process to ensure a symmetrical and comfortable fit throughout.
When you're ready to sew, employ a straight stitch or zigzag stitch to secure the new seams. Finish the edges with an overlocker or a zigzag stitch to prevent fraying.
Frequently Asked Questions
How Do You Hem a Lined Circle Skirt?
To hem a lined circle skirt, turn it inside out, fold the hem, and pin it. Sew along the edge, ensuring curves are smooth. Press the hem for a polished finish, ensuring alignment with the lining.
How to Increase the Waist of a Skirt?
To increase the waist of a skirt, you can add a fabric panel to the side seams or replace the waistband with a longer elastic piece. Measure carefully, and reinforce new seams to guarantee durability.
Can a Tailor Take in a Skirt?
Yes, a tailor can take in a skirt by adjusting the side seams. They'll assess the construction, pin the fabric, and resew it, ensuring you get a snug fit without losing the skirt's shape.
How to Tailor a Leather Skirt?
When tailoring a leather skirt, you'll need a specialized needle and walking foot. Measure carefully, use clips instead of pins, and alter both leather and lining for a consistent look. Finish edges for a polished appearance.