To tailor a vintage fringe jacket, start by evaluating its fit and noting areas needing adjustments. Gather essential tools like a sewing machine, seam ripper, and fabric scissors. Measure accurately for a perfect fit, then document each step meticulously. While altering, maintain the jacket's original features. When adding fringe, cut it to about three inches for movement, then secure it with strong adhesive. Once the work is done, inspect seams and verify everything is polished. This process not only revitalizes your jacket but also lets you express your style. Explore further to discover even more customization tips!
Importance of Tailoring Vintage
Tailoring vintage clothing is more than just a practical solution; it's an art form that breathes new life into pre-owned fashion. When you decide to tailor that vintage fringe jacket hanging in your closet, you're not only enhancing its fit and style but also embracing a sustainable choice.
With 60% of British individuals holding onto unwanted clothes, tailoring presents a perfect opportunity to revive and repurpose these garments, promoting environmental consciousness. Understanding the historical context and unique identifiers of vintage clothing can enhance your tailoring process, allowing you to maintain the integrity of the original design while updating the piece to fit your modern style.
vintage clothing trends can inspire your tailoring decisions, ensuring your jacket reflects both your personal aesthetic and the charm of the past.
Minimal adjustments can dramatically extend the lifespan of your fringe jacket, reducing waste and contributing to a more sustainable fashion industry. Tailoring allows you to transform unique pieces into modern styles that reflect your personal aesthetic while connecting you to historical practices.
Each stitch you make strengthens your bond with local tailors, fostering a community that values craftsmanship over fast fashion.
Required Materials for Tailoring
When you commence on the journey of tailoring your vintage fringe jacket, gathering the right materials is fundamental for achieving a polished look.
First and foremost, you'll need a reliable sewing machine. This tool guarantees clean and professional stitching for any adjustments or additions you make.
A seam ripper is another significant item, allowing you to carefully open seams without damaging the fabric, especially when integrating new fringe or altering existing sections.
You'll also want to have matching thread that corresponds to your jacket's original color. This detail is essential for maintaining a cohesive and seamless appearance after your alterations.
Good quality fabric scissors are necessary for cutting fringe or any fabric accurately. They'll help you achieve clean edges and prevent fraying, which is especially important for a vintage piece.
Finally, a measuring tape is key for taking precise measurements before making any alterations.
With these materials in hand, you're set to create a beautifully tailored jacket that showcases your unique style and the charm of vintage fashion.
Get ready to transform your jacket into a personalized masterpiece!
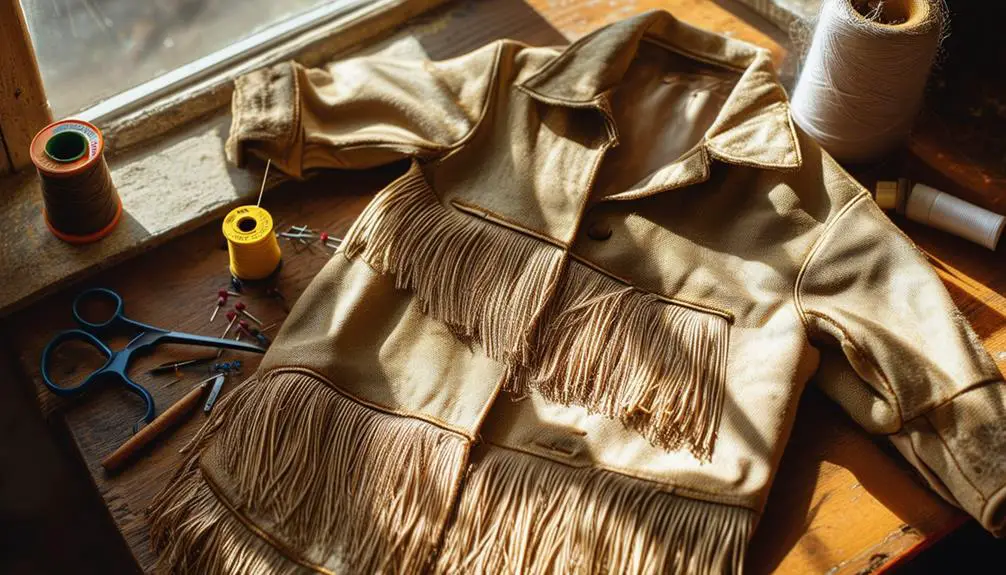
Preparation Steps for Tailoring
Getting your vintage fringe jacket ready for alterations is an essential step that sets the tone for a successful transformation. Start by evaluating the jacket's overall fit, pinpointing areas needing adjustments, like sleeve length or body width. Grab a measuring tape and take accurate measurements, jotting down both the original and target dimensions.
Next, prepare your workspace. Lay the fringe denim jacket flat and make certain all necessary tools—scissors, pins, and a sewing machine—are within reach. If you plan to shorten the sleeves, insert paper into them to prevent cutting through the lining, and mark where you'll trim.
Keep track of your progress by carefully documenting each step of the tailoring process, including before and after measurements. This attention to detail helps guarantee consistency and a polished final product.
Here's a quick reference table to help you stay organized during preparation:
| Step | Action |
|---|---|
| Evaluate Fit | Identify areas for adjustment |
| Measure | Note original and target dimensions |
| Prepare Workspace | Lay jacket flat, gather tools |
| Document Progress | Record each step and measurements |
With everything in place, you're ready to begin the tailoring process!
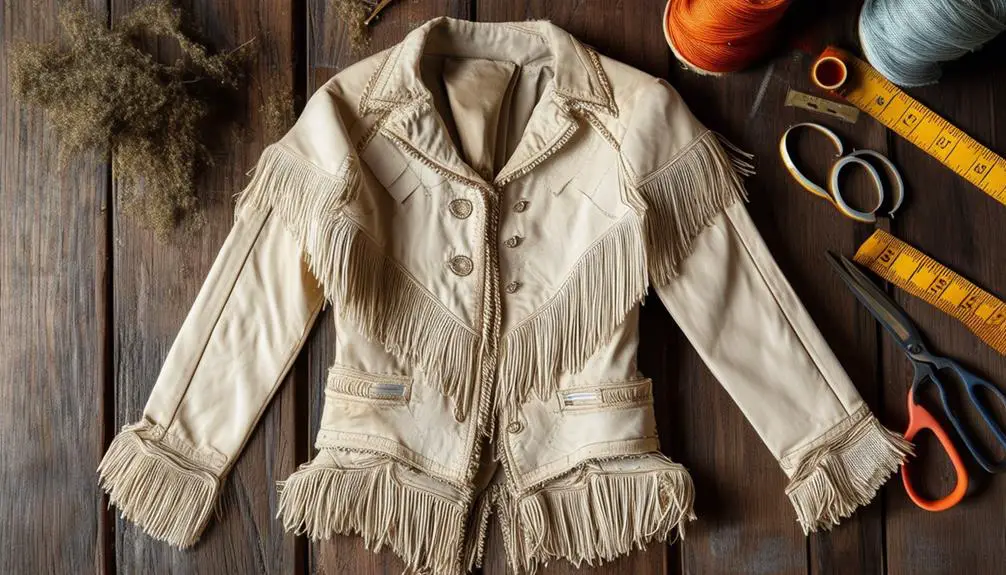
Tailoring Techniques and Tips
Transforming your vintage fringe jacket into a tailored masterpiece requires a blend of skill and creativity. Start by preserving the jacket's key features, like shoulders and sleeves, while adjusting the waist for a more fitted silhouette. This attention to detail maintains the integrity of the original design, allowing the fringe to remain a standout element.
To enhance your tailoring process, consider the historical context of your jacket, as certain styles, like those from brands such as Betty Barclay, were known for their distinctive silhouettes and craftsmanship during the mid-20th century.
Consider employing reverse tailoring techniques, where you add fabric panels to increase size, accommodating various body shapes without compromising the jacket's character. This method is especially effective for vintage pieces, enhancing their usability while preserving their history.
Before you visit a tailor, sketch potential silhouettes to clarify your vision. This not only helps you communicate your desired outcome but also aids your tailor in visualizing the final look.
Building a relationship with a local tailor can yield personalized services tailored to your unique style preferences. They'll understand how to incorporate fringe and other design elements effectively, ensuring your vintage jacket reflects contemporary flair while honoring its craftsmanship.
With these techniques, your fringe jacket can evolve into a stylish piece that turns heads.
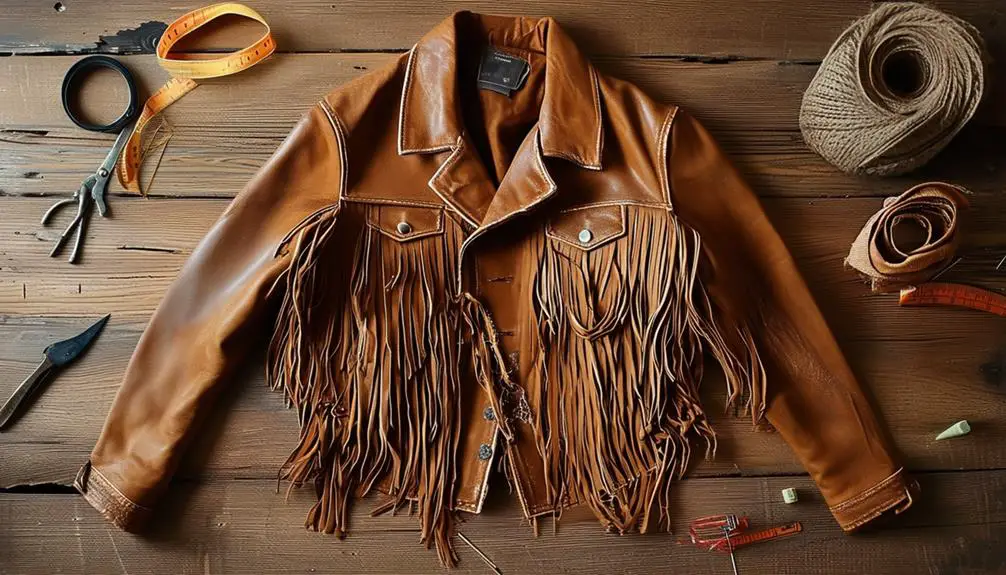
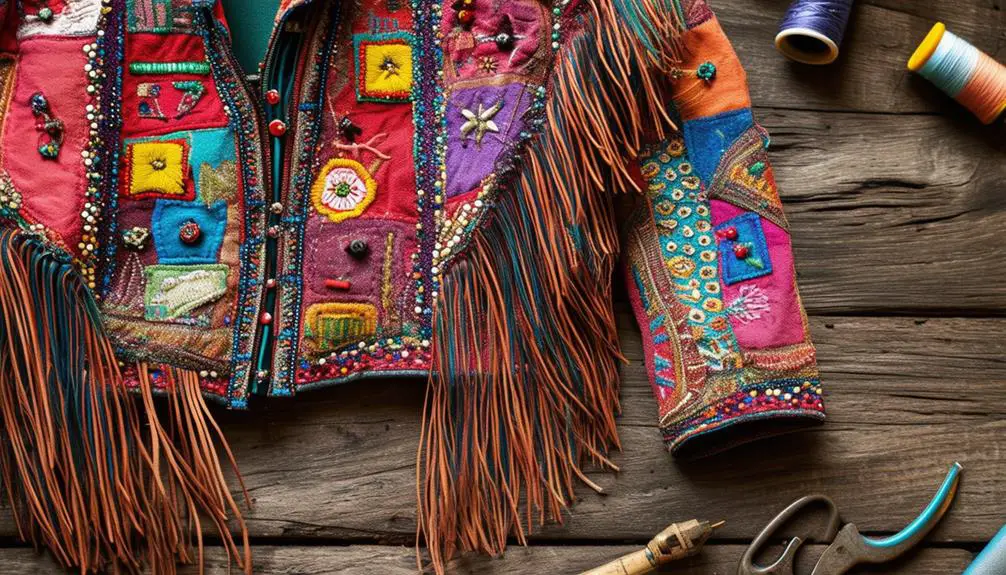
Application Process for Fringe
After you've tailored your vintage fringe jacket to achieve the perfect fit, it's time to add that eye-catching fringe detail that will elevate your piece.
To start the application process for fringe, follow these essential steps:
- Measure Target Areas: Identify where you want the fringe—typically on the sleeves and back. Measure these areas to guarantee accurate placement and sufficient material length.
- Cut the Fringe: Using good fabric scissors, cut your fringe to the desired length, usually around 3 inches. This length allows for movement and adds visual interest.
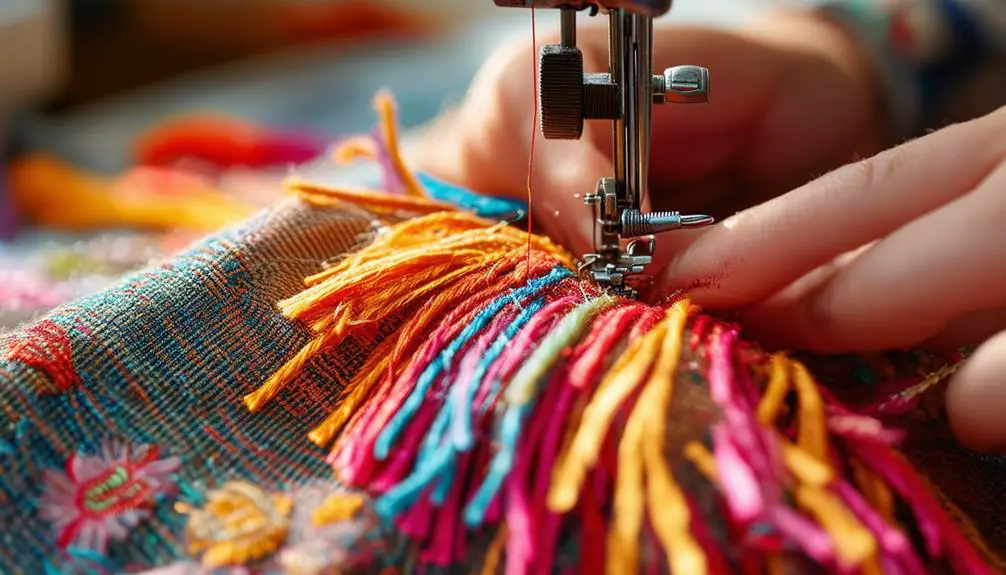
- Apply Adhesive: Use a strong adhesive like Beacon Fabri-Tac Glue. Work in small sections (3 to 5 inches) to prevent the glue from drying before placing the fringe. Lay the fringe flat against the jacket, ensuring it can swing freely without sticking.
After applying the fringe, let the glue dry for a full 24 hours. This guarantees that all pieces are securely attached.
Check for any loose ends before moving on. With these steps, your vintage jacket will be transformed into a stunning statement piece!
Finalizing Your Vintage Jacket
As you put the finishing touches on your vintage fringe jacket, it's essential to inspect every detail for a polished look. Start by carefully checking all seams to guarantee they're securely stitched. Look for any loose threads that might need trimming; a clean edge enhances the overall appearance of the fringe.
Next, if you've applied any glue or adhesive to the fringe, make certain it's had at least 24 hours to dry completely. This step prevents any lifting or detachment when you wear the jacket.
Once that's done, try on the jacket to test its fit and movement. You want to make sure that the fringe flows and swings beautifully as you move.
Before you showcase your creation, consider cleaning the jacket according to the fabric care guidelines. This won't only enhance its look but also extend its longevity.
Creative Ideas for Customization
Once you've finalized your vintage fringe jacket, the fun really begins with customization. You can turn your denim jacket into a one-of-a-kind statement piece that reflects your personality and style. Here are some creative ideas to contemplate:
- Patches and Embroidery: Add patches or embroidery that resonate with your interests. Whether it's a band logo or a floral design, these elements can add a personal touch.
- Fringe Variations: Experiment with different fringe lengths and colors. Mixing textures can create a standout look that complements your entire outfit, making your jacket truly unique.
- Unique Closures: Replace standard buttons or closures with something distinctive. Vintage buttons or unique hooks can enhance both the functionality and aesthetic of your jacket.
Don't forget about fabric paint or dye! You can create custom designs or patterns, showcasing your creativity.
Layering different fabrics like lace or leather can also enhance the vintage appeal of your fringe jacket. With these ideas, you'll have a customized piece that not only stands out but also tells your story.
Frequently Asked Questions
What Year Were Fringe Jackets Popular?
Fringe jackets burst into popularity during the 1960s and 1970s, closely tied to the bohemian and counterculture movements. Their appeal soared as iconic musicians embraced them, making them a timeless fashion statement that still resonates today.
Is It Possible to Tailor a Leather Jacket?
Yes, you can tailor a leather jacket! With the right skills, a tailor can shorten sleeves, adjust the waist, and guarantee a perfect fit while maintaining its unique characteristics. Trust a professional for the best results.
What Is the Purpose of Fringe on a Jacket?
Fringe on a jacket adds flair, creating movement and depth. It transforms a simple piece into a statement garment, reflecting cultural significance and enhancing your style, making it perfect for various aesthetics you want to explore.
How to Slim an Oversized Jacket?
To slim an oversized jacket, pinpoint areas needing adjustment. Open the side seams, pinch excess fabric, and secure with pins. Sew along the new seam line, trim excess fabric, and press for a polished finish.


I don’t think the title of your article matches the content lol. Just kidding, mainly because I had some doubts after reading the article.