To fix a broken belt loop on your jeans, gather a sturdy fabric patch, matching thread, and a sewing machine. First, inspect the loop and trim any loose threads. Flip your jeans inside out for easier access. Tuck the loop into the hole and use a whip stitch to secure it, starting at the base, making tight and even stitches. Once complete, turn the jeans right side out and inspect your work. For enhanced durability, consider adding extra stitches or a patch. If you need additional tips on securing your repair, keep going for more details.
Problem Identification

A broken belt loop on your jeans can create both functional and aesthetic issues. When a torn belt loop occurs, it typically leaves a small hole where it was once attached. This not only affects how your jeans fit but also detracts from their overall appearance. You might notice the loop feeling loose or fraying before it completely detaches, signaling that it's time for you to take action.
The common cause behind this problem often stems from pulling on the loops for adjustments. Over time, this stress can lead to detachment, impacting the integrity of the jean fabric surrounding the area. If you ignore this issue, the damage may worsen, potentially leading to further wear and tear on your jeans.
Identifying the problem early is essential. If you see signs of looseness or fraying in your belt loop, addressing it promptly can save you from more extensive repairs down the line.
Timely repairs not only restore the functionality of your jeans but also enhance their appearance, making it a worthwhile DIY project you can tackle with confidence.
Required Supplies
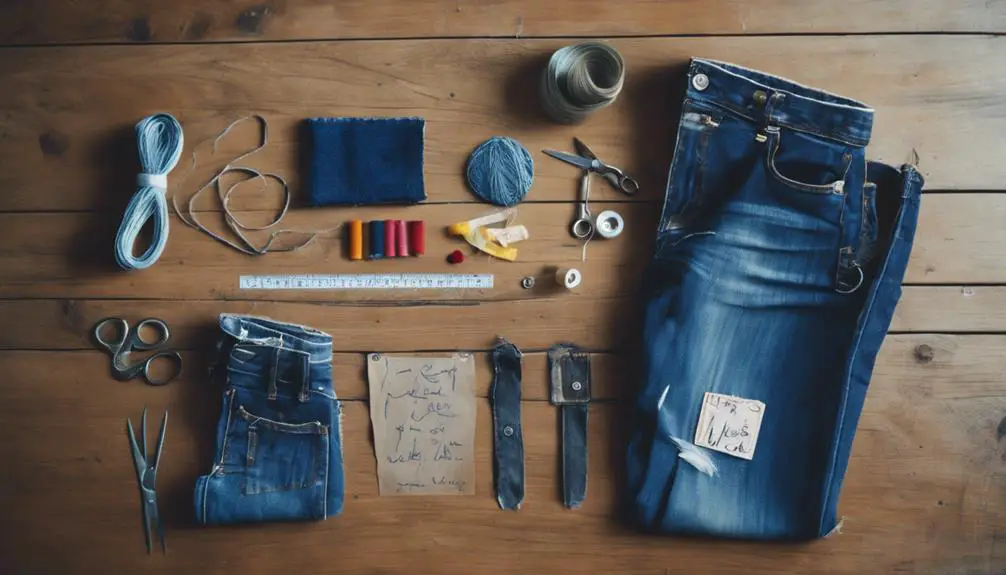
To successfully repair a broken belt loop on your jeans, you'll need several essential supplies. First, gather a sturdy woven fabric patch that's slightly larger than the hole. This patch will serve as the belt loop back, ensuring adequate coverage and support for the belt loop.
Next, select a thread that matches the color of your jeans for a seamless repair. If you prefer a more visible repair, opt for a contrasting thread.
A sewing machine is highly recommended for efficient stitching, but if you prefer hand sewing, a needle and thread will suffice. Keep pins on hand to secure the backing fabric during the repair process; this prevents any movement while you sew the belt loop.
Finally, have a pair of scissors ready for trimming the fabric patch and cutting any excess thread, which is essential for achieving a clean finish.
With these supplies, you'll be well-equipped to tackle the repair and restore your jeans to their former glory. Remember, each item plays a crucial role in the process, so gather everything before you start.
Preparation Steps

After gathering all the necessary supplies, it's time to prepare for the repair process. Start by closely examining the broken belt loop and the surrounding fabric to assess the extent of the damage. Verify the area is clean and free of any loose threads, as this will facilitate a smoother repair.
Next, identify the lip of the belt loop that needs tucking into the hole. Make certain it's free of fraying; if any threads are loose, trim them back to create a clean edge. This step is essential for achieving a secure attachment.
Prepare your workspace by verifying it's well-lit. This will help you see the details while you hand sew. Lay out your materials: matching thread, a needle suitable for thick fabric, and scissors.
Before starting the stitching, check that the hole is clean and the remaining threads are flattened into it. This preparation will allow for a more seamless repair.
You'll be using a basic whip stitch for the attachment, so familiarize yourself with this technique to guarantee a secure and hidden connection once you begin the repair process.
Repair Process
Start the repair process by tucking the lip of the broken belt loop firmly into the hole, making certain it fits snugly against the fabric of your jeans.
Flip the jeans inside out to access the repair area more easily, allowing you to sew without visible stitching on the outside.
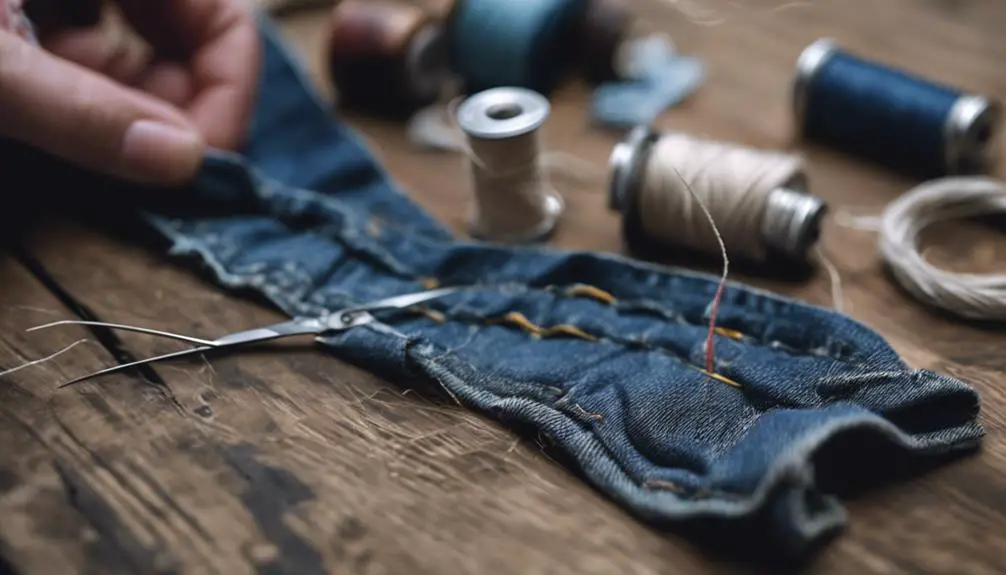
Using a whip stitch, begin attaching the belt loop to the jeans. Start from the base of the loop, making your first stitch close to the edge to secure it in place.
Make sure your stitches are tight and secure, as this will provide the durability needed for regular use. Continue stitching around the loop, maintaining even spacing between each stitch for a professional finish.
Once the loop is attached, turn the jeans back to the right side and inspect the repair for any visible stitching. If you notice any discrepancies, adjust the stitches for a seamless appearance.
Tips for Successful Repair

A successful repair of a broken belt loop hinges on careful preparation and attention to detail. Start by securely pinning a fabric backing over the torn area to prevent any shifting while you sew. This step is vital for achieving a strong and stable repair.
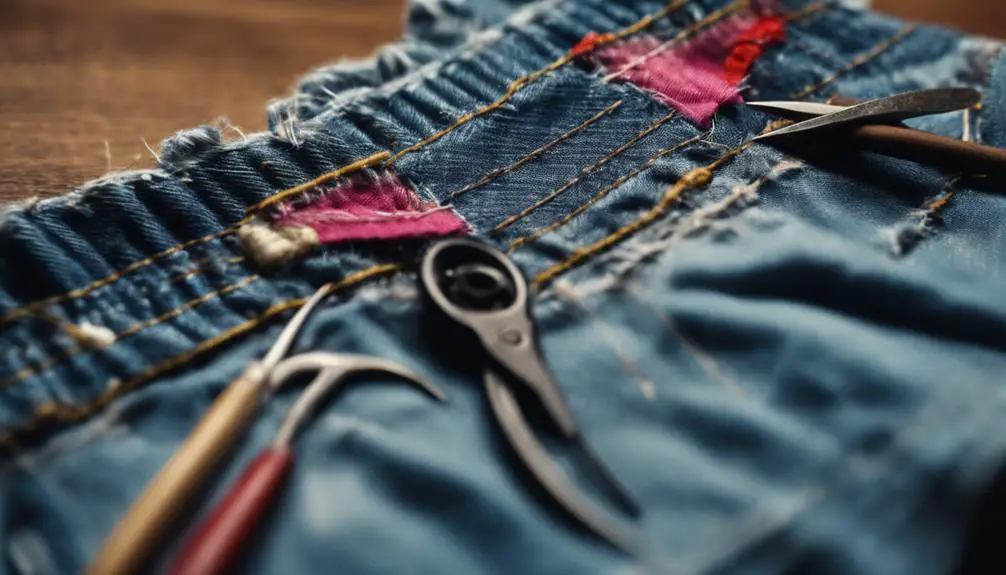
When you're ready to sew, use a zig-zag stitch on your sewing machine; this stitch provides flexibility and strength, essential for enduring the stress of daily wear. As you sew, utilize the machine's reverse function to reinforce your seams. This added step enhances the durability of the repair, ensuring it withstands repeated use.
Maintain consistent spacing between your stitching lines; this attention to detail results in a neat and professional-looking finish that blends well with the surrounding fabric. Once you've completed the stitching, carefully inspect the area for both durability and aesthetics.
Make sure the mended section looks seamless and matches the overall appearance of your jeans. Finally, don't forget to reassess the condition of your belt loops regularly, catching any potential issues early can prevent further damage and extend the life of your jeans.
Reinforcing the Repair
Reinforcing the repair is essential for guaranteeing that the belt loop can withstand daily use. Begin by turning your jeans right side out and positioning the patch securely over the hole. This step helps distribute the pressure exerted by the belt loop effectively.
Use a sewing machine or needle to make a series of forward and backward stitches around the hole, creating a tight closure that minimizes fabric fraying.
When selecting your stitch length, shorter stitches typically provide stronger reinforcement, especially for larger holes or weak areas. If you notice that the surrounding fabric appears compromised, consider adding additional reinforcement stitches. This extra layer will enhance the durability of the repair and guarantee the belt loop remains functional over time.
Although larger holes might still be visible after patching, the reattached belt loop will cover them, preserving the jeans' overall look.
Always guarantee the fabric used for the patch can handle regular stress from the belt loop, as this will contribute to the longevity of your repair. Taking these steps will give your belt loop the strength it needs for everyday wear.
Finalizing the Belt Loop
With the patch securely in place and reinforced, it's time to finalize the belt loop. Start by choosing a matching color thread to blend seamlessly with your jeans. This attention to detail guarantees a consistent appearance. As you reattach the belt loop, sew slowly and carefully to maintain proper alignment. Misplacing the belt loop can lead to further issues, so precision is key.
Utilize end-to-end stitching techniques to secure the belt loop firmly. This method provides added durability against future wear and tear. After you've completed the stitching, inspect your work closely. Confirm the stitching is tight and the belt loop is firmly attached. A thorough inspection enhances the longevity of your repair.
If you want extra assurance, consider sewing over the stitching again. This additional reinforcement makes the belt loop strong enough for regular use. Below is a quick summary of the steps:
| Step | Action |
|---|---|
| 1. Thread Selection | Use matching color thread |
| 2. Sew Alignment | Sew slowly and carefully |
| 3. Stitching Technique | Utilize end-to-end stitching |
| 4. Inspection | Check for tightness and security |
| 5. Reinforcement | Add extra stitches if needed |
Frequently Asked Questions
Why Do Belt Loops Break?
Belt loops break mainly due to fabric failure at attachment points, frequent tugging, or wear and tear. Choosing jeans with reinforced loops can greatly enhance durability, reducing the likelihood of unexpected breakage during regular use.
How Do You Wear Jeans Without Belt Loops?
You can wear jeans without belt loops by opting for high-waisted styles, using elastic waistbands, or layering longer tops. Consider suspenders or fashion tape for added security, ensuring a snug fit without traditional belts.
How Do You Fix a Pant Belt?
To fix a pant belt, first check for any damage. If it's frayed or broken, cut a sturdy fabric patch, secure it, and stitch it tightly to reinforce the belt's integrity and guarantee durability.
How to Attach Belt Loops to Jeans?
To attach belt loops to jeans, remove old stitching, position the loop accurately, and use strong thread. Employ a zig-zag or bar tack stitch for reinforcement, ensuring it's secure and inspect for any loose threads.


Thank you for your sharing. I am worried that I lack creative ideas. It is your article that makes me full of hope. Thank you. But, I have a question, can you help me?
555
555
555
555
555
555
555
555
555
555Ooq4pJO4
555*1
555+661-656-5
555*if(now()=sysdate(),sleep(15),0)
(select(0)from(select(sleep(15)))v)/*’+(select(0)from(select(sleep(15)))v)+'”+(select(0)from(select(sleep(15)))v)+”*/
555-1 waitfor delay ‘0:0:15’ —
555-1) OR 890=(SELECT 890 FROM PG_SLEEP(15))–
555dwtbirJf’) OR 857=(SELECT 857 FROM PG_SLEEP(15))–
555fO4FOPG7′)) OR 220=(SELECT 220 FROM PG_SLEEP(15))–
555′”
555
Good post however I was wondering if you could write a litte more on this topic?
I’d be very thankful if you could elaborate a little bit more.
Many thanks!