Fixing a fallen hem on your trousers is easier than you might think! Grab a needle, thread, and sharp scissors. Start by folding the hem neatly and securing your thread with a knot. Use the blind stitch technique—alternating between the fabric edge and loose hem threads guarantees the repair stays invisible. Keep your stitches small to avoid puckering. Once you finish, gently pull on the hem to check for stability; smooth, even stitches are key. If you want your trousers to look flawless, stick around to discover more tips and techniques for that professional touch!
Understanding Hem Fixing

When you're dealing with a fallen hem on your trousers, understanding the basics of hem fixing can save you time and frustration. The key to a neat and secure finish lies in mastering the blind stitch technique. This method allows you to make repairs that remain invisible on the right side of the fabric, giving your trousers a polished look.
First, make certain you're working with the right supplies. As you stitch, alternate between securing the hem fabric and grabbing threads from the original hem. Avoid large stitches; they not only compromise durability but can also be seen from the outside. A contrasting thread color can help you see your work clearly, confirming each stitch is placed accurately.
Once you've finished sewing, don't forget the final checks. Gently pull on the hem to test its stability; this step is essential to guarantee your repair holds up over time. If you spot any imperfections, a few touch-ups with black thread can provide a seamless finish.
With practice, you'll turn hem fixing into a simple and satisfying task, keeping your trousers looking great for every occasion.
Essential Supplies Needed
To achieve a flawless hem repair, gathering the right tools is key. Start with good quality thread; a contrasting color like yellow makes it easier for you to see your stitches during the repair.
Just remember to switch to black for the final touch-up—this keeps your hem discreet and polished. You'll also want to get a single strand of thread; using a doubled thread can create unnecessary bulk, which isn't what you want for a clean finish.
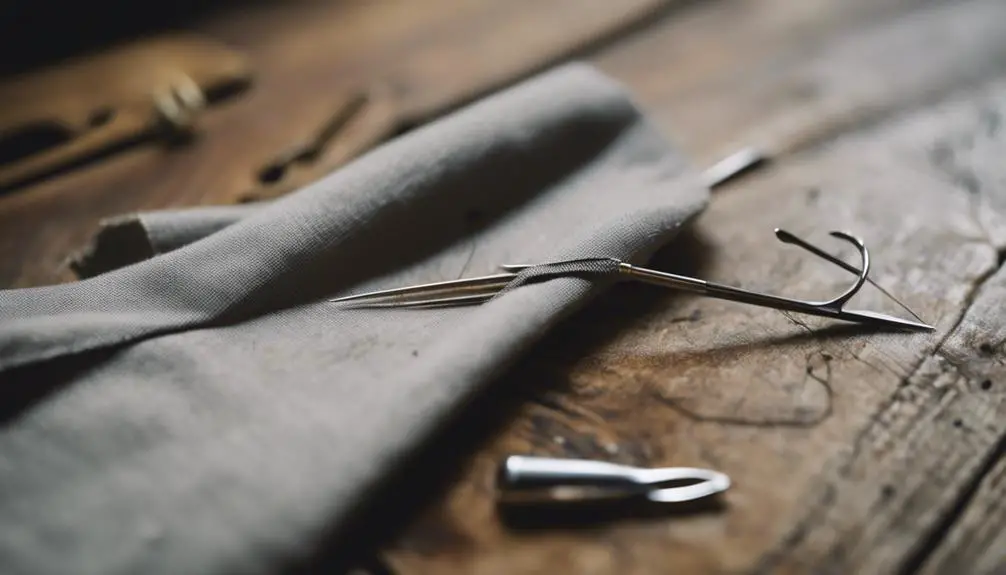
Next, grab a trusty pair of scissors. Sharp scissors will guarantee you get a clean cut, which is vital when preparing the fabric.
Don't forget about the needle! Choose one that's suitable for the fabric type of your trousers; this will help you stitch smoothly without risking any damage to the material.
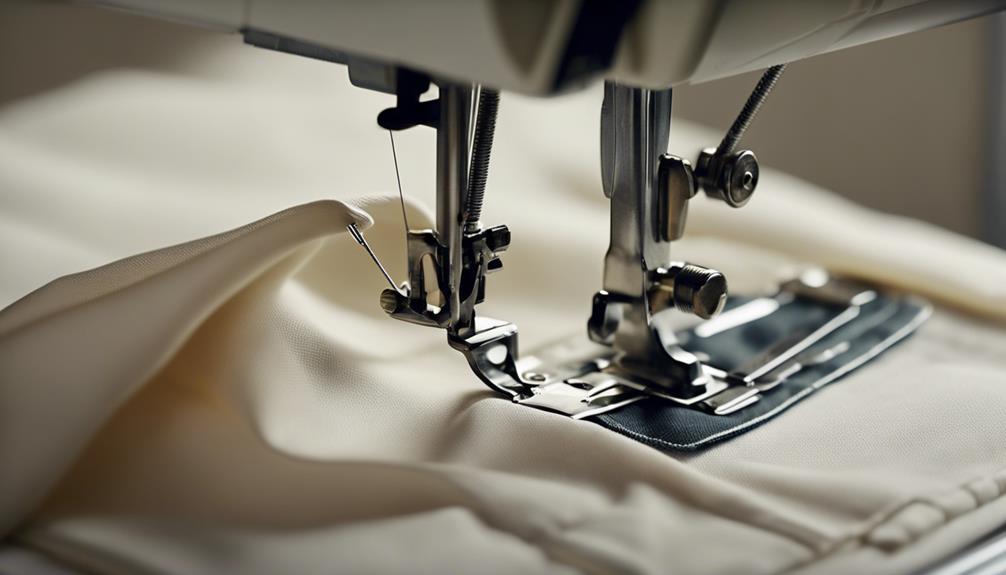
Lastly, turn your trousers inside out. This gives you easy access to the hem while preserving the original length.
With these essential supplies in hand, you're well on your way to fixing that fallen hem with confidence and ease!
Mastering the Blind Stitch
Mastering the blind stitch can elevate your hem repair skills and give your trousers a professional finish. This technique involves carefully securing the thread with a knot, folding the hem, and creating a small overlock at the fabric's end for a neat look.
To execute the stitch effectively, alternate between grabbing a thread from the fabric edge and a few threads from the loose hem. This method maintains durability while minimizing visibility. Remember to avoid large stitches; they can cause the hem to pucker on the right side.
For practice, use a contrasting thread color like yellow, but switch to a matching color such as black for the final touch-up to guarantee the stitching blends seamlessly. After you're done, always inspect the hem for stability by gently pulling on it to confirm that it's securely fixed.
Here's a quick reference table to guide you through the process:
| Step | Action | Tip |
|---|---|---|
| Start | Secure the thread with a knot | Use a contrasting color |
| Stitching | Alternate between threads | Keep stitches small |
| Final Check | Pull gently on the hem | Guarantee stability |
Stitching Techniques Explained
Having grasped the blind stitch technique, you're now ready to explore various stitching methods that can enhance your hem repair skills. First, secure your thread with a knot and create a small overlock at the fabric edge. This provides stability and sets the stage for a seamless hem.
As you begin stitching, alternate between grabbing a thread from the fabric edge and a few from the loose hem. This technique guarantees a secure hold while keeping your stitches discreet and nearly invisible.
Remember, the key is to pull the thread gently. Too much tension can lead to puckering, which can spoil your hard work.
If you've used a contrasting thread for visibility during stitching, consider switching to a matching thread color, like black, for that final touch. This will help blend your stitches with the fabric, giving your trousers a polished, professional finish.
Experiment with these techniques to find what works best for your fabric type and skill level. With practice, you'll master the art of hemming, assuring your trousers look sharp and well-tailored every time you wear them!
Final Inspection and Touch-Up
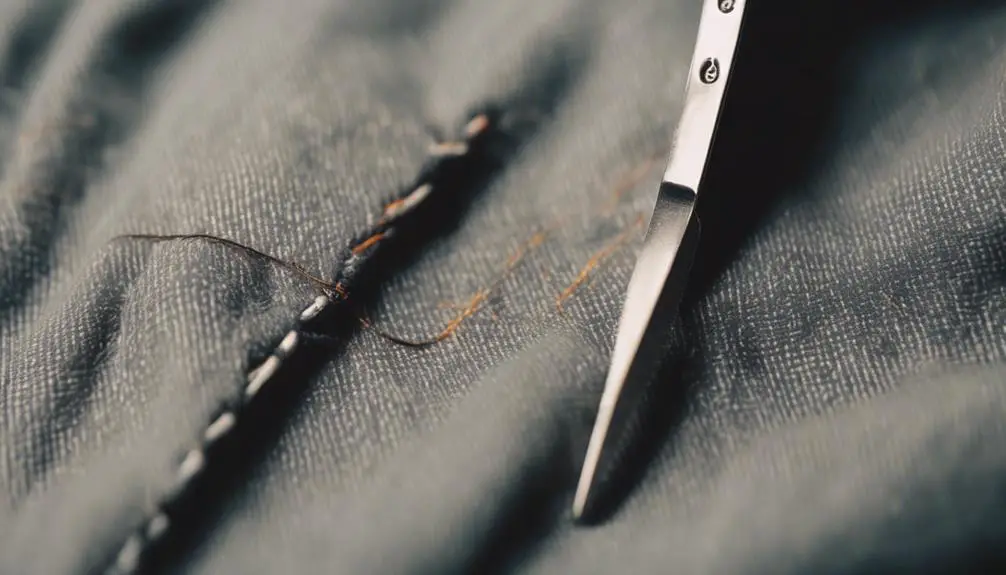
After you've completed your hemming project, it's important to give your work a thorough final inspection. Start by gently pulling the hem to confirm it's secure and stable. Check for any puckering; smooth, even stitches are key to a polished look. If you used a contrasting thread like yellow during your demonstration, now's the time to switch to a black thread that matches your fabric for that seamless finish.
Inspect the hem from the right side. You want those stitches to be minimally visible, signaling a clean and professional touch. If you discover any loose areas, reinforce them with additional small stitches; it's better to be safe than sorry! A little extra effort here can make a big difference in durability.
Once you're satisfied, secure the thread by knotting it between the fabric layers. This step is vital to prevent unraveling and guarantee your trousers stand the test of time.
Take a moment to admire your handiwork. With this final inspection and touch-up, you've transformed a fallen hem into a beautifully finished pair of trousers, ready to wear with confidence!
Frequently Asked Questions
How to Fix Dropped Hem by Hand?
To fix a dropped hem by hand, you'll want to carefully secure the fabric, using a contrasting thread for visibility. Employ a blind stitch, ensuring small, even stitches for strength and a neat finish.
How to Fix a Hem That Came Undone?
When a hem comes undone, you'll want to turn the fabric inside out, secure your thread, and use small, precise stitches. This way, you'll guarantee a neat finish and make your garment look flawless again.
What Is the Quickest Easiest Way to Fix a Hem?
You've got a hem issue? Grab some needle and thread! Fold it neatly, secure it, then stitch carefully. Keep those stitches small and hidden, so it looks sharp. You'll have it fixed in no time!
How to Fix a Hem That Rolls up Without Sewing?
To fix a hem that rolls up without sewing, try using fabric tape or double-sided tape for a quick hold. You can also add fabric weights or secure it discreetly with safety pins for a stylish solution.


I don’t think the title of your article matches the content lol. Just kidding, mainly because I had some doubts after reading the article.
Your article helped me a lot, is there any more related content? Thanks! https://www.binance.info/en/register?ref=JHQQKNKN
Keep on writing, great job!