
To fix a popped seam on your skirt, first, gather your supplies: a needle, matching thread, scissors, and pins. Turn the skirt inside out and locate the damaged area. Carefully use a seam ripper to remove any loose stitches, then tie off any hanging threads. Pin the fabric neatly together and choose a straight or backstitch to sew the seam, ensuring you secure the end with knots. Trim excess thread for a clean finish. This simple repair not only revitalizes your garment but also builds your sewing skills. If you want tips on different stitching techniques, you're in for a treat!
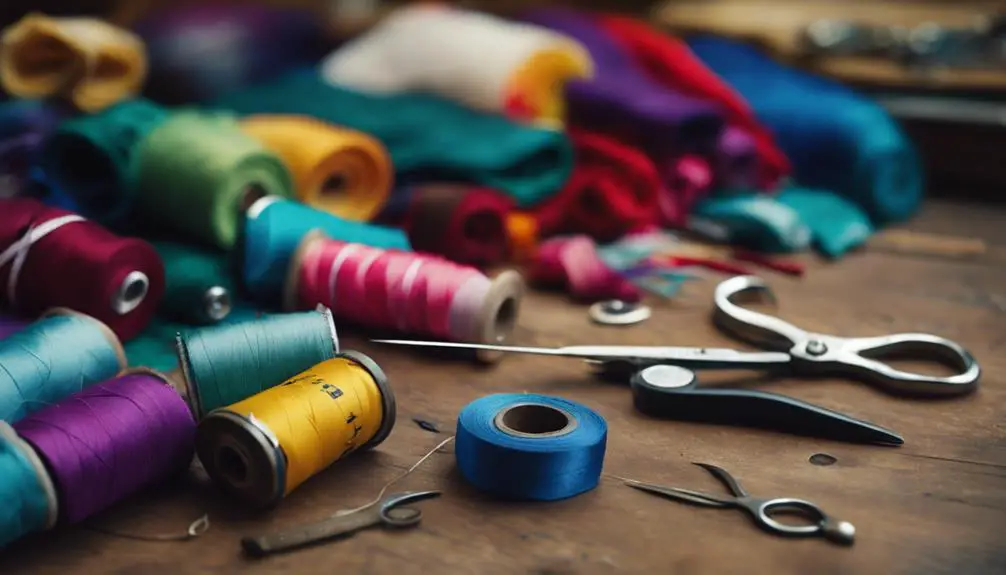
Gather Your Supplies

Before diving into the repair process, let's make sure you have everything you need at hand. First, gather your supplies to set yourself up for a smooth sewing experience.
You'll need a seam ripper for removing any loose stitches, scissors for cutting away old thread, and pins to hold your fabric pieces together while you work.
Next, select a needle that matches the fabric type of your skirt. A mid-sized needle is generally suitable for most materials, but if you're dealing with something tougher, like denim, you might want to opt for a heavier needle.
Now, let's talk about thread. Choose a color that matches your skirt perfectly, or find a close alternative if an exact match isn't available. This will help your repair look seamless.
Don't forget to prepare your workspace! Organize everything on a flat surface to make your sewing process comfortable and efficient.
If you're working with thicker fabrics, consider using a thimble for added finger protection. With all your supplies ready, you're now set to tackle that popped seam with confidence!
Assess the Ripped Seam
Now that you've gathered your supplies, it's time to assess the ripped seam on your skirt. Start by turning the garment inside out. This will give you a clearer view of the seam and help you accurately assess the extent of the rip.
Look closely at the tear and identify the starting and ending points. This step is essential as it determines the best approach for your repair.
Here are some key factors to reflect on:
- Verify the tear is along an existing seam for easier stitching.
- Examine the fabric around the rip for any additional damage.
- Take note of any loose threads near the rip.
- Secure any loose threads before beginning repairs to prevent further tearing.
- Ponder the type of stitches used originally to maintain consistency in your repair.
Remove Loose Stitches

Removing loose stitches is an essential step in ensuring a successful repair for your skirt's popped seam. Start by inspecting the seam, paying close attention to both the beginning and end of the rip. Look for any loose threads that might hinder your repair efforts.
Once you've identified them, grab a seam ripper. Carefully slide it under the loose stitches, pulling upward to detach them. Be gentle; you don't want to accidentally rip the surrounding fabric while you work.
Take your time with this process; rushing can lead to further damage. After you've removed all the loose stitches, check for any remaining hanging threads. It's vital to tie these together to prevent any further ripping down the line.
When you've tied them securely, trim any excess thread above the knot for a clean finish. This attention to detail will make your repair look polished.
With your loose threads removed, you're now ready to move on to the next step in the repair process, ensuring your skirt can be worn with confidence once again.
Secure Loose Threads
As you prepare to repair your skirt, securing any loose threads is essential to prevent further unraveling. Start by identifying any hanging threads near the popped seam. These loose threads can lead to more significant issues if left unattended.
To secure loose threads effectively, follow these steps:
- Tie nearby loose threads together in small knots, guaranteeing they're not too tight to avoid distorting the fabric.
- Cut any excess thread above the knots to maintain a neat appearance and reduce bulk.
- Repeat this securing process on the opposite side of the seam for balance.
- Inspect the entire seam area to verify all loose threads are addressed.
Once you've secured everything, take a moment to check that the fabric remains smooth and intact.
Stitch the Ripped Seam

Often, when dealing with a popped seam, stitching it back together can feel intimidating, but with a little patience and the right technique, you'll have your skirt looking as good as new in no time.
Start by pinning the fabric pieces together, beginning at the center of the tear. This guarantees proper alignment as you sew.
Next, thread a mid-sized needle with matching thread, creating a knot at the end to secure your stitches. Choose between a straight stitch or a backstitch technique, taking small, even stitches along the seam. This method guarantees durability and minimizes visible holes—key factors in effective seam repair.
Once you've stitched the torn area, tie 2-3 simple knots at the end of the thread to secure your work. Trim any excess thread close to the fabric to keep things tidy.
Finally, inspect the repaired area for any loose threads. If anything stands out, reinforce the stitching to guarantee the seam holds up during wear.
With these steps, you'll not only restore function to your skirt but also gain confidence in your sewing skills!
Importance of Seam Repair
Repairing a popped seam not only restores your skirt but also highlights the broader significance of seam repair in our everyday lives. When you take the time to fix minor damage, you're engaging in a practice that extends the life of your garments. Many items are discarded prematurely due to issues that can be easily resolved.
By embracing seam repair, you contribute to a more sustainable fashion practice and reduce textile waste.
Here are some key benefits of mastering seam repair:
- Enhances Durability: Proper seam repair helps your clothing withstand daily wear and tear.
- Saves Money: Learning these techniques can prevent costly replacements and keep your wardrobe intact.
- Maintains Appearance: Effective repairs restore the look of your clothing while preserving its structural integrity.
- Promotes Reuse: You'll find greater value in second-hand purchases, knowing you can fix them.
- Empowers Skills: Developing your sewing experience equips you with practical knowledge to care for your wardrobe.
Incorporating seam repair into your routine not only enhances your wardrobe but also fosters a culture of sustainability and resourcefulness.
Repair Methods Overview
When it comes to fixing a popped seam, you've got a couple of effective methods at your disposal.
First, there's the right side method, which is perfect if you want your repair to be visible. This approach involves positioning the fabric so the seam is accessible from the outside. It's an excellent opportunity to showcase your handiwork with decorative stitching or to guarantee that the repair stands out.
On the other hand, if you prefer a more discreet fix, the wrong side method is your best bet. Here, you'll turn the garment inside out, allowing you to hide the stitches from view. This technique is ideal for maintaining the original appearance of your skirt, especially if you're working with delicate fabrics.
Both methods can be executed with a simple running stitch, making them accessible even for beginners.
Step-by-Step Repair Process
Now that you've chosen your preferred repair method, it's time to get into the nitty-gritty of fixing that popped seam. Start by turning your skirt inside out to locate the popped seam. Assess the extent of the damage; this will help you gauge how much stitching you'll need to do.
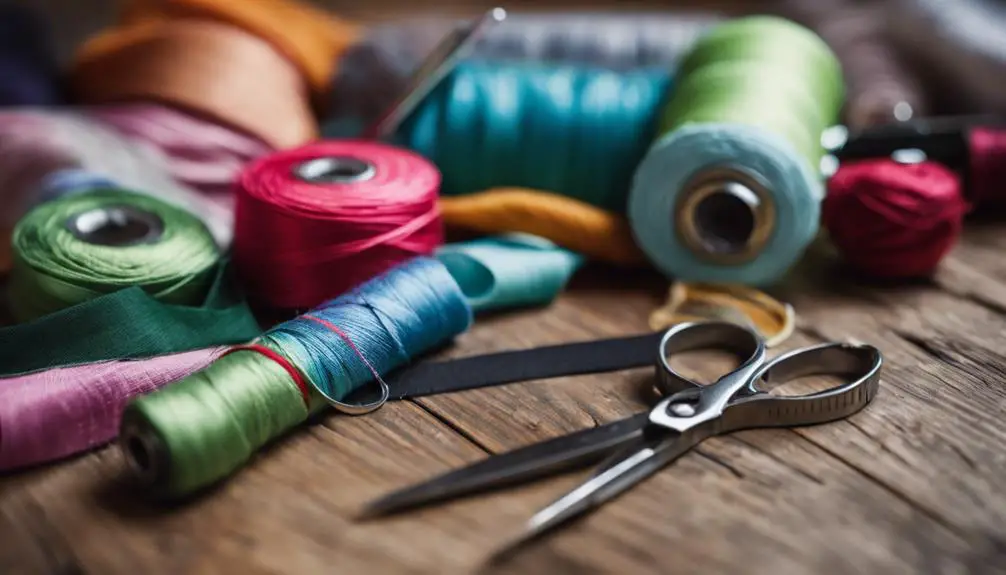
Gather your supplies:
- Mid-sized needle
- Matching thread
- Scissors
- Measuring tape
- Thimble for comfort
Cut a length of thread about the length of your arm for ease of handling. Begin stitching by pushing the needle through the seam just below the tear, creating a running stitch along the side of the seam. Make sure your stitches are evenly spaced to guarantee a sturdy repair.
Once you've stitched the length of the seam, secure the end by tying 2-3 simple knots. Snip the thread close to the fabric for a neat finish.
Additional Resources
Having access to additional resources can greatly enhance your sewing journey, especially when tackling seam repairs.
Video tutorials on popular sewing platforms offer visual guidance, making it easier to snip away confusion and follow along as you fix those popped seams. You can watch an expert demonstrate techniques while you thread your needle, ensuring you grasp each step.
Join online sewing forums and communities where fellow enthusiasts share tips and personal experiences. These platforms can provide valuable troubleshooting advice when you encounter common issues during seam repairs.
Don't overlook newsletters from sewing blogs and organizations; they often feature updates on new techniques and tools that can elevate your skills.
If you prefer hands-on learning, many local craft stores offer sewing classes taught by experienced instructors. This is a great opportunity to practice your repairs with guidance, ensuring you feel confident in your abilities.
Finally, leverage social media to connect with other sewing lovers. Share your repair success stories, exchange tips, and find encouragement from a supportive community.
With these resources at your fingertips, you'll be well on your way to mastering seam repairs and enhancing your sewing craft!
Frequently Asked Questions
How to Fix a Popped Seam?
To fix a popped seam, you'll need to identify the tear, gather your sewing supplies, and carefully stitch it up. Secure your work with knots, trim excess thread, and check for any loose fibers.
How to Repair Seam Split?
To repair a seam split, turn the garment inside out, assess the damage, and use a mid-sized needle with matching thread. Create a running stitch, secure it with knots, and trim excess thread for a clean finish.
How to Fix a Rip in Skirt?
To fix a rip in your skirt, turn it inside out, assess the damage, and use a seam ripper to remove loose stitches. Then, stitch carefully with matching thread for a secure, lasting repair.
How to Fix a Ripped Seam Without Sewing?
You've got a ripped seam? Try using fabric glue for a strong hold, or opt for iron-on patches for a stylish fix. Double-sided tape offers quick repairs, while fusible bonding tape creates seamless, sturdy connections effortlessly.


Thank you for your sharing. I am worried that I lack creative ideas. It is your article that makes me full of hope. Thank you. But, I have a question, can you help me?
Thank you for your sharing. I am worried that I lack creative ideas. It is your article that makes me full of hope. Thank you. But, I have a question, can you help me?