To fix a torn hem on your dress, first gather your supplies: a seam ripper, scissors, pins, the correct needle, and matching thread. Turn the dress inside out to assess the damage and identify the tear's start and end points. If the tear is minor, use the invisible hem technique, ensuring to maintain 0.75 to 1 inch stitch spacing. Iron the hem flat for easy stitching, and always check stitch tension to avoid puckering. Tie off your thread securely once done. For creative alternatives, you can transform the hem into a stylish patch or asymmetrical design, leading to endless possibilities.
Gather Your Supplies

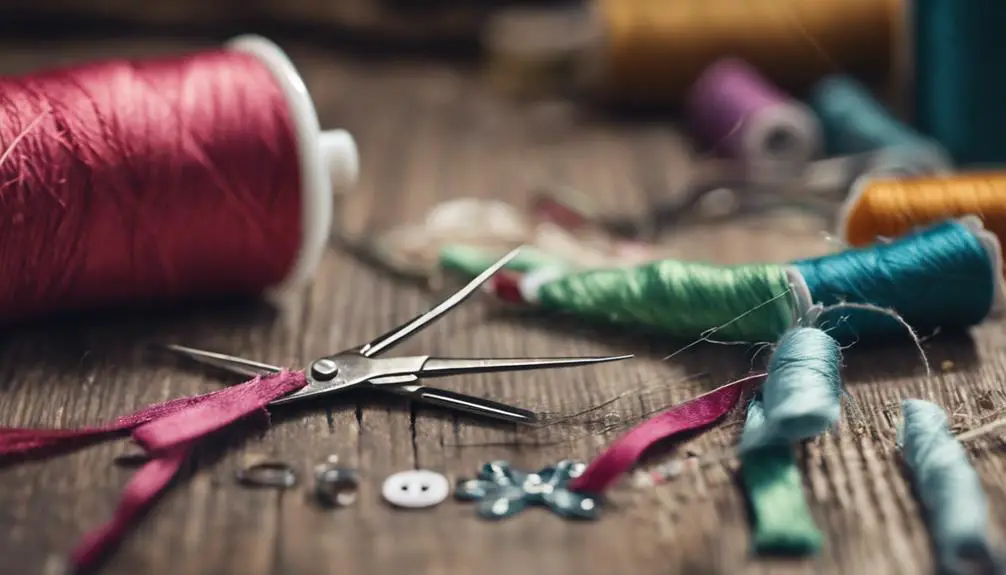
Before you start repairing a torn hem, it's vital to gather your supplies. First, grab a seam ripper to remove any loose threads from the torn area. This tool will help you carefully cut through any stitches that are no longer secure, making it easier to work with the fabric.
Next, have a pair of scissors ready to snip away any frayed threads or excess fabric. A clean edge will help you achieve a more polished repair.
You'll also need pins to hold the fabric pieces together securely while you work. Pinning will keep everything aligned and prevent shifting during stitching. Choose a needle that matches the thickness of your dress fabric; using the wrong needle can cause damage or create larger holes.
Finally, select a thread color that closely matches your fabric. This step is important for ensuring a seamless and aesthetically pleasing repair.
With these supplies on hand—your seam ripper, scissors, pins, the appropriate needle, and matching thread—you're ready to tackle the repair and secure the new hem effectively.
Assess the Hem Damage
Once you've gathered your supplies, it's time to assess the hem damage.
Start by turning the dress inside out to carefully inspect the torn hem. Look closely at the seam to identify the extent of the damage. Check the condition of the fabric around the tear; verify it's not frayed or weakened, as these factors may affect your repair process.
Next, locate the start and end points of the tear. This will help you determine if additional repair work is needed on adjacent areas of the hem. If the damage is extensive, you might need to address those areas as well.
Additionally, assess whether the hem was originally machine-stitched or hand-stitched. This information is significant as it influences the repair technique you'll choose later.
If you find the hem is too damaged for simple stitching, consider whether removing and redoing the hem entirely is necessary. A clean finish could save you future headaches.
Repair Techniques

Repairing a torn hem requires precision and the right techniques to guarantee a durable and seamless finish.
Begin with the invisible hem technique, which offers a clean look. Start by picking up a single strand from the garment body and anchoring it with a small stitch from the hem allowance.
Ensure your stitch spacing is between 0.75 to 1 inch; this spacing provides flexibility and support, especially for stretchy fabrics like knits and rayon. When you begin your stitching, do so slightly over the original hem. Remember to back-stitch a couple of stitches to secure and reinforce your repair.
As you stitch, periodically test the tightness of your stitches. This is essential to avoid puckering, particularly with stretchy materials. If you notice any puckering, adjust your tension as needed.
Once you've completed the hem, always tie off the thread securely. Trim the ends with a thread and snip to prevent the repair from unraveling.
With these techniques, your hem won't only look good but also withstand the test of time.
Tips for Best Results
To achieve the best results when fixing a torn hem, you'll want to pay close attention to the details that can make or break your repair. Start by choosing a needle and thread that match the fabric of your dress. This guarantees a seamless repair that blends well with the original garment.
Before you begin, iron the hem flat to eliminate any wrinkles; this creates a smooth surface for stitching and enhances the overall appearance of your work.
When hand-stitching, aim for a stitch spacing of about 0.75-1 inch. This spacing maintains flexibility in the hem and prevents puckering. As you sew, regularly check the tension of your stitches. This helps avoid breaking the thread and keeps the fabric from becoming distorted. If you're unsure about your technique, practice on a scrap piece of similar fabric before tackling the actual hem.
When you're ready to stitch, start on the side of the seam that's less visible, and pull the thread gently but firmly. This method will guarantee a sturdy hold while maintaining the integrity of your dress.
Following these tips will help you achieve a polished and professional-looking repair.
Creative Alternatives

If you're looking to add a unique twist to your dress while addressing a torn hem, consider some creative alternatives that not only repair but also enhance the garment.
Here are some ideas to inspire your DIY repair:
- Contrasting patches: Use decorative patches made from fabrics that contrast with your dress for a bold statement.
- Triangle-shaped designs: Incorporate triangle-shaped patches to reinforce the torn area and create an eye-catching design.
- Appliqué accents: Experiment with appliqué featuring geometric shapes to add a playful yet artistic touch.
- Mini-skirt transformation: Shorten your dress to a trendy mini-skirt length, pairing it with leggings for a fresh look.
- Asymmetrical style: Use an uneven number of patches connected by decorative stitching to achieve a visually appealing asymmetrical design.
Frequently Asked Questions
How to Repair a Torn Hem?
To repair a torn hem, start by examining the damage closely. Thread a needle with matching fabric color, then create even running stitches along the torn edge, securing with knots. Trim excess thread for a clean finish.
How Do You Fix a Dress Hem Without Sewing?
To fix a dress hem without sewing, apply fabric glue or double-sided tape to the torn edge. Press firmly, ensuring the adhesive bonds well. For a strong hold, consider using iron-on hem tape with heat.
How to Repair Torn Fabric on Dress?
To repair torn fabric on your dress, turn it inside out, assess the tear, then use a needle and matching thread to sew small, even stitches along the edges, securing them with knots when finished.
How to Fix Dropped Hem by Hand?
To fix a dropped hem by hand, turn the dress inside out, stitch along the original hemline with even spacing, and secure the end with knots. Make sure to maintain tension for flexibility in the fabric.


One Comment