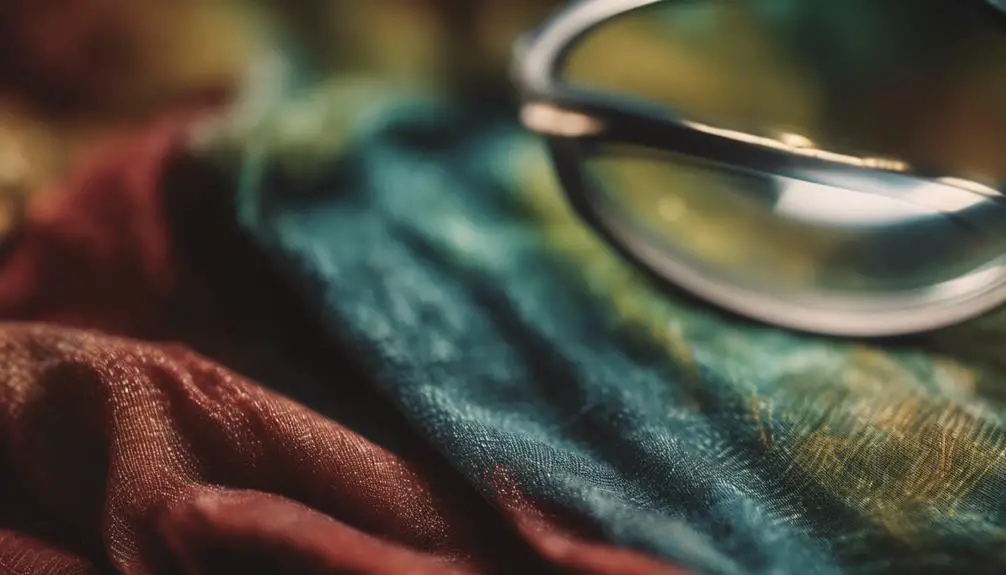
Imagine you're revealing a dusty time capsule, your camera hungry for the secrets these relics hold. You'll snap these beauties on your phone or through a vintage lens like a time traveler capturing history, making sure the light dances on them, evoking the mystique that entices buyers. You'll clean them ever so carefully, showcase their quirks lovingly, and stage them like they're on an antique show. Remember, the story's in the details—the faded tag, the patina on brass, every wrinkle and thread. Let's make your Depop shop a portal to the past, where your vintage finds aren't just seen, they're experienced. Stick around, as we'll uncover more photographic treasures.
Setting the Scene
When you're setting up the scene for vintage photography on Depop, your choice of lighting sets the mood and tells a story all by itself. Imagine this: you're aiming to evoke that sense of time-worn charm, maybe even a hint of mystery. So, you play with light like an artist painting on canvas. For a softer look, let the sun's golden rays bath your item. Use a white curtain to diffuse it, softening the shadows, making everything look as if it's from a dream. If it's raining outside, well, that's perfect. Rainy days wrap your photos in a grey, dreamy light, showcasing your items in a moody, nostalgic way. Mimicking film photography techniques, where you enhance the authenticity of your images, can set the scene for evocative storytelling. But let's not forget artificial lights; they're your go-to for control. Add an antique lamp or a chandelier, their glow instantly transforms your scene into a vintage film set. Backlighting? That's how you get halos or silhouettes, making textures pop like secrets you're whispering. You're not just selling an item; you're selling a moment trapped in time.
Choosing Equipment
Digging into your camera collection, you'll find a treasure trove for vintage photography. Whatever your tools, be it your trusted iPhone or an old-school, silver-laden camera (you know, the one you keep telling yourself you'll fix), there's a role for each. For a seamless, glossy experience, consider a lens attachment or, if you're in the mood for it, go full vintage with a point-and-shoot camera listed for free shipping on vintage gear sites. As we embrace the quirks of lighting, give natural light a nod, or get creative with that antique lamp your uncle brought back from his adventure in Paris. When it's time to cinch in the light, setups like reflectors (and the occasional prop, like an old wooden box from a barn hunt) can steal the scene, adding drama and focus. Settings on your camera? Stick with simplicity if you can; guide your shutter and aperture with a light touch, a bit like riding a bike through rustling autumn leaves – it should feel natural, flowing, just right.
Preparing the Subject
You've chosen your equipment, now let's make your subject shine. Imagine scoring that 70s record player at a yard sale – you're buzzing to list it on Depop, but it's dusty, has a couple of fingerprints, and an old price tag.
Start your preparation with a gentle wipe-down. Use a lint-free cloth to say goodbye to dust and for those shiny surfaces, slip on some cotton gloves to fend off fingerprints. Now, photograph the item from multiple angles to capture its dimensions and avoid distortion. This helps maintain accurate representation. For cloth, like a thirties tea dress, spot clean delicately with item-specific detergents to preserve the integrity of the fabric.
Now, every little baggie, and all the screws are there, right? Verify missing parts are reunited with your find, then secure it with mounting putty to keep it steady during your photo shoot. Documenting the assembly, even if it's as simple as "twist this peg here," enhances your listing's appeal.
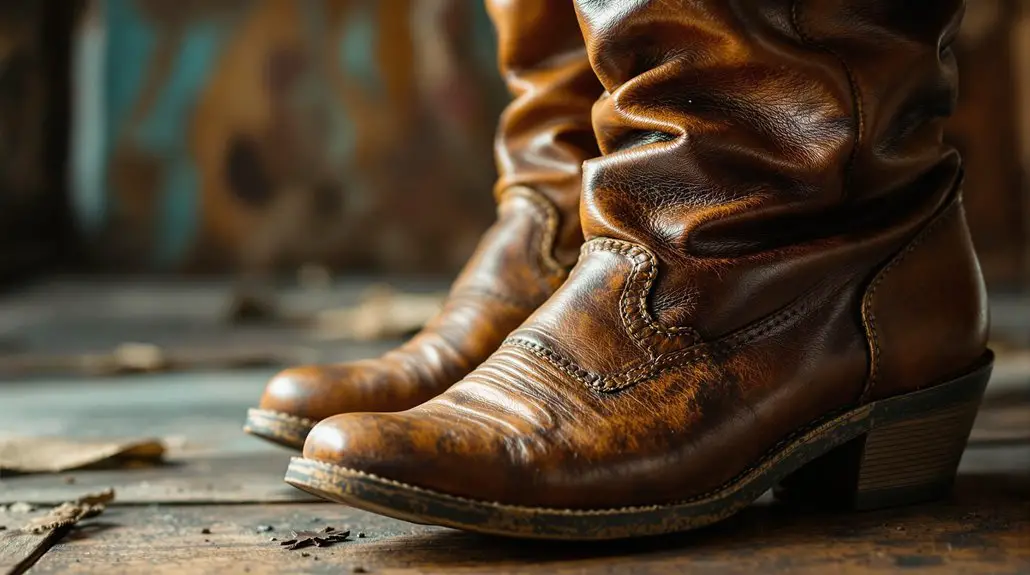
And don't forget to embrace the wear and age of your gem; it's these distinctive marks that give your item its soul, like a well-worn path milled by years of service. Put that character front and center.
Capturing the Shot
Seizing the perfect shot for your vintage treasure on Depop isn't just about snapping a photo—it's about mastering the art of presentation through your lens.
You'll want your photos to spotlight the items, not hide them, so use natural light for its softness and the way it enhances textures. Place your items near a window on an overcast day; it's like nature's own softbox, giving you that perfect, even light without the glare.
Now, when setting the scene, choose props that echo the item's era. Envision this: an old-fashioned teacup nestled among antique silverware, or a retro clock against a simple, uncluttered background.
This backdrop keeps the focus on your item. Use your iPhone's Portrait Mode to add an attractive blur, emphasizing the object in a way that's both cinematic and nostalgic.
And remember, props like dimly lit antique lamps add a warm, historic touch, subtly enhancing the aged essence of your items.
Get ready to click and capture that essence, creating images that invite buyers into a bygone era.
Editing Techniques
With your photos snapped, it's time to refine them in post-processing.
Let's start with removing those pesky backgrounds. Tools like BeFunky's Photo Editor make it a breeze. Just hit Remove Background and you're on your way to a clean look. You'll pick a background color to keep everything in your shop looking cohesive.
And for those hectic shots, plunge into the Cutout Tool to clean up clutter, making certain your vintage piece stands out, not the distractions around it.
Now, let's brighten up those images.
Adjusting exposure isn't just about making things brighter; it's about bringing out the details you fell in love with when you snagged that vintage gem. Use the same tool to make shadows look natural, not harsh. Batch editing keeps the process smooth, with a simple tap of the green button to confirm your artisan touch.
Finally, a splash of color correction guarantees authenticity.
You know that feeling when colors are off, making you second-guess every photo? That's why you adjust color vibrance to be true to life, saving and applying with that reassuring green button.