
Setting up Shopify Payments is as easy as pie, and trust me, you won't want to skip this step. First, verify your business is based in a supported country and meets all the eligibility criteria. Next, hop into your Shopify admin panel, navigate to Settings > Payments, and fill out your banking info—simple, right? Remember to match your details with your official documents so there's no hiccup during verification, which usually takes a couple of business days. Once that's done, you can accept payments from all major credit cards, along with mobile wallets. Stick around, and you might just uncover more handy tips!
Eligibility Criteria
Setting up Shopify Payments requires meeting specific eligibility criteria to secure smooth operation.
First, you need to have your business based in one of the supported countries, like the US, Canada, or Australia—just to name a few. Surprisingly, even some US territories might slip through the cracks, so double-check!
You'll also want to verify you comply with all local laws and regulations, which can feel like reading a novel's worth of fine print. It's also essential to be aware of prohibited categories that may hinder your approval.
Don't forget to activate two-step authentication on your account; think of it as a bouncer at the door—only letting the right guests in.
Of course, you'll need to steer clear of the prohibited categories, such as cannabis or adult products. Imagine trying to sell those while your neighbor's bakery flourishes—disheartening, right?
Additionally, maintain focus on your business type and avoid anything that infringes on intellectual property rights; the last thing you want is a hefty legal bill.
With all these boxes checked, you're on a solid path to setting up and enjoying the benefits of Shopify Payments—like a key opening a treasure chest of opportunities for your business!
Initial Setup Steps
Now that you've checked your eligibility, it's time to tackle those initial setup steps with Shopify Payments.
You'll want to complete the account setup, which means entering your banking information—don't worry, this isn't a scavenger hunt; just have those details handy! Once your banking information is entered, you'll be ready to choose a payment provider that fits your business needs.
With everything in place, you can confidently move forward and start processing payments, leaving those pesky payment headaches behind.
Verify Business Eligibility
Before you can fully utilize Shopify Payments, it's essential to verify your business eligibility to guarantee compliance with regulations and Shopify's policies.
Make sure your business is located in a supported country—like the United States, Canada, or the United Kingdom—because not every corner of the globe is included. Check that your business address matches the selected country; otherwise, it could lead to unnecessary headaches down the line.
Next up, you need to confirm you're operating within the law. This means sticking to local regulations and Shopify's Acceptable Use Policy, so no sketchy practices here—no one wants an unexpected visit from the business cops!
Also, be sure to avoid prohibited products and services; you wouldn't want your store filled with counterfeit sunglasses or any adult-themed merchandise that could raise eyebrows.
Lastly, keep in mind that after a certain number of sales, you'll have to verify your identity and business ownership, which is essential to prevent account disruption. So, gather documents like your government-issued ID and proof of address.
It's all about keeping things above board, confirming you can run your shop without a hitch. Happy selling!
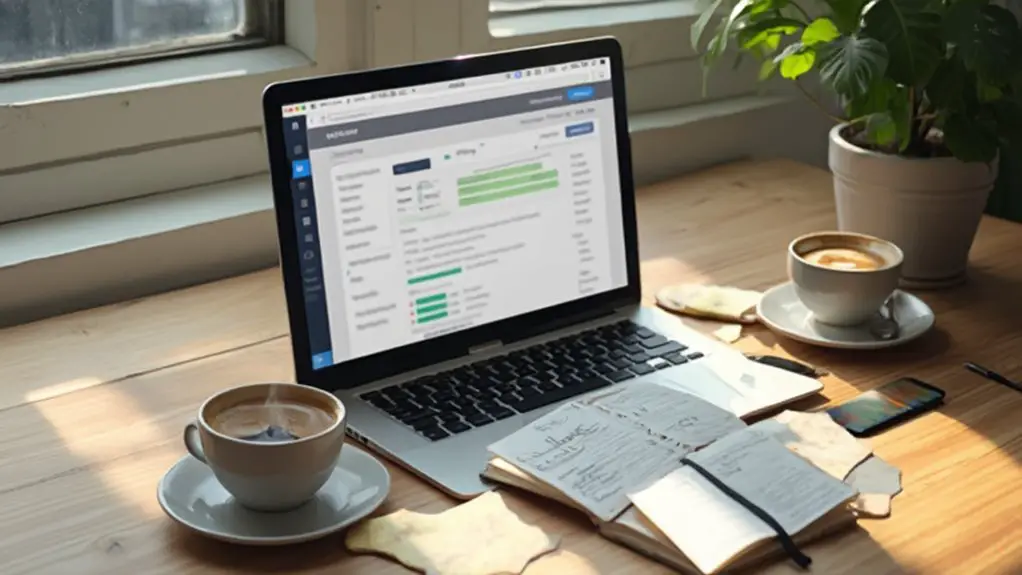
Complete Account Setup
To get your Shopify Payments account up and running, first access the Shopify settings from the admin panel by steering to Settings > Payments.
If you're juggling tasks on your mobile, don't worry—just use the Shopify app to penetrate settings. If you haven't already set up a credit card provider, you'll want to click on Complete account setup in the Shopify Payments section.
On the flip side, if another payment provider is in tow, just hit Activate Shopify Payments to switch gears.
Next, you'll choose your business type—whether it's an Individual, Registered Business, or Non-Profit. Make sure to input your business details accurately; the name, address, and any registration numbers should align perfectly with your official documentation—trust me, it pays off to be meticulous here! Additionally, ensure your chosen payment method complies with local payment regulations to avoid potential issues during the setup process.
You'll also share personal details for an account representative, ideally someone with authority to make decisions. Once you've filled out the form and read the terms, hit Complete account setup.
After that, it's just a waiting game for Shopify to verify things, typically taking a cozy 2-3 business days.
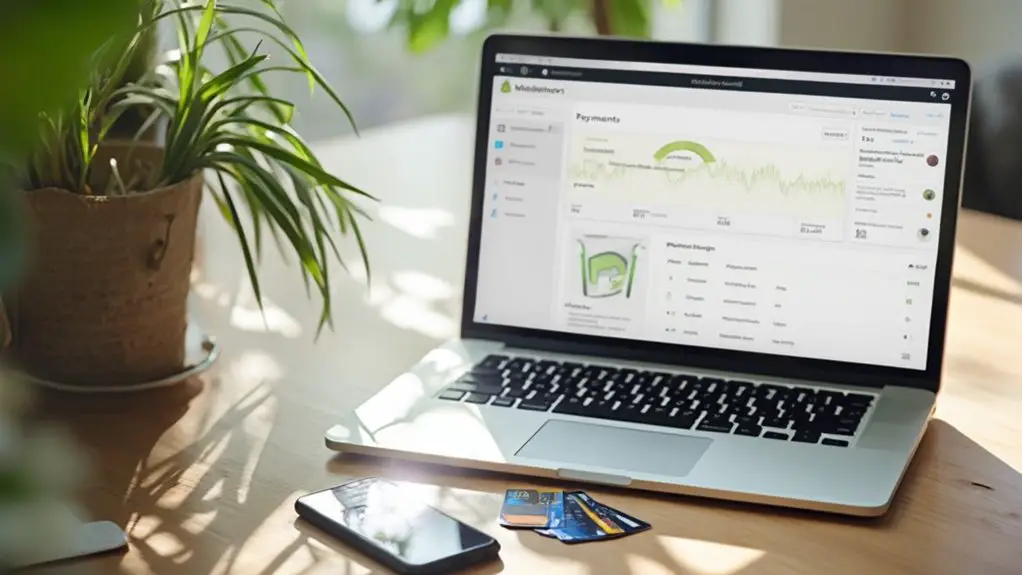
Enter Banking Information
Once you've set up your Shopify Payments account, it's time to provide your banking information to guarantee smooth transactions. Start by heading to your Shopify admin, where you'll navigate to Settings and then Payments. If you haven't activated Shopify Payments yet, click Activate Shopify Payments—because who wants to miss out on easy sales, right?
In the Payout details section, you can add or change your bank account. If you're feeling adventurous, consider connecting via Plaid for a quick setup. Just select your bank from the list, log in, and voilà!
For the traditional route, enter your account and routing numbers along with the owner's name. Decide if your account's private or business—simple enough, isn't it?
But don't relax just yet. If you skipped Plaid, wait for Shopify to make those tiny deposits into your account. When they do, pop those amounts into the Payment methods section to verify everything.
Don't forget to select your verified bank account as your primary payment method; after all, you want the cash to go where you can grab it! Click Complete verification, and you're on your way!
Required Information

Setting up Shopify Payments requires specific information to guarantee a smooth registration process. First, you'll need to choose your business type, whether it's a sole proprietor or corporation, and provide vital details like your Business Number and address that matches your registration documentation.
Don't forget an account representative's details—someone who really knows the ropes, like an owner or senior executive—along with their date of birth and valid ID. They'll be the face of your venture when it comes to compliance.
You can't overlook your banking details either; they're essential for receiving payouts. Verify that everything matches—your business and personal info—so you don't end up in a paperwork whirlpool. Trust me, keeping your documents clear and up-to-date saves you from headaches down the road.
Be prepared, too, as Shopify might request additional paperwork or even a verification review, which can take a few days, just to keep things compliant and secure. Think of it like prepping for a big exam; the more organized you're now, the less stress you'll face later on.
Understanding Transaction Fees
When it comes to understanding transaction fees on Shopify, it's essential to know how much you'll actually be paying, especially as your business starts raking in those sweet sales.
You'll notice different rates for domestic versus international sales—and trust me, those dollars can add up faster than you think, especially if you opt for third-party payment processors.
Fee Structure Overview
Understanding the fee structure is essential for maximizing your profit on Shopify. It might seem a bit intimidating at first, but breaking it down can make things clearer.
Here's a quick overview of how Shopify's fees work:
- Shopify Plan Fees: Depending on your plan, monthly fees range from $29 (Basic) to $299 (Advanced). Keep in mind that choosing an annual payment can save you 10%.
- Transaction Fees Using Shopify Payments: If you're on the Basic plan, you'll face a rate of 2.9% + $0.30 per online transaction. As you upgrade, these fees drop—2.6% for the Shopify plan and 2.4% for Advanced.
- Third-Party Payment Processing Fees: Using a different processor? You'll pay 2% on the Basic plan, which slashes down to 0.5% with the Advanced grip.
- Additional Costs: Think of templates, apps, and shipping—you might run into more fees that add up.
Domestic vs. International Rates
Transaction fees can vary considerably between domestic and international sales, impacting your overall profitability on Shopify.
Imagine you've crafted the perfect item, only to find out that selling it internationally hits your wallet harder than selling it to a neighbor.
For domestic sales, you'll face fees like 2.9% plus $0.30 on the Basic Plan, making it easier to keep your profits intact.
But venture beyond borders, and it's a different story. International transactions can cost you 3.9% plus another $0.30—ouch!
On top of those fees, currency conversion can sneak in an extra 1.5% to 2%. Yes, it might feel like a covert operation against your earnings!
And don't forget; customers can face additional bank fees that you, as the diligent merchant, can't control.
It's essential to factor all these costs into your pricing strategy. By doing so, you can maintain transparency and avoid the awkward surprise at checkout.
Plan-Based Fee Differences
Choosing the right Shopify plan can greatly affect your bottom line, especially concerning transaction fees.
You'll want to be savvy about how much of your hard-earned cash goes to fees rather than your business. Here's a quick breakdown to guide your decision:
- Basic Plan: At $29/month, online fees are 2.9% + $0.30. You'll pay 2% for third-party payments. It's budget-friendly but offers limited features that'll have you dreaming of upgrades.
- Shopify Plan: For $79/month, you get online fees at 2.6% + $0.30 and just 1% for third-party transaction fees. Think of it as the sweet middle ground where you get more for your money without breaking the bank.
- Advanced Plan: At $299/month, online fees drop to a mere 2.4% + $0.30, with a tiny 0.5% for third-party processing. It's like your VIP access to lower fees and advanced features.
- Long-term Savings: Consider paying annually; you save 10% on subscription fees—more money for that dream vacation!
The right plan helps you keep more profits for yourself, and we both know you deserve it!
Supported Payment Methods
Shopify Payments offers a variety of supported payment methods to enhance your customers' shopping experience. You'll be happy to know that you can accept all major credit cards—like Visa, MasterCard, American Express, and find—without any extra hassle.
That means no need for third-party integrations, which keeps everything neat and tidy within the Shopify ecosystem. Plus, if you're on an upgraded subscription plan, you'll enjoy lower credit card transaction fees.
But wait, there's more! Your store can embrace modern shoppers by supporting mobile wallets like Apple Pay and Google Pay, plus even PayPal and Venmo.
With buy now, pay later options through providers like Klarna, you can cater to those wanting a little breathing room in their budget. And don't forget about digital wallets; allow customers to breeze through checkout with Amazon Pay or Shop Pay, saving their info for future visits.
With specialized regional payment options too, you can cater to an international audience while enjoying robust fraud protection.
Post-Setup Customization
Once you've set up your payment methods, it's time to fine-tune their display to enhance the customer experience. Customizing how these options appear can be the secret sauce that transforms your checkout process from a mundane task into a delightful experience.
Here are four steps you can take:
- Hide or Show Payment Methods: Use apps like Qikify or PayMix to conditionally display options based on factors like order value or customer location — imagine hiding cash on delivery for those big ticket items!
- Rename Payment Methods: Make payment terms more relatable. Instead of "cash on delivery," how about calling it "payment upon delivery"? It's all about clarity and matching your brand vibe.
- Reorder Payment Methods: Drag and drop your most popular options to the top. It's like giving your customer a VIP pass to convenient payment!
- Conditional Display: Use PayMix to create tailor-made rules based on customer behaviors or specific scenarios. This can help reduce confusion, maximize satisfaction, and hopefully minimize those pesky chargebacks!
Ongoing Compliance

Maintaining your payment processing setup is just as important as the initial configuration. You may think your work is done, but ongoing compliance can feel like a thrilling rollercoaster ride—if one where you don't want to fly off the track!
To keep your operation smooth, you'll need to validate your PCI compliance annually. Depending on your transaction volume, you may face different requirements. If you're a Level 1 merchant, brace yourself for an annual on-site review, which can set you back $10,000 to $50,000—hopefully, you packed a snack for that ride!
Here's a handy table to track what you need:
| Compliance Aspect | Frequency | Requirement |
|---|---|---|
| PCI Compliance Validation | Annually | Depends on transaction volume |
| Network Scans | Regularly | Helps identify vulnerabilities |
| Security Assessment | Annual | Done by you or a third-party |
Conclusion
Now that you're ready to plunge into Shopify Payments, think of it like finally opening the door to your dream shop—exciting and full of potential! By taking the time to set everything up correctly, you're laying down the path for a thriving business where each transaction is a step toward your goals. So go ahead, embrace the process, and let your entrepreneurial spirit shine. Remember, every great success story starts with a single step, or in this case, a click!