
To tailor your vintage bell-bottom pants, start by gathering essential materials like well-fitting jeans and thicker fabric for inserts. Measure the original hem width and desired length, ensuring a smooth tapering from the knee. Cut the fabric to create clean edges, then pin and sew using contrasting threads for flair. Don't forget to reinforce seams for durability. If you need to extend the length, slice off the hem and add a fabric strip. Finally, press all seams flat for that polished vintage chic look. Stick around, and you'll uncover more tips to make your pants even more fabulous!
Materials You Will Need
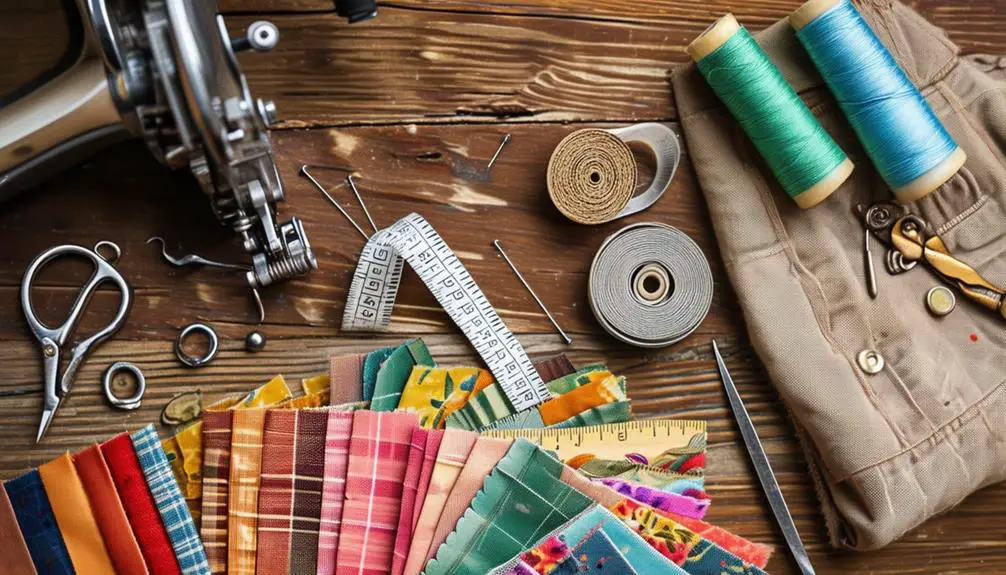
To kick off your vintage bell-bottom creation, you'll need to gather a few essential materials that'll help you transform a basic pair of blue jeans into a stylish statement piece.
Start with a well-fitting pair of blue jeans, ideally with longer legs, as they'll provide the perfect base for your project. Next, acquire thicker fabric—think denim or upholstery—so your bell-bottom inserts maintain structure and durability.
You'll also need navy blue cotton sewing thread for a polished look; consider contrasting thread for any decorative elements you want to add.
Don't forget your essential tools: pins, a ruler, sewing tape measure, and freezer paper. The freezer paper is particularly useful for creating templates and ensuring your seam allowance is just right.
If your jeans are too short to achieve that fabulous bell-bottom length, optional fabric extenders can help you reach the desired style.
With these materials in hand, you're ready to immerse yourself in the exciting world of tailoring your vintage bell-bottoms, making them a standout piece in your wardrobe.
Let's get those creative juices flowing!
Taking Accurate Measurements
Accurate measurements are essential for achieving the perfect vintage bell-bottom look. Start by measuring the original width of the bell bottoms at the hem, which should be wider than what you'd expect for skinny jeans—aim for a width between 5-7 inches. Understanding the historical context of brands can enhance your tailoring process, especially when dealing with unique designs from the vintage clothing trends by era.
Next, measure the length from the waist to your desired hemline, ensuring that it elegantly covers your feet for that classic vibe.
Don't forget to check the knee area width; this detail is key to ensuring a smooth taper as you shift from the bell shape to the leg. Use a measuring tape to keep everything consistent on both legs, making sure there are no discrepancies in the final fit. This step is vital for a polished look that screams vintage chic.
Once you've taken your measurements, try on the pants to assess the fit. This try-on session allows you to double-check your numbers, making sure they're accurate and comfortable.
If you notice any areas that need tweaking, jot down those adjustments before moving on to cutting. Precise measurements will set the stage for stunningly tailored bell-bottoms!
Cutting the Fabric Properly
Cutting the fabric properly is vital for transforming your vintage bell-bottoms into a stylish, tailored piece. Start by measuring the original width of the hem; you'll want to determine your desired width for a skinny fit, which typically ranges from 5 to 7 inches.
Once you've got your target width, use fabric chalk or a pen to mark the new hemline clearly. This guideline will guarantee you cut accurately.
Next, create a clean edge by making a square cut at the bottom, slicing at a 90-degree angle from the marked line. This helps maintain precision and prevents any unwanted fraying. As you carefully remove the excess fabric, double-check for evenness on both legs. You want to achieve that sleek, streamlined look, so take your time!
After cutting, fold the fabric to create a hem, pinning it in place to keep everything aligned. This step is essential for achieving a straight silhouette and a professional finish.
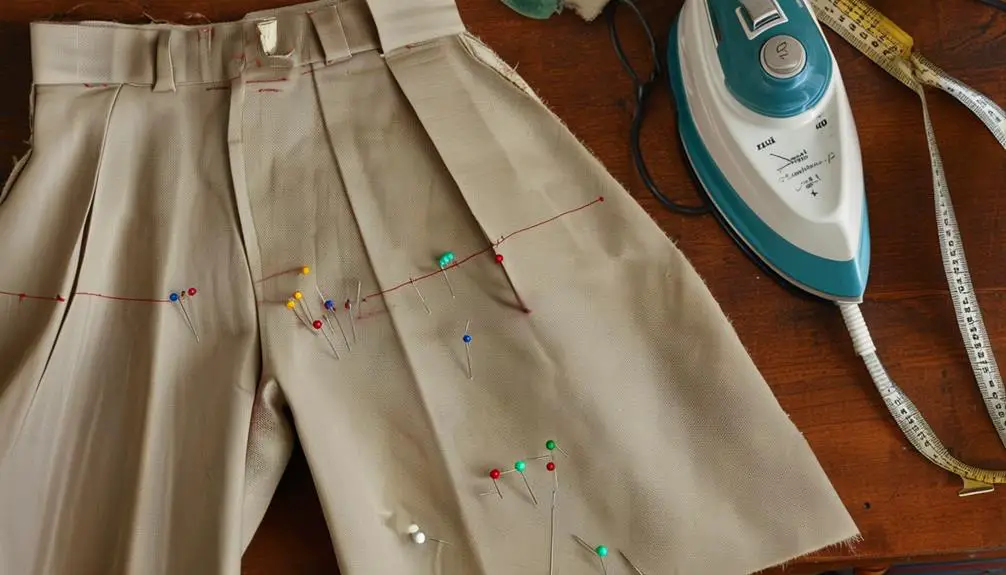
Sewing Techniques for Alteration
Sewing techniques can make all the difference in achieving that perfect tailored look for your vintage bell-bottom pants. Start by creating a clean alteration with a top stitch on one side while leaving the opposite side without it. This adds a polished finish that elevates your craftsmanship.
When you're tackling those seams, reinforce them to prevent fraying, especially if you're working with thicker fabrics like denim.
Next, when you create a hem, fold the fabric and pin it in place to guarantee a straight and even seam before you start sewing. This step is vital for achieving that chic, retro vibe.
As you taper the pants, maintain a consistent width at the knee area to guarantee comfort and avoid constriction—no one wants to sacrifice style for fit!
Extending the Pant Length
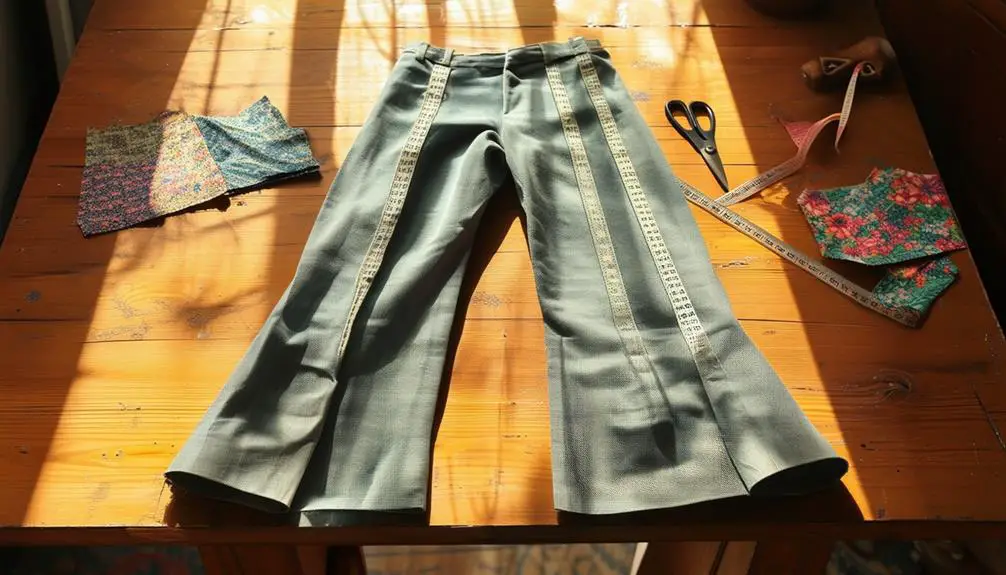
When it comes to vintage bell-bottom pants, the right length can make all the difference in achieving that effortlessly stylish look. If your bell-bottoms are too short, you might miss out on that authentic vibe. Start by slicing off the original hem and prepare to extend the pant length. Choose a fabric that complements your pants and cut a strip to attach at the bottom.
Here's a quick guide to help you through the process:
| Step | Description |
|---|---|
| Assess Length | Confirm the hem covers your feet for an authentic look. |
| Cut and Attach Extender | Slice off the original hem and sew the fabric strip using a 1/2 inch seam allowance. |
| Turn Up New Hem | Fold up the new hem by 3/8 inch and press it for a clean finish. |
| Final Fit Check | Try them on to confirm they maintain their style and flare. |
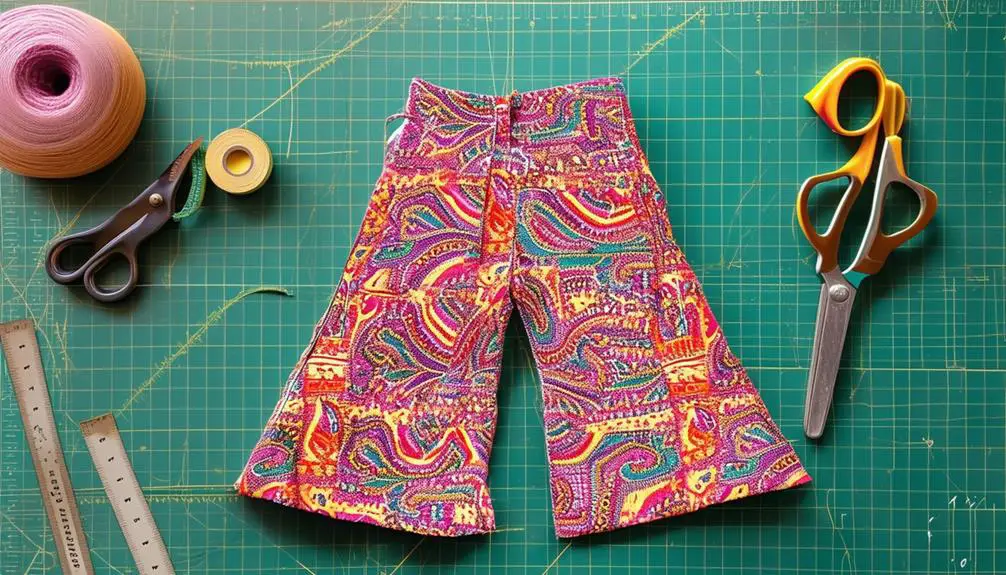
Adding Decorative Finishes
Elevating your vintage bell-bottoms with decorative finishes can transform them from ordinary to extraordinary. One way to do this is by using contrasting thread that adds visual interest around the flares and any fabric extenders. Before committing, test out various decorative stitches on a scrap piece of the same fabric; this helps guarantee that your design complements the thick denim without puckering.
A Decorative Stitch Swatcher is a fantastic tool for exploring multiple stitch options, allowing you to visualize how different designs will look on your bell-bottoms. As you experiment, remember to adjust the length and width of your decorative stitches to match the fabric thickness. If the stitches are too tight or too wide, you could end up with uneven results on the denim.
Take extra care with decorative stitching to avoid messy edges. Each stitch should be consistent and neatly aligned for that polished, professional finish.
With a little creativity and attention to detail, your bell-bottoms won't only fit perfectly but also showcase your unique style through thoughtful decorative finishes.
Final Adjustments and Pressing
Once you've completed your alterations, the next essential step is to verify everything looks crisp and polished. This is where your final adjustments and pressing come into play.
You'll want to verify that your vintage bell-bottom pants not only fit well but also exude a professional finish. Vintage clothing often showcases unique design elements, so it's important to appreciate the craftsmanship that defines these pieces, such as the distinct quality fabric and craftsmanship indicative of their era.
Start by inspecting the fit around the hips and knees. You should feel comfortable and look flattering.
Then, take your measuring tape to check that the hemline is uniform across both legs, making any necessary tweaks for symmetry.
Next, test the movement of your pants. Walk around, sit down, and verify your tailored fit allows for ease without restriction.
Finally, press all seams flat with a suitable heat setting on your iron, achieving that polished appearance.
Here are a few tips for final adjustments and pressing:
- Inspect for comfort and flattering silhouette.
- Measure the hemline for uniformity.
- Test movement for ease of wear.
- Press seams flat for a professional finish.
With these steps, your vintage bell-bottoms won't only look fabulous but feel amazing too!
Frequently Asked Questions
Can I Hem Bell Bottoms?
Yes, you can hem bell bottoms! Just slice off the existing hem and add a fabric extender. Make sure to angle the fabric for that signature flare, ensuring you maintain their stylish, retro vibe.
How to Cut and Fray Bell Bottom Jeans?
To cut and fray bell-bottom jeans, mark your desired hemline, cut cleanly at a 90-degree angle, and gently pull threads for a distressed look. Keep the flare intact for that perfect vintage vibe!
How to Fix Flare Pants That Are Too Long?
If your flare pants are too long, measure the desired length, mark it, and cut evenly. Hem the fabric securely, pinning it in place, then press the seams for a polished, stylish look you'll love.
How to Make Flare Jeans Less Flared?
To make your flare jeans less flared, measure the hem width, mark a new line, and cut evenly. Fold the hem, pin it, and top stitch for a sleek, modern look that enhances your style.


Thank you for your sharing. I am worried that I lack creative ideas. It is your article that makes me full of hope. Thank you. But, I have a question, can you help me?
Your article helped me a lot, is there any more related content? Thanks!