To tailor a vintage boho dress, start by sourcing unique fabrics from thrift stores and enhancing them with lace and trims for that chic touch. Measure your desired neckline and armhole shapes, cutting fabric while allowing for seam allowances. Focus on flared sleeves and pleated tiers to create beautiful volume. Secure all edges with zigzag stitches to avoid fraying. Add decorative elements like embroidery or scalloped edges for a personal flair. Finally, assess the fit for comfort and style, ensuring the dress flows beautifully. Explore further techniques and tips to make your creation even more stunning.
Project Overview and Materials
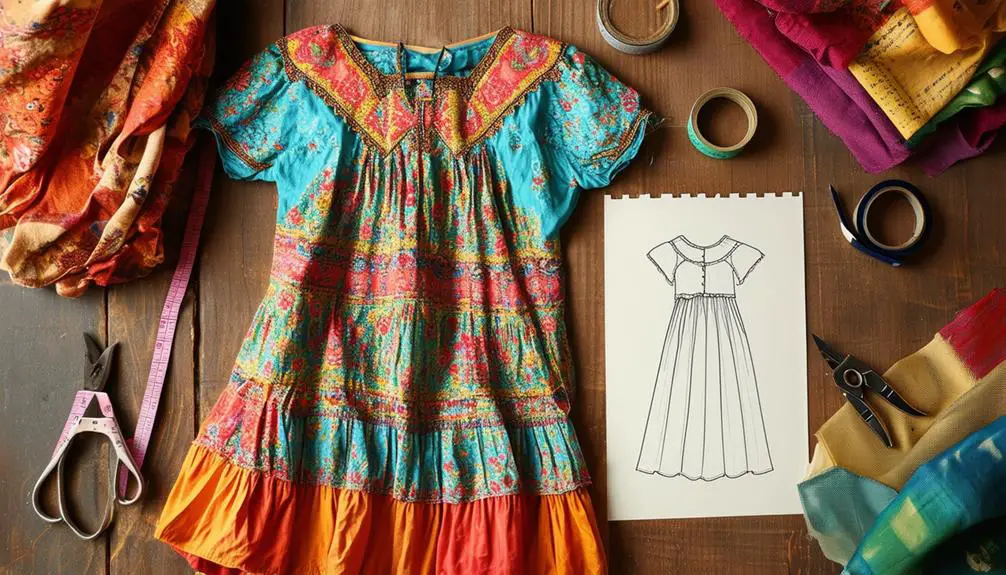
Transforming a simple white nightgown into a stunning vintage boho maxi dress is an exciting project that lets you express your creativity while embracing sustainable fashion.
You'll start by sourcing materials from your local thrift store, where you can find bed sheets priced around $3.99 each. These sheets provide substantial fabric yardage, giving you plenty to work with as you create your unique dress.
Next, enhance your design with lace and trims sourced from eBay. Look for assorted lots that can add decorative elements and extra volume to your maxi dress. To guarantee a cohesive look, use sandstone dye to match your thread color with the fabric hue, creating a seamless blend throughout your project.
Repurposing pillowcases for sleeve construction is a fun twist, especially when they feature decorative scalloped edges. This adds an elegant touch that elevates your overall design.
Remember to account for seam allowance as you cut and sew, guaranteeing that your dress fits perfectly. By upcycling pre-owned items, you not only create something beautiful but also champion sustainability in fashion, making your boho dress a true statement piece.
Cutting the Fabric
Cutting the fabric is an essential step in creating your vintage boho dress, and getting it right can make all the difference in achieving a polished look. Start by measuring the desired neckline and armhole shapes carefully, ensuring a symmetrical design for a flattering fit.
When cutting the fabric, make your initial cuts approximately eight inches from the armpit, keeping the opening circumference at 46 inches to maintain the right proportions.
Here's how to approach the cutting process:
- Pleated Tiers: Cut a 10-inch wide strip from a thrifted bed sheet, applying a quarter-inch seam allowance for volume.
- Flared Sleeves: Measure 18 inches from the scalloped trim of pillowcases to create the perfect flared sleeves. Use hand basting to gather the fabric around the armholes for an ideal fit.
- Finishing Edges: Always secure raw edges with a zigzag stitch to prevent fraying, especially when you're going to use delicate fabrics like lace.
Shaping the Neckline
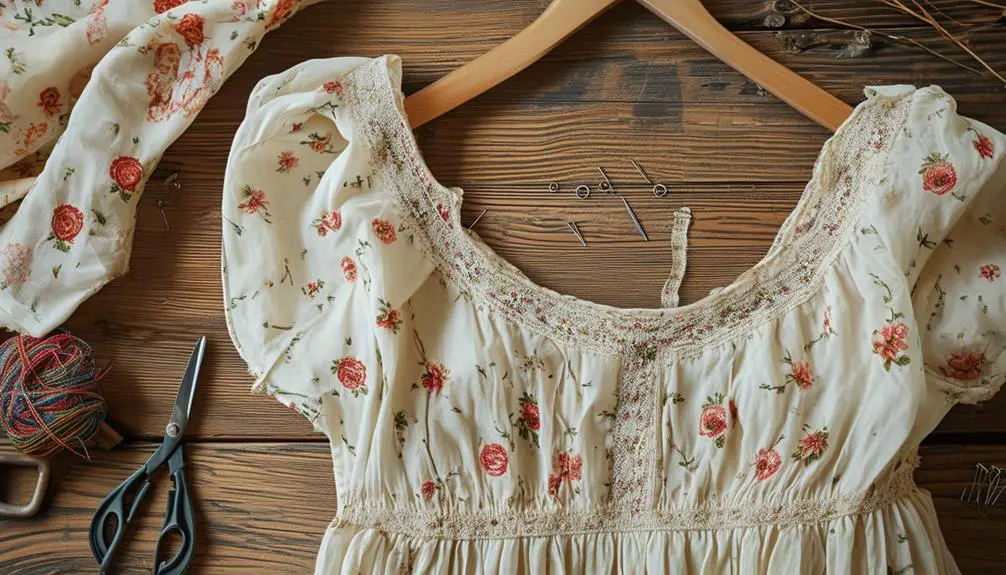
Shaping the neckline is an essential step in defining the overall aesthetic of your vintage boho dress. Begin by carefully measuring your desired neckline shape on the white nightgown. Mark guidelines to guarantee symmetry and a flattering fit before cutting. This initial step is significant for achieving that effortlessly chic look.
Next, use a folding technique to create an even and smooth neckline cut. This method allows for easy adjustments, making sure you maintain the desired aesthetic throughout the process. After cutting, it's time to secure the neckline. Incorporate a zigzag stitch along the raw edges to prevent fraying and enhance durability. This small detail not only protects your work but adds a subtle texture.
Consider adding lace or decorative trims around the neckline for added visual interest. Ensure these embellishments are securely attached with zigzag stitching for a polished finish.
Sleeve Construction Techniques
Creating the perfect sleeves can elevate your vintage boho dress into a true work of art. With a few thoughtful sleeve construction techniques, you can achieve a stunning look that captures the essence of bohemian style.
Let's go through the essential steps to craft flared sleeves:
- Repurpose Pillowcases: Cut 18 inches from the scalloped trim for an elegant droop that adds a romantic flair.
- Gathering Technique: Use hand basting to gather fabric at the armholes, ensuring that pleats are evenly distributed for a balanced fit.
- Secure Edges: Finish the edges of your sleeves with a zigzag stitch to prevent fraying, especially if you're adding decorative lace elements.
When cutting the sleeves, aim for a comfortable fit around the upper arm while maintaining the desired volume.
To enhance the vintage aesthetic, consider incorporating decorative details like scalloped edges or lace trims. These elements will seamlessly tie the sleeves into the overall dress design, making your vintage boho dress a unique masterpiece that stands out.
With these sleeve construction techniques, you're well on your way to creating a stunning piece!
Constructing Pleated Tiers
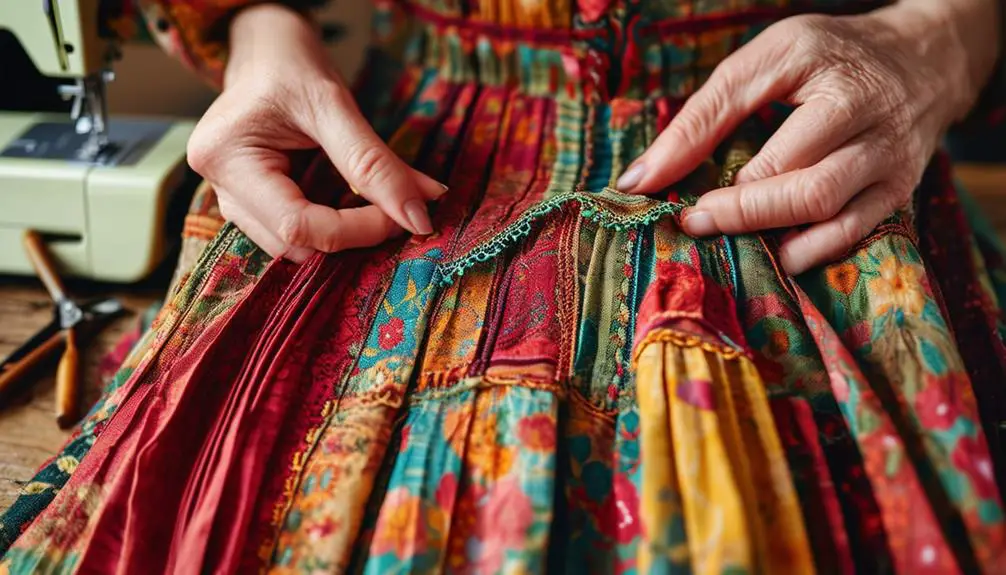
After perfecting the sleeves, the next step is to add beautiful pleated tiers that will enhance the overall silhouette of your vintage boho dress. Start by measuring and cutting fabric strips approximately 10 inches wide, ensuring you allow for a quarter-inch seam allowance when joining the pieces. This preparation is vital for achieving a polished finish.
Remember that vintage clothing often features unique construction techniques, which can be reflected in the way you create these tiers, adding to the garment's authenticity and charm. For more detailed guidance on vintage styles, refer to identifying vintage characteristics.
Now, employ a pleating technique as you sew to gather those strips, distributing the pleats evenly for a balanced and voluminous effect. If you want to create extra flair, consider pinch pleating to achieve that ruffled look, adding character to your design.
For the final tier, measure from the floor to your desired dress length—typically 9 inches—and cut the fabric accordingly. Don't forget to add an extra seam allowance to get the perfect finish.
Once your tiers are in place, select a decorative lace trim, measuring around 56 inches, to attach to the seams. This won't only embellish your dress but also finish the raw edges of the tiers, enhancing that lovely vintage aesthetic you're aiming for.
The Dyeing Process
When you're ready to breathe new life into your vintage boho dress, the dyeing process is a fantastic way to achieve that perfectly worn-in look.
Consider the rich history of vintage fashion, such as styles from Betty Barclay, which showcases timeless designs and quality craftsmanship.
Start by gathering your materials and prepare for a creative journey. Here's what you'll need:
- Rit Dye More Sandstone for that stunning vintage hue.
- A large pot of water to simmer your fabric.
- A wooden spoon to keep things stirring smoothly.
First, bring your pot of water to a gentle simmer. To guarantee an even color, add lighter pieces, like slips, before your main garment.
Stir continuously as you introduce the dress, allowing the dye to absorb uniformly. Keep the movement consistent; this is crucial for a rich, cohesive shade.
After dyeing, rinse the fabric thoroughly until the water runs clear—this prevents future color bleeding.
Don't forget to account for seam allowances and potential fabric shrinkage! Measure your pieces accurately before starting.
For added flair, consider incorporating dyed lace pieces into your design, making sure they match your main fabric.
With a sewing machine, you can finish those seams in a straight line, giving your dress that polished, stylish look.
Finalizing the Dress
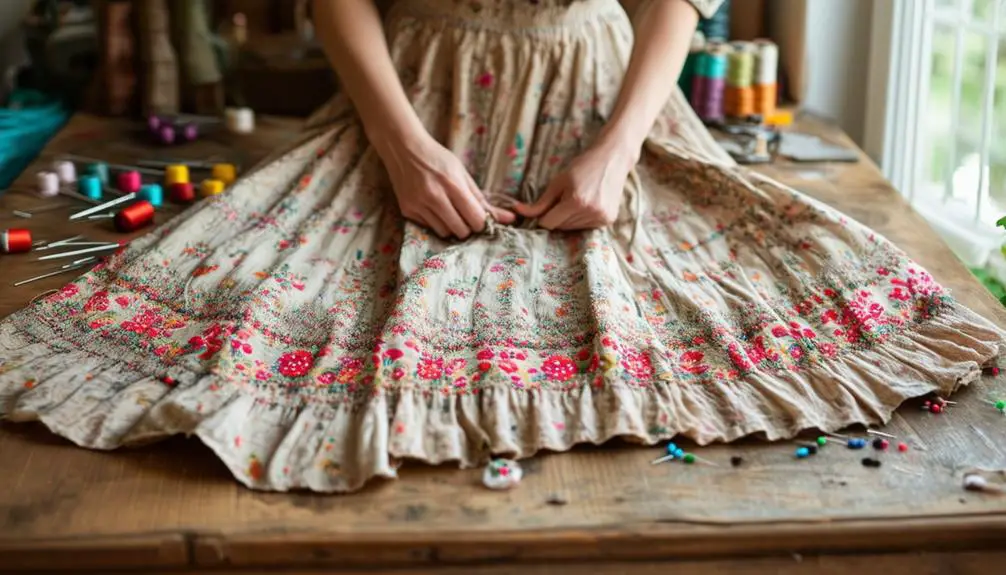
Final touches can transform your vintage boho dress into a stunning statement piece. Start by sewing additional lace trims around the neckline, securing them with zigzag stitching. This technique not only prevents the edges from rolling or bunching but also enhances the dress's overall charm.
Be certain to finish any raw edges with lace to conceal fraying, offering a polished look that complements the vintage aesthetic.
Once you've added the lace, assess the dress fit post-dyeing. This is a significant time for final adjustments; check for comfort and style to confirm you feel great wearing it. If anything feels off, don't hesitate to make those tweaks. Your goal is a seamless silhouette that accentuates your figure.
Lastly, for an elevated presentation, consider applying self-tanner before your final reveal. A warm glow can enhance the colors and textures of your dress, making it truly pop.
Take these steps seriously, and you'll have a boho dress that not only fits beautifully but also showcases your unique style. Enjoy the process, and let your personality shine through!
Adding Decorative Elements
Adding decorative elements to your vintage boho dress can truly elevate its charm and individuality. You want to make sure your dress reflects your unique style, and these embellishments will help you achieve that:
- Lace Trims: Incorporate delicate lace trims around the neckline. Cut them to fit and secure with a zigzag stitch. This will prevent rolling while enhancing the vintage aesthetic.
- Doily Remnants: Use dyed fabric scraps or doily remnants sewn into ruffles for added texture. This detail will bring warmth and depth to your design, making it one-of-a-kind.
- Embellishments: Consider adding embroidery or fabric paint in a butterfly design. This creates focal points that resonate with the boho theme, making your dress feel personal and vibrant.
You might even think about layering additional lace or fabric at the hemline for a tiered effect, ensuring a consistent length.
Don't forget to use hand-sewn details, like scalloped edges from repurposed pillowcases on the sleeves, to infuse charm and uniqueness.
With these decorative elements, you're going to transform your vintage boho dress into a stunning piece that stands out.
Assessing Fit and Comfort
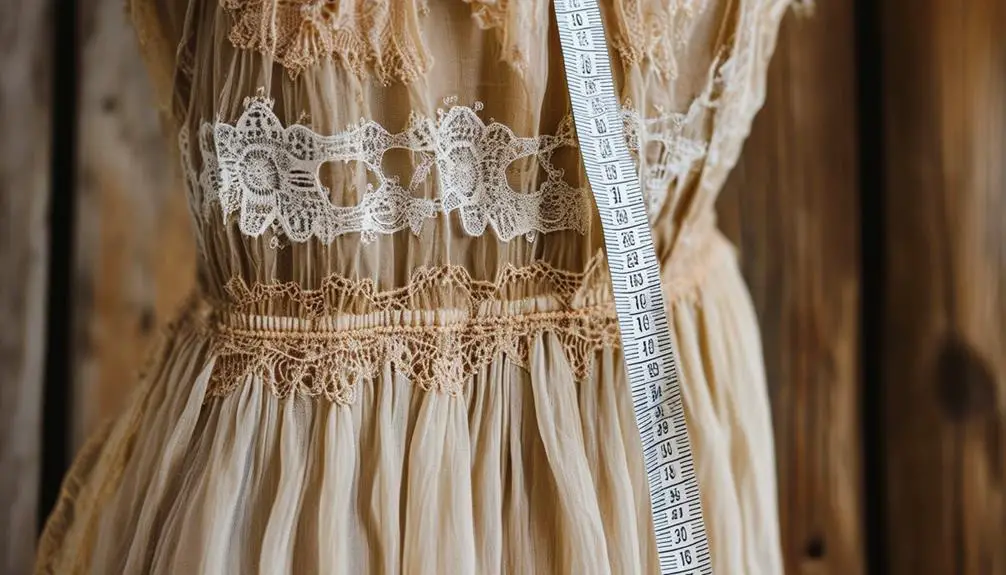
To guarantee your vintage boho dress fits like a dream, slip it on and take a moment to assess its comfort. Start by checking how it feels around your shoulders, bust, and waist. You want enough ease for movement without it being overly loose. If you notice a couple inches of extra fabric at the waist, consider taking it in for a more tailored look.
Next, measure the dress length to verify it falls just right. Aim for the desired floor length, allowing at least an inch for adjustments. Raise your arms to check the armhole fit—there shouldn't be any tightness or pulling. If you feel restricted, don't hesitate to make adjustments for greater comfort.
Also, pay attention to the sleeves. They should allow for easy movement, and flared sleeves can add an elegant touch to your overall style.
Showcasing Your Creation
Your vintage boho dress deserves a stunning showcase that highlights its unique features and craftsmanship. Thank you so much for putting in the effort to tailor it beautifully! To truly bring out its charm, consider these ideas:
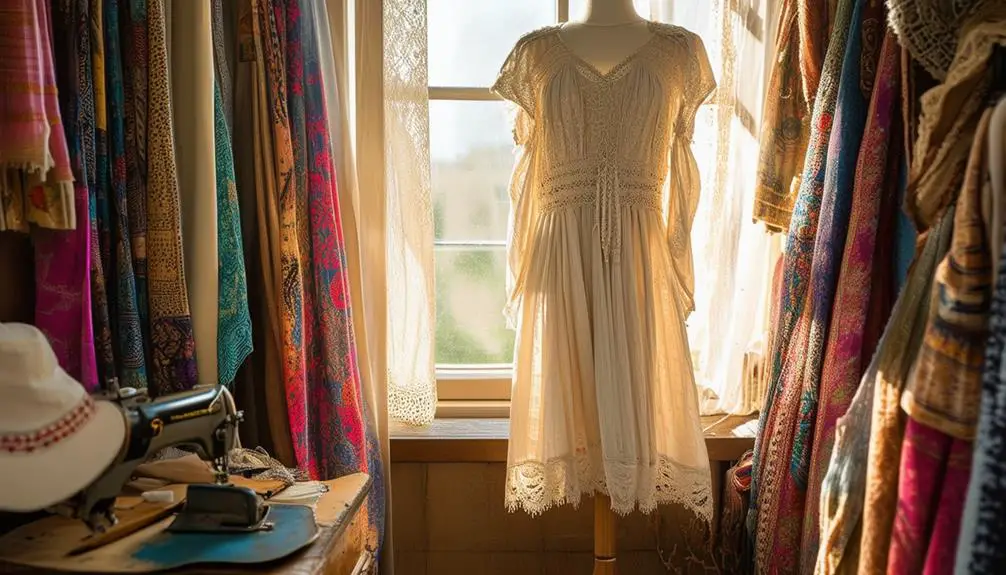
1. Natural Lighting: Set the scene outdoors, where the sunlight enhances the earthy tones of the sandstone dye, making the intricate lace trims and scalloped sleeve edges pop.
Additionally, understanding the historical context of vintage labels can add depth to your presentation, connecting your creation to its rich past.
2. Complementary Props: Incorporate floral crowns or vintage jewelry to create an inviting atmosphere.
These accessories will resonate with the bohemian vibe of your dress.
3. Close-Up Shots: Capture the exquisite details, like the doily remnants in the ruffle and the butterfly design.
These close-ups emphasize the unique decorative elements and craftsmanship you've poured into your creation.
I'm going to show how modeling the dress in a rustic garden or field can further emphasize its free-spirited essence.
Frequently Asked Questions
How to Fix a Dress That Is Too Big Without Sewing?
To fix a dress that's too big without sewing, use safety pins to gather excess fabric, apply fashion tape for secure adjustments, or add a stylish belt to create a flattering silhouette and enhance your look.
How to Tighten a Dress at the Waist?
To tighten your dress at the waist, measure your waist, unpick side seams, and pin for a snug fit. Sew along the new line, finish edges to prevent fraying, and adjust any darts for a sleek silhouette.
How to Ruche a Dress Without Sewing?
To ruche a dress without sewing, gather the fabric, using safety pins or fabric glue to secure it. You can also try elastic thread or hair ties for adjustable, stylish gathers that enhance your look effortlessly.
How to Dress More Boho?
To dress more boho, layer flowy maxi dresses with kimonos, add vintage accessories, choose earthy tones, and opt for comfortable footwear. Experiment with textured fabrics to create a relaxed yet stylish bohemian vibe that feels uniquely you.

Your point of view caught my eye and was very interesting. Thanks. I have a question for you.