To tailor a vintage bomber vest, first assess the fit by measuring your shoulders, chest, waist, and armholes. Mark any areas needing adjustment with tailor's chalk, ensuring symmetry. If the lining is too bulky, carefully remove it using a seam ripper. Make precise alterations by pinning fabric layers and checking alignment, paying attention to side seams. Once adjustments are made, use matching thread to close openings invisibly. Finally, press seams with a steam iron for a polished finish. Want to make sure your bomber vest really stands out? There's plenty more to explore in perfecting your tailoring skills!
Assessing the Fit
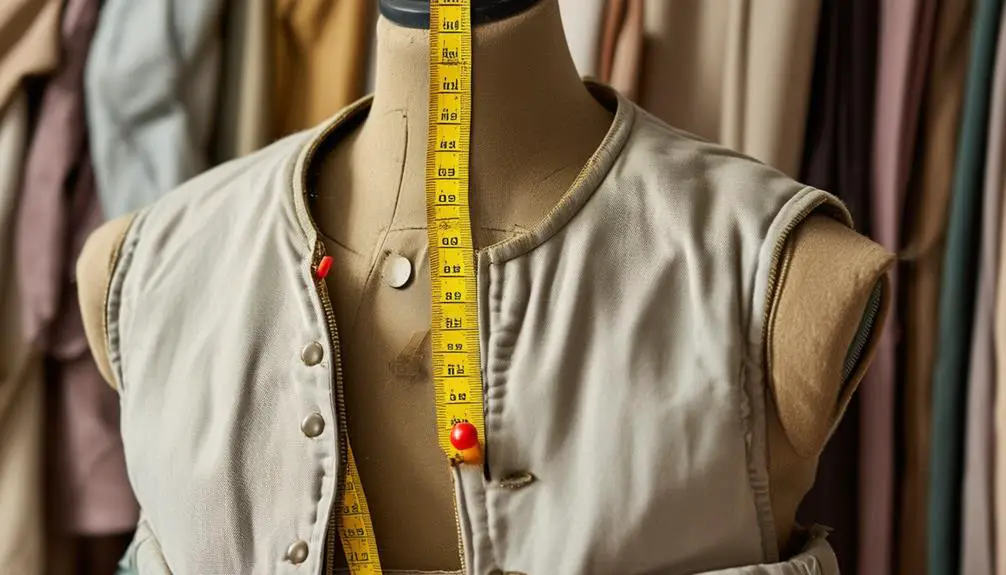
When you put on your vintage bomber vest, take a moment to really assess how it fits across key areas like your shoulders, chest, waist, and armholes. Look for any tightness or looseness that might indicate where adjustments are needed.
Understanding the historical context of vintage clothing labels can also aid in recognizing how different styles and fits were designed to complement various body shapes. Use a measuring tape to compare your body measurements with the vest's dimensions. This will help you identify discrepancies that could affect the overall fit.
Pay special attention to the length of the vest; it should fall at a flattering point on your torso. Vintage pieces often have different proportions than modern styles, so make sure it complements your silhouette.
Check the side seams; if the vest feels baggy or too fitted, you might need to take it in or let it out.
Mark any areas that need alteration with tailor's chalk or fabric pens. Clearly indicating where to adjust will help maintain the vest's original design while enhancing its fit.
Marking Adjustments
Marking adjustments on your vintage bomber vest is an essential step in achieving a perfect fit, enhancing both comfort and style. Understanding the importance of vintage label identification can also guide your alterations, as knowing the garment's heritage may influence how you approach the fit.
Start by carefully measuring where you'd like to make changes, guaranteeing you account for seam allowance. Use tailor's chalk for fabrics like brocade, as it's easily visible and removable after sewing. When you're ready to mark, remember to work on the wrong side of the fabric to avoid visible marks on the finished piece.
Here are some tips for marking adjustments:
- Measure twice to guarantee accuracy.
- Use a heat pen for delicate fabrics like silk lining.
- Focus on maintaining symmetry, especially around armholes and zippers.
- Test fit the vest after marking adjustments to confirm placement.
- Always retain the original vest design during alterations.
Removing the Lining
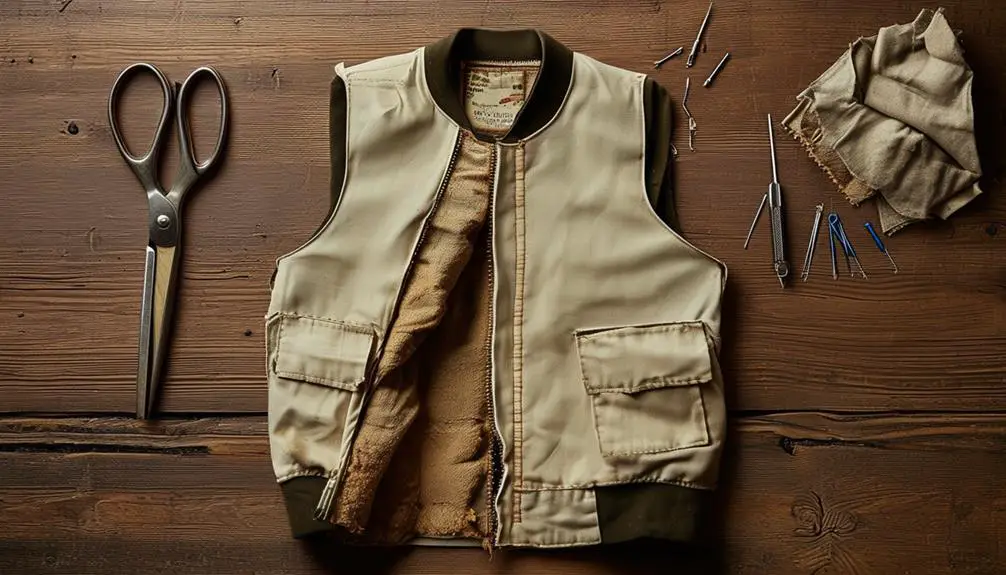
Carefully unpicking the lining of your vintage bomber vest is an essential step in achieving a fresh, updated look. To start, grab a seam ripper for precision. This tool helps you remove the lining without risking accidental tears in the vest's outer fabric. Focus on the stitching at the armholes and hem, gently sliding the seam ripper under the threads to detach them.
As you work, keep an eye out for any tacking or additional stitching that may secure the lining in place. These details can be tricky but removing them carefully will guarantee you fully detach the lining without compromising the vest's structure. If this is your first time, take your time; precision is key.
Once the lining is removed, take a moment to assess the outer fabric. Look for any necessary repairs or adjustments before proceeding with alterations or re-lining.
Making Precise Alterations
Achieving the perfect fit for your vintage bomber vest requires careful attention to detail and a few essential tools in your sewing kit. Start by accurately measuring the vest's current fit, paying close attention to areas like chest circumference, waist size, and shoulder width. This will help you determine where alterations are needed for an ideal fit.
Here's a quick checklist of items you'll need:
- Tailor's chalk for marking adjustments
- Measuring tape for precise measurements
- Pins to secure fabric layers
- Sewing machine for efficient stitching
- Scissors for trimming excess fabric
When you mark areas for adjustment with tailor's chalk, make sure you maintain the original design lines of the bomber vest. As you adjust the side seams, remember that the unique structure of the vest may require different techniques compared to standard garments.
Employ a gentle approach, starting from the bottom and working towards the armholes. Pinning fabric layers will guarantee precision in alignment.
After making adjustments, conduct a final inspection to confirm that all seams are aligned and the fit is even. If necessary, make additional tweaks for a polished finish, ensuring that both sides are balanced.
Ensuring Symmetry and Alignment
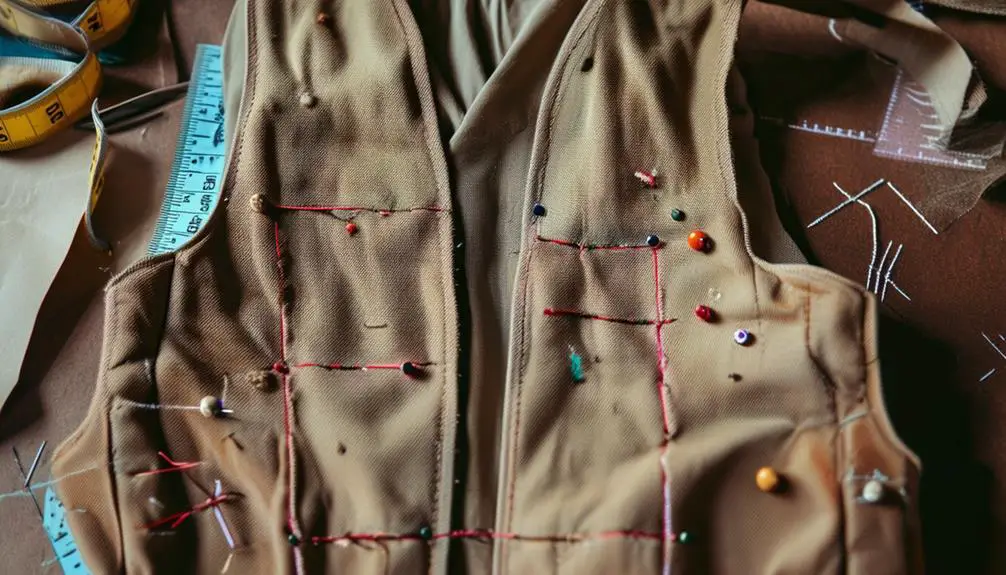
After making those precise alterations, it's time to focus on symmetry and alignment to enhance the overall look of your vintage bomber vest. Confirming that designs are centered and symmetrical is vital, especially around the zipper and armholes.
Grab your measuring tape and verify that both sides of the vest are equal in length and width. If you notice any discrepancies, adjust the seams as necessary to achieve balanced proportions.
Before cutting or sewing, use tailor's chalk to mark any adjustments. This will help you visualize the desired symmetry and alignment throughout the vest.
During assembly, regularly check the alignment of motifs and seams, particularly at pivotal points like the shoulders and sides. These checks are essential for maintaining a cohesive design.
Once you've made your adjustments, press the vest carefully. Pay special attention to corners and edges to achieve a crisp finish that highlights the vest's symmetry.
Closing Openings Professionally
Closing openings on your vintage bomber vest is an essential step that can elevate its overall appearance and durability. To achieve a professional finish, you'll want to use matching thread for a discreet look that blends seamlessly with the fabric.
The ladder stitch technique is perfect for closing lining holes, as it creates an invisible seam that maintains the vest's aesthetic integrity.
Here are some tips for closing openings effectively:
- Use matching thread to guarantee a cohesive look.
- Employ a ladder stitch technique for invisible seams.
- Secure all threads after closing to prevent unraveling.
- Maintain original seam allowances to preserve structure and fit.
- Use pins to guide the sewing process for precise alignment.
Final Touches and Care
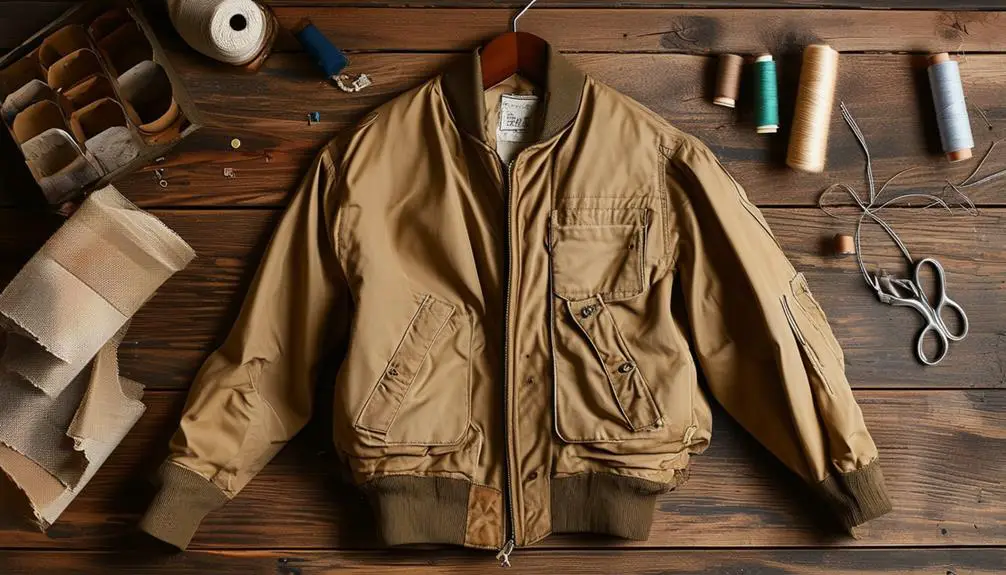
Polished seams and neat edges can make all the difference in the final appearance of your tailored vintage bomber vest. After you've completed the tailoring, take the time to press all seams and edges carefully. Use a steam iron on a low setting, paying special attention to the collar and armholes, ensuring that you don't damage delicate fabrics like brocade or silk lining.
Don't forget about those pesky loose threads! Trim them and tie knots where necessary to prevent unraveling, which enhances the durability of your vest. These final touches not only elevate the look but also enhance longevity.
When it comes to care, consider dry cleaning your vest to maintain its fabric integrity, particularly for intricate details and linings.
Store your bomber vest hanging in a breathable garment bag; this will prevent creasing and damage. Additionally, be mindful of sunlight exposure—keeping it out of direct light helps preserve the color and quality of the fabric.
Frequently Asked Questions
Can a Bomber Jacket Be Altered?
Yes, you can alter a bomber jacket! Adjust the fit by taking in the waist or shortening sleeves. Collaborating with a tailor guarantees unique modifications that enhance your style while preserving its iconic silhouette.
Can You Tailor a Nylon Bomber Jacket?
Yes, you can tailor a nylon bomber jacket! Just remember to use sharp pins and all-purpose thread for clean seams. Consider consulting a professional tailor to guarantee precise adjustments while maintaining the jacket's original style.
Can You Get a Vest Tailored?
Yes, you can get a vest tailored! Skilled tailors can adjust side seams and waistlines, ensuring a perfect fit while maintaining the garment's original style. It's a great way to enhance your wardrobe.
Can You Shorten the Sleeves of a Bomber Jacket?
Yes, you can shorten the sleeves of a bomber jacket. Just carefully unpick the cuffs, measure your desired length, and reattach them neatly to achieve a tailored look that enhances your jacket's style and fit.


Your point of view caught my eye and was very interesting. Thanks. I have a question for you.