To tailor a vintage button-down shirt, start by evaluating the fit at the shoulders, chest, and sleeves. Gather essential tools like a sewing machine, fabric scissors, and measuring tape. Turn the shirt inside out for easier pinning and mark areas needing adjustment. Carefully pinch excess fabric along the side seams and sleeves, aiming for a comfortable silhouette. Pin and sew along marked lines, ensuring evenness and mobility. After sewing, inspect for any final adjustments and press seams with a low-heat iron for a polished finish. If you're intrigued by more detailed techniques, there's plenty more to explore!
Assessing the Shirt Fit
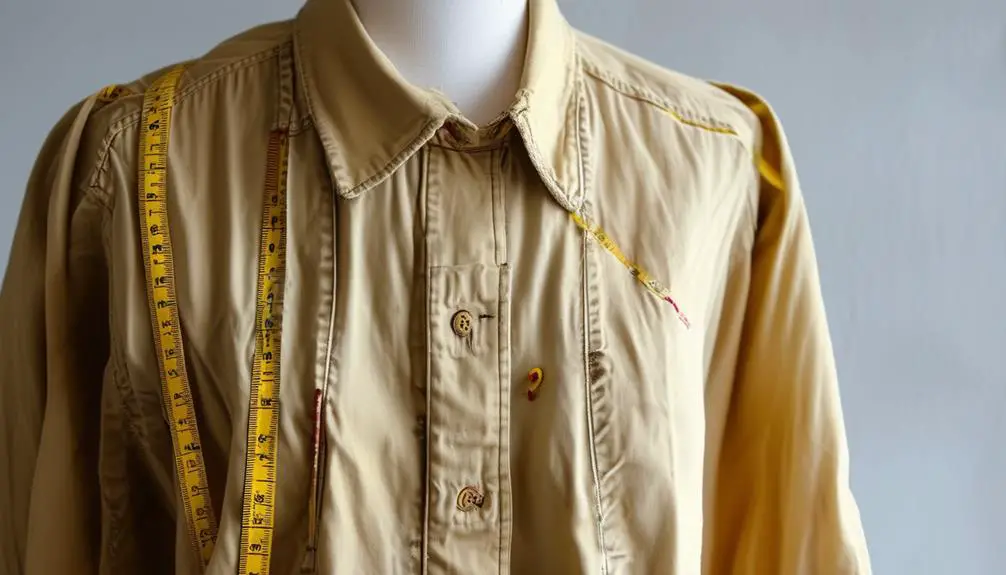
When you first slip on a vintage button-down shirt, evaluating the fit is essential for achieving that polished look. Start by checking the shoulders; they should align perfectly with your natural shoulder seam. This alignment sets the foundation for a well-fitted appearance.
It's also helpful to reflect on the era of the shirt, as vintage styles from brands like Betty Barclay may have different cut and design features compared to more contemporary pieces.
Next, assess the chest area. Make sure the shirt allows for comfortable movement without feeling too tight or baggy—both extremes can ruin your shirt look.
Now, let's talk about the sleeves. They should fit snugly but not restrict your arms. You want to enjoy full range of motion without any excess fabric bunching at the cuffs.
Moving down to the torso, observe how the fabric hangs from your armpits to your waist. Ideally, it should fall straight; any excess fabric may signal the need for alterations.
Gathering Required Tools
Having assessed the fit of your vintage button-down shirt, it's time to gather the tools that will help you achieve the perfect alterations.
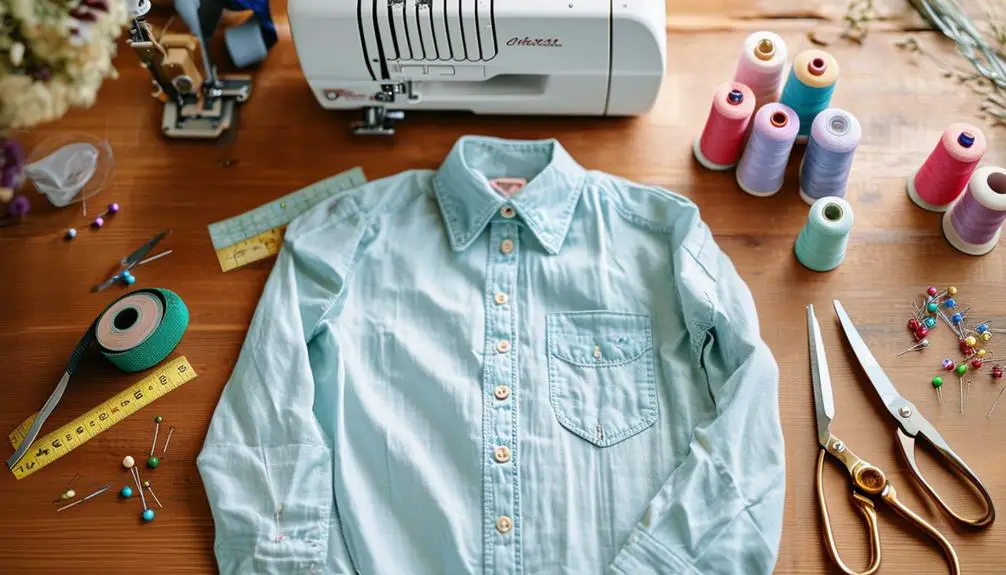
First and foremost, you'll need a sewing machine. This key tool allows for efficient stitching and precise adjustments, making your alterations smooth and professional-looking. Additionally, consider the unique characteristics of vintage fabrics, as they may require special attention due to their age and composition, which can be found in identifying vintage characteristics.
Next, grab a pair of fabric scissors. These are essential for cutting away excess fabric and ensuring clean edges, which is crucial for a polished finish.
A measuring tape is equally important. It'll help you obtain accurate body dimensions and mark where alterations are needed, ensuring that your final fit is spot-on.
Don't forget about pins or clips! These handy tools will hold the fabric in place while you make adjustments, giving you the confidence that everything aligns perfectly before you start sewing.
Lastly, choose a thread that matches the color of your shirt fabric. This detail is key for seamless repairs, helping to maintain the shirt's overall appearance after you've made your alterations.
With these tools gathered, you're all set to move on to preparing for those alterations!
Preparing for Alterations
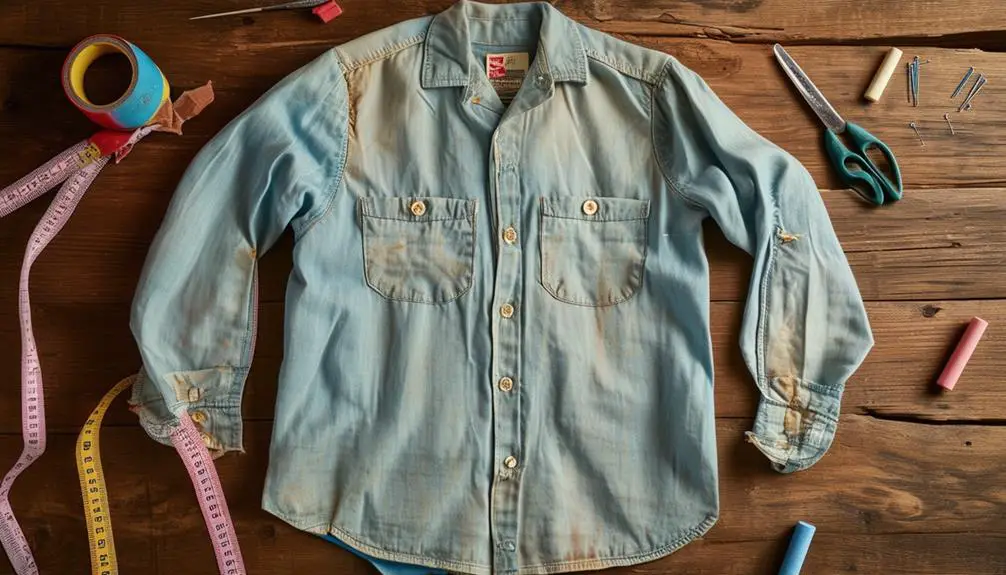
Preparing for alterations means taking a moment to verify the best fit for your vintage button-down shirt. Start by flipping the shirt inside out; this makes it easier to pin and adjust the fabric accurately.
Next, button the shirt from the inside to assess the fit properly. You'll want to see how it hugs your body, pinpointing areas that need work.
Utilize a mirror or ask a friend for help so you can evaluate the fit from all angles. This perspective is invaluable as you start focusing on the sleeves. Pinch any excess fabric to create a snug fit, confirming you can still move comfortably. Use pins to secure the fabric from the cuffs to the armpits.
As you identify areas needing adjustments, make sure to mark them clearly with fabric chalk or safety pins. This step confirms you have precise sewing lines to follow later, making your alterations smoother.
Taking these preparatory steps carefully sets you up for success, allowing for a tailored vintage shirt that fits just right.
Adjusting the Torso Fit
After identifying the areas needing adjustments, it's time to focus on the torso fit of your vintage button-down shirt.
Start by turning the shirt inside out; this makes it easier to pin and assess the fit around the torso. Slip it on and pinch any excess fabric at the side seams, securing it with pins. Begin from the armpits and work your way down to the waist, creating a more tailored silhouette that flatters your shape.
Once you've pinned the excess fabric, take your sewing machine and sew a single stitch along the pinned area. Make sure the stitching runs just outside the pins to allow for comfort and movement.
After you've finished sewing, flip the shirt back to its right side and check for evenness. It's essential that the adjustments enhance the overall fit without restricting your mobility.
Tailoring the Sleeves
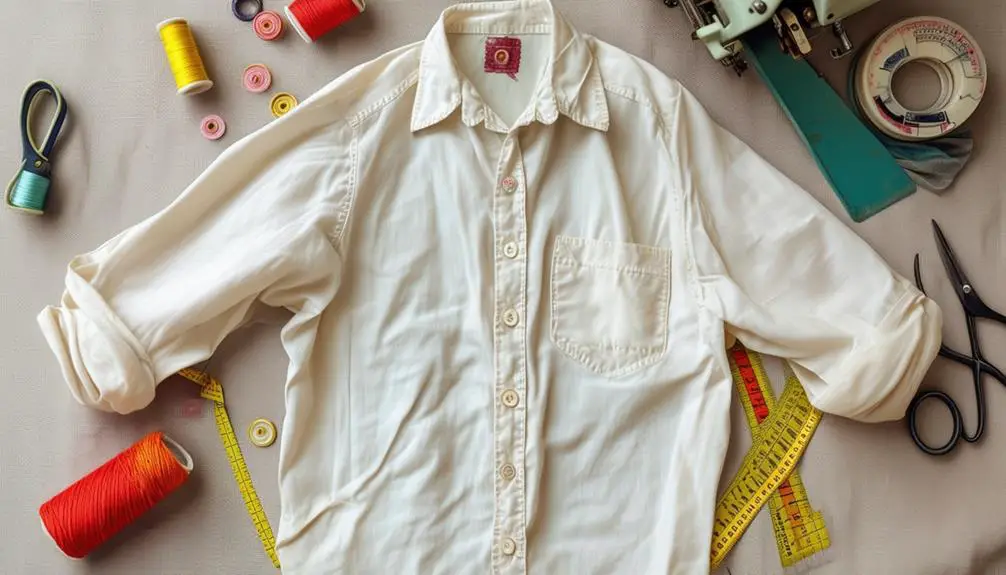
Tailoring the sleeves of your vintage button-down shirt can transform its overall look and feel, guaranteeing a polished fit that complements your style.
Start by measuring your desired sleeve length, keeping in mind to allow a small dimple at the cuff for ease when rolling up your sleeves. Next, pinch the fabric at the shoulder seam to gauge how much excess material you need to remove. This will help align the armscye seam closely with the shoulder seam, creating a flattering fit.
When it comes to adjusting the sleeve width, compare it against a well-fitting shirt to verify you maintain comfort without restricting movement. Use sewing pins to secure the fabric in place, preventing any shifting during the stitching process. This step is vital for maintaining accuracy as you sew.
After cutting the excess fabric, connect the sleeve alterations to the side seam for a cohesive fit.
Always test the sleeve fit before finalizing your alterations, paying close attention to how it feels when you move. With these adjustments, your vintage button-down won't only fit better but also enhance your overall style.
Making Body Adjustments
Now that you've perfected the sleeves, it's time to focus on the body of your vintage button-down shirt for a truly tailored look. Start by trying on the shirt inside-out, which lets you easily evaluate the fit at the shoulders.
When working with vintage clothing, understanding the significance of vintage tag identification can enhance your appreciation for the garment's history. Pin along the side seams to create a more fitted silhouette. Mark these pin positions for symmetry, guaranteeing each side matches perfectly.
As you sew along the marked lines, aim to eliminate excess fabric while maintaining the shirt's shape. Pull the fabric toward the side seams from the underarm to the waist, creating a flattering outline that highlights your body type.
It's vital to check that the armscye seam aligns closely with the shoulder seam; this alignment prevents loose fabric that can ruin the overall fit.
Remember to test the fit frequently during the alteration process. This guarantees comfort and mobility, allowing you to make small adjustments as needed for the best finish.
Finalizing the Alterations
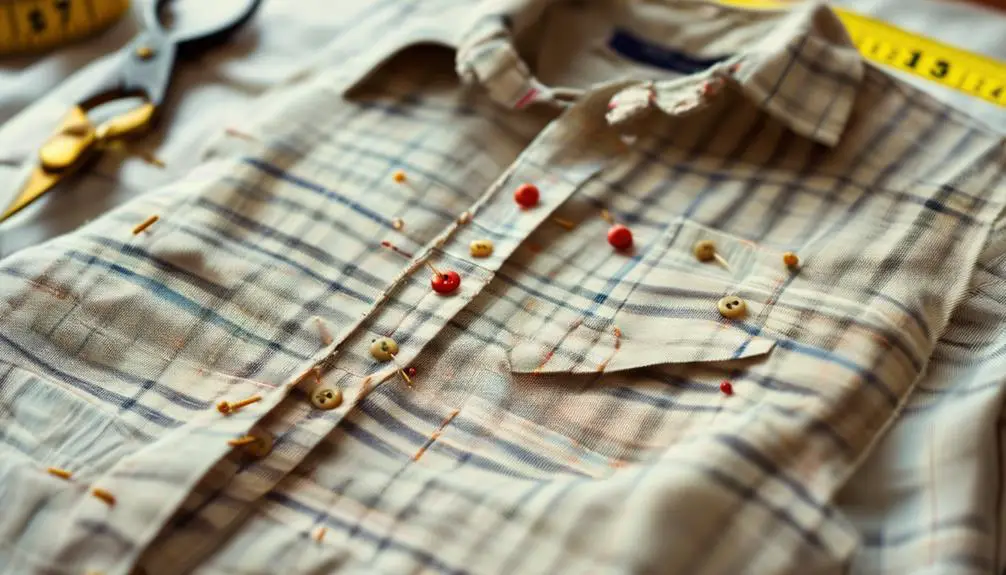
Once you've sewn the alterations, it's time to give your vintage button-down shirt a thorough inspection. Flip the shirt inside out to check the evenness and proper alignment of the seams. This step guarantees that everything looks great from the inside out.
Next, try on the shirt. Move your arms and torso to guarantee a comfortable fit and full range of motion. Pay close attention to any areas that might feel restrictive or loose; if something doesn't feel right, don't hesitate to make further adjustments.
Once you're satisfied with the fit, grab a steam iron set to low heat. Press the seams flat to enhance the overall appearance of your tailored shirt. This final touch is essential for achieving that polished look you desire.
Sewing Techniques to Use
How can you guarantee your vintage button-down shirt not only looks good but also stands the test of time? Mastering essential sewing techniques is key to achieving a tailored fit that lasts. Here are four important techniques to keep in mind:
- Backstitching: Use this technique for strong side seams. It's not just about looks; tight stitches maintain structural integrity, making your shirt endure wear and tear.
- Ease in the Armpit Seam: Don't forget to maintain some ease here. This is essential for comfort and mobility, allowing you to move freely without restriction.
- Sewing Pins: Pinning your fabric prevents shifting during stitching. This accuracy is crucial for seamless alterations, guaranteeing your shirt fits perfectly.
- Pinking Shears: Finish your seams with pinking shears to prevent fraying. This small detail greatly contributes to the longevity of your tailored shirt.
When cutting, remember to leave approximately 5/8 inch (1.5 cm) of fabric for adjustments.
Caring for Your Tailored Shirt
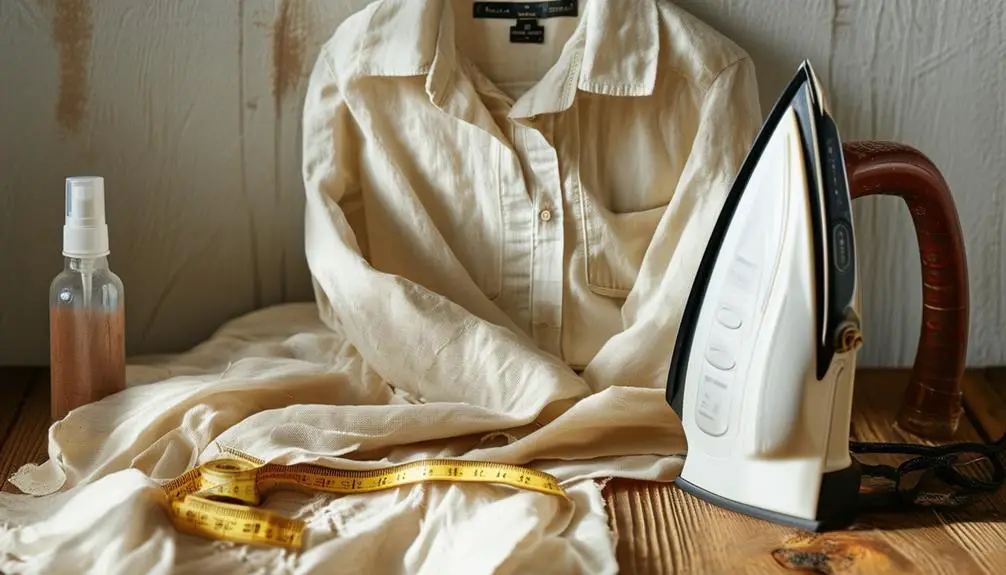
After mastering the sewing techniques to tailor your vintage button-down shirt, the next step is guaranteeing its longevity through proper care. Caring for your tailored shirt involves a few simple yet essential practices.
Start by washing it in cold water; this helps maintain the fabric's integrity while avoiding bleach, which can cause damage.
When it comes to drying, opt for a low-heat tumble dry or hang it to dry. This minimizes shrinkage and keeps that perfect fit you worked so hard to achieve.
If your shirt needs a touch-up, iron it on a low setting, always following the care label instructions for the best results.
Regularly inspect your shirt for signs of wear or fraying at the seams. Catching these issues early guarantees longevity and preserves that polished, tailored look.
Finally, store your tailored shirt in a cool, dry place, ideally hanging it up to maintain its shape and prevent wrinkles.
Frequently Asked Questions
Can You Tailor Button-Down Shirts?
Absolutely, you can tailor button-down shirts to enhance your fit and style. Adjust the torso, sleeves, and shoulders for a polished look, ensuring the armscye aligns perfectly with the shoulder for ideal movement and comfort.
How to Make a Button-Down Shirt Wider?
To make a button-down shirt wider, measure the areas needing expansion, unpick the side seams, insert matching fabric, pin it securely, sew, and finish the seams to guarantee a polished, comfortable fit.
How Do You Style a Button-Down Shirt That Is Too Big?
To style a button-down shirt that's too big, tuck it into high-waisted bottoms for a polished look, roll up the sleeves for a relaxed vibe, or cinch it with a statement belt for added definition.
How Do You Fix a Gap in a Button-Down Shirt?
To fix a gap in your button-down shirt, try adding darts for a snug fit, repositioning buttons, or using fashion tape as a temporary solution. Choose the right size to prevent future gaping issues.


Thanks for sharing. I read many of your blog posts, cool, your blog is very good.