To tailor your vintage chambray shirt, start by trying it on and pinpointing where adjustments are needed. Aim to take in the side seams by 1 to 2 inches for a sleek fit and check the sleeve length for accuracy. Use a seam ripper to gently open seams and press the fabric for a fresh look. Pin the areas you're altering, ensuring a natural drape, then sew using a straight stitch or French seams for durability. Finally, finish with a steam iron to remove wrinkles and inspect your work, setting the stage for a stylishly refined outfit that turns heads.
Assessing Fit and Adjustments
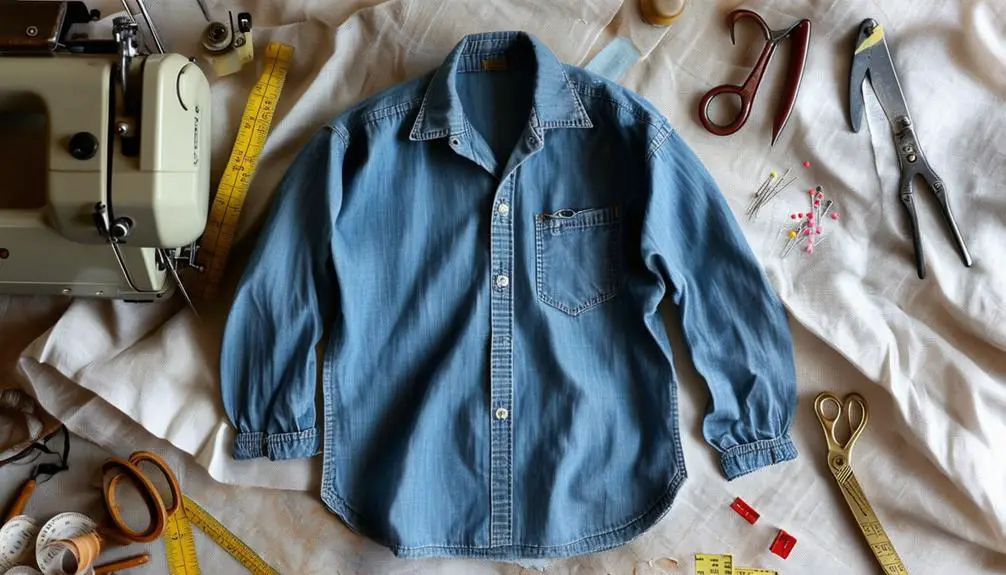
When you slip on a vintage chambray shirt, you're not just wearing a piece of clothing; you're embracing a timeless style that deserves the perfect fit. Understanding the unique characteristics of vintage clothing, such as vintage clothing trends by era, can help you appreciate the craftsmanship while tailoring it to your needs.
Start by trying on the shirt to pinpoint any areas needing adjustments, like excess fabric in the sides, sleeves, or the length of the tail. Pay special attention to the shoulder seams; a well-fitting shirt across your shoulders is essential for both comfort and overall fit.
For that coveted tailored look, consider taking in the side seams by about 1 to 2 inches, depending on how snug you want it. This simple adjustment can transform the shirt into a flattering addition to your wardrobe.
If the sleeves are too long, measure from the shoulder seam to the cuff to determine the ideal length you desire.
Additionally, if you notice that your back lacks definition, adding darts can enhance the fit and create a more flattering silhouette without sacrificing the shirt's vintage character.
Embrace these adjustments to guarantee your vintage chambray shirt fits like it was made just for you!
Tools and Materials Needed
To tailor your vintage chambray shirt effectively, you'll need a few vital tools and materials that streamline the process. First, grab a reliable sewing machine for making precise stitching adjustments; it's your best friend during this project.
Next, you'll want a sharp pair of fabric scissors to guarantee clean cuts when altering the shirt's fit. Don't forget your measuring tape! It's essential for taking accurate measurements, so you can achieve that perfect fit.
If you plan to distress the fabric, a box cutter or x-acto knife will help you make clean slices. For softening the material and creating natural holes, rough sandpaper is invaluable, while a cheese grater can add unique distressing effects.
To protect the other side of the shirt during alterations, insert a protective divider. This simple tool will prevent any accidental damage while you work.
Seam Opening Techniques
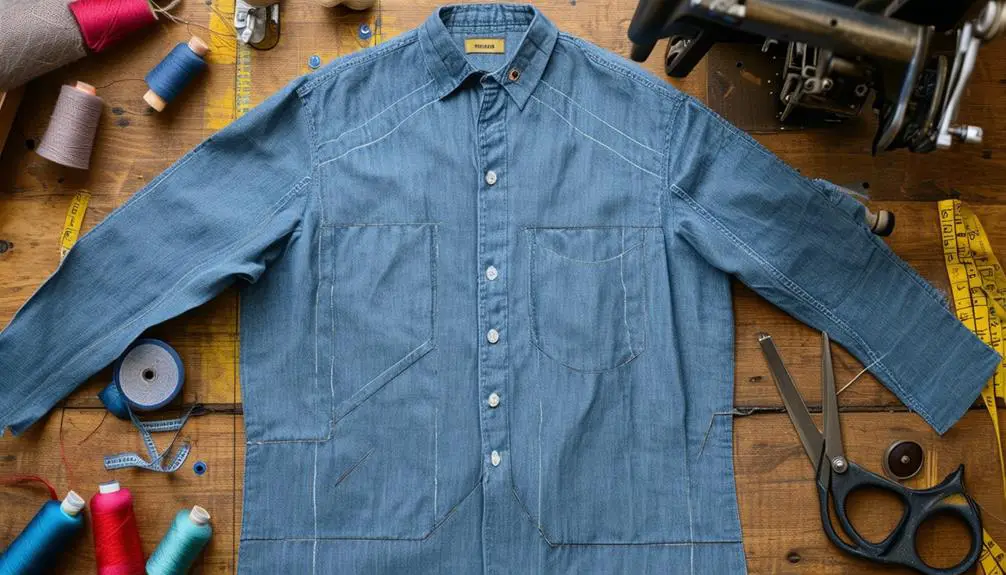
With your tools in hand, it's time to tackle the art of seam opening. Start by using fabric scissors to carefully snip the threads along the seam line of your vintage chambray shirt. Be cautious here; you want to avoid cutting into the fabric itself.
Once you've made your initial cuts, grab the seam ripper. This handy tool is perfect for precision—simply slide it under the stitches and pop them out, allowing for easy removal without damaging the fabric.
When you encounter flat-felled seams, which are typical in chambray shirts for added durability, take your time. Use the seam ripper to unpick the top layer first, giving you access to the underlying seam. This step may require a bit of patience, but it's worth it for a clean open seam.
After you've successfully opened the seams, don't forget to press the fabric. This will help remove any creases and allow you to clearly assess how the fit looks, making any necessary adjustments easier to identify.
If you're new to this, practice on less valuable fabric or old shirts to build your confidence before working on your prized vintage chambray shirt.
Pinning for Precision
Getting the fit just right on your vintage chambray shirt hinges on effective pinning. This vital step guarantees your fabric stays in place while you make necessary adjustments. Start by securing each side seam with at least four pins, spaced about every two to three inches. This technique provides even distribution and stability, allowing for a precise fit.
| Area of Adjustment | Pinning Technique |
|---|---|
| Side Seams | Use 4+ pins every 2-3 inches. |
| Sleeves | Align with shoulder lines. |
| Hems | Maintain natural drape. |
| Darts | Mark stitching lines; pin layers. |
When it comes to sleeves and hems, make certain your pinning respects the garment's natural drape. For darts, carefully mark the stitching line before securing the layers with pins to accurately shape your silhouette. Always try on your shirt after pinning to confirm the fit. This trial allows for any last-minute corrections before you commit to permanent stitches. With careful pinning, you'll set the stage for a beautifully tailored chambray shirt that fits just right.
Sewing New Seams
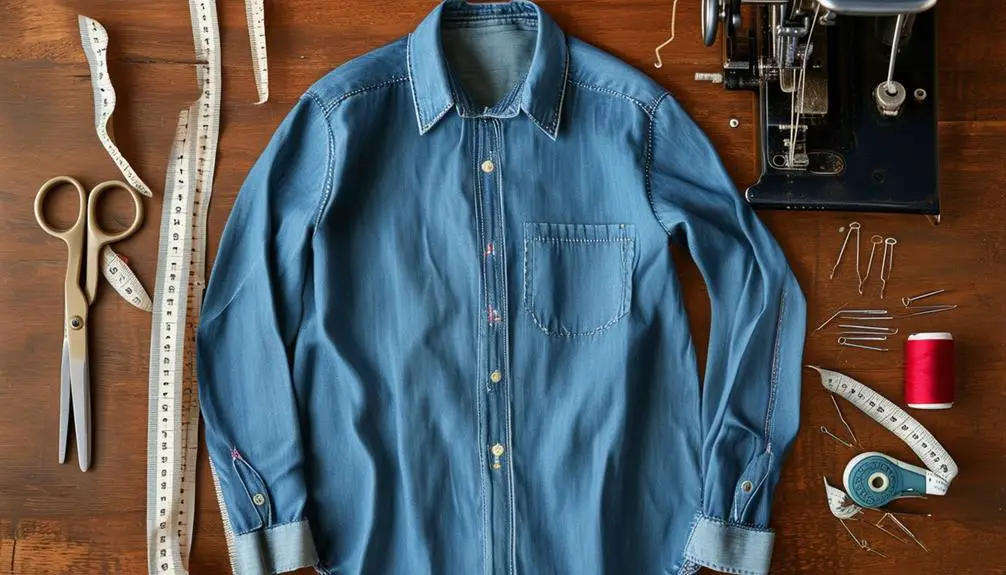
Sewing new seams on your vintage chambray shirt is where your careful preparation pays off, transforming a simple piece of fabric into a tailored masterpiece. Vintage clothing, such as chambray shirts, often embodies unique characteristics that reflect the era they come from, including distinctive design elements.
Start by pre-washing your chambray to prevent any unexpected shrinkage after you've finished. Choose a universal needle sized 70/10 or 80/12, perfect for lightweight fabrics, to avoid snagging or damaging the delicate material.
As you begin sewing new seams, opt for a straight stitch to create strong, durable seams that can endure the fabric's natural wear and tear. If you're looking for a polished finish, consider using French seams. This technique encases raw edges, adding durability while enhancing the vintage aesthetic of your shirt.
When it comes to altering side seams or sleeves, precision is key. Carefully measure and mark your desired adjustments before sewing; this guarantees a tailored fit that flatters your silhouette.
Finishing Touches
Once you've wrapped up your alterations, it's time to bring your vintage chambray shirt to life with some finishing touches. These details can make all the difference in achieving a polished look.
- Press with an Iron: Use a steam iron set to the appropriate heat for chambray. This removes any wrinkles and enhances the overall appearance, ensuring your hard work shines through.
- Inspect Seams and Hems: Take a moment to carefully inspect all seams and hems. Trim any loose threads or irregularities to achieve a clean and refined finish. This step is essential for a professional look.
- Add Personal Labels: Consider adding fabric labels or tags to personalize your shirt. This unique touch not only reflects your style but also elevates the garment from ordinary to extraordinary.
For an even more polished look, employ topstitching along the seams. This technique reinforces the stitching while adding visual interest, making your shirt truly stand out.
Styling Your Tailored Shirt
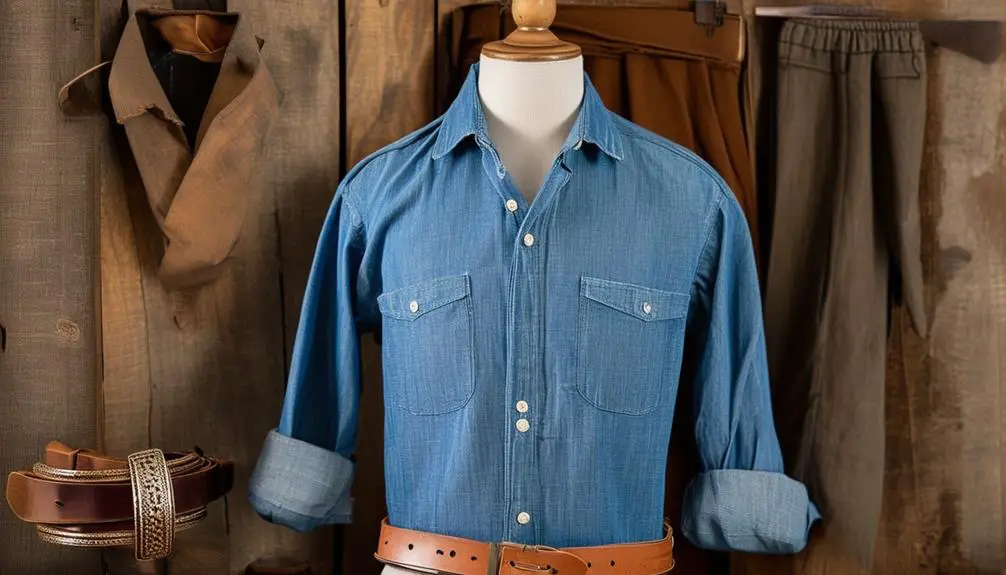
Transforming your tailored chambray shirt into a standout piece is all about how you style it. This versatile shirt can effortlessly shift from casual to semi-formal settings, making it a must-have in your wardrobe.
For a polished look, pair it with chinos or tailored shorts; this combination keeps you comfortable while looking sharp, perfect for warm days or relaxed gatherings.
Layering your chambray shirt under a blazer or cardigan introduces sophistication, creating a stylish contrast between the structured outerwear and the relaxed fabric of the shirt. This approach works wonders for smart-casual events.
Accessorizing is key to elevating your outfit. A sleek leather belt and loafers can refine the overall appearance, adding a touch of elegance that complements the shirt's casual vibe.
Don't shy away from experimenting with different color combinations and patterns. Pairing your tailored chambray shirt with a patterned tie or pocket square can inject personality and flair into your look.
Frequently Asked Questions
How to Fray a Chambray Shirt?
To fray your chambray shirt, gently rub rough sandpaper on areas you want distressed. Use a box cutter for clean slices and a cheese grater for added texture. Test techniques first to achieve the desired look.
What Is the Difference Between Chambray and Denim Shirts?
Chambray shirts are lighter, softer, and more versatile, perfect for casual to semi-formal settings. In contrast, denim shirts are heavier and rugged, ideal for a workwear aesthetic. You'll appreciate their unique textures and appearances!
Can You Iron Chambray Shirt?
Yes, you can iron a chambray shirt! Use medium heat, steam the fabric for a smoother finish, and place a cloth between the iron and shirt to avoid shine. Iron it slightly damp for best results.
Should You Tuck in a Chambray Shirt?
You should tuck in a chambray shirt for a polished look, especially with tailored trousers. But if you're aiming for a relaxed vibe, leave it untucked. Your choice depends on the occasion and personal style.


Your point of view caught my eye and was very interesting. Thanks. I have a question for you. https://accounts.binance.info/bg/register-person?ref=V2H9AFPY