You can easily tailor an oversized vintage crochet cardigan into a chic crop top. Start by evaluating the size and marking where adjustments are needed. Use a fitting cardigan as a template to trace the shape, carefully including seam allowances. When you're ready to sew, align and pin the side seams, maintaining symmetry as you stitch. Once that's done, tackle the hemline and sleeves, ensuring everything fits snugly. Don't forget to add playful pom poms for a fun touch! With these steps, you'll create a one-of-a-kind piece that showcases your personal style while embracing sustainability. There's plenty more to explore!
Project Overview
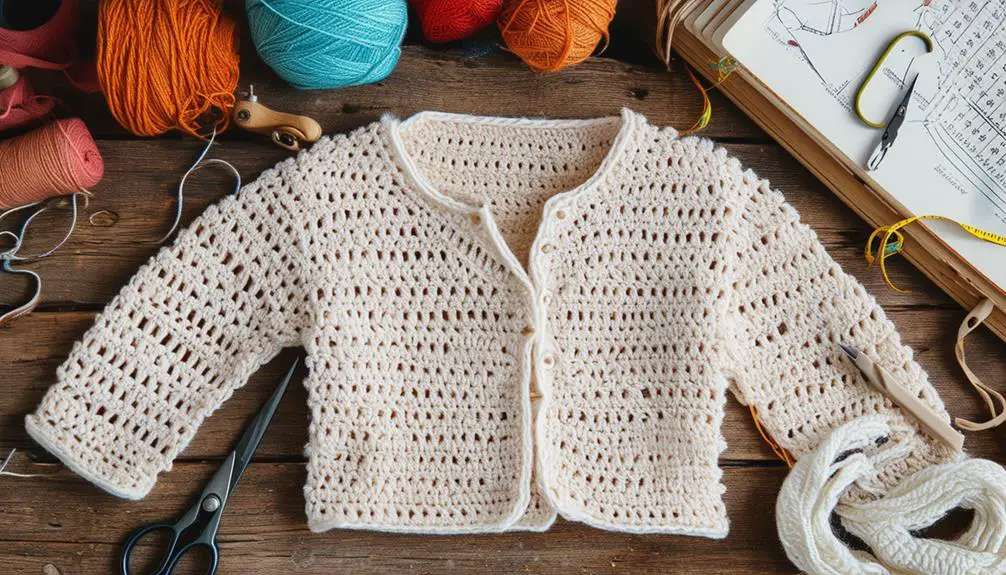
In this exciting project, you'll breathe new life into an oversized vintage granny square crochet cardigan, transforming it into a chic crop top that reflects your personal style. This transformation isn't just about fashion; it's a fantastic way to embrace sustainable practices by upcycling a cherished item and reducing textile waste.
Understanding the unique identifiers of vintage clothing can enhance your appreciation for the craftsmanship involved in your cardigan, as vintage items often feature distinctive design elements that tell a story of their era vintage clothing characteristics.
You'll begin by evaluating the cardigan, paying attention to the side seams and determining where to make your cuts. Measuring your desired length is vital, so allow for some seam allowance to guarantee a comfortable fit. Cutting along the seams will give you the flexibility to reshape the cardigan, allowing you to create a flattering silhouette.
As you sew the squares together, remember to maintain a consistent seam for a polished look. This process won't only enhance the crop top's structure but also give you a chance to showcase your personality through color and style choices.
With guidance from experienced crocheter Ashlee Elle, you'll refine your techniques and learn the best ways to finish your project. By the end, you'll have a stylish and wearable piece that tells a story of creativity and sustainability.
Required Supplies
When diving into the exciting transformation of your vintage crochet cardigan, gathering the right supplies is crucial for a smooth and enjoyable process.
You'll want to guarantee you have everything you need at your fingertips to make tailoring a breeze. Here's a list of required supplies to kick-start your project:
- Half a skein of medium 4 black yarn: This will be used for structural modifications and finishing touches, giving your cardigan a fresh look.
- 4.5mm crochet hook: A must-have for constructing and joining yarn pieces seamlessly during the alteration process.
- Craft scissors or a seam ripper: Essential tools for cutting seams and removing unwanted sections of the cardigan without damaging the rest of your work.
- Yarn needle: This is required for sewing pieces together securely and weaving in any loose ends after you've made your modifications.
With these supplies on hand, you're well on your way to giving your vintage crochet cardigan a beautiful makeover.
Don't forget to have fun and let your creativity shine through as you tailor your piece!
Preparation for Alteration
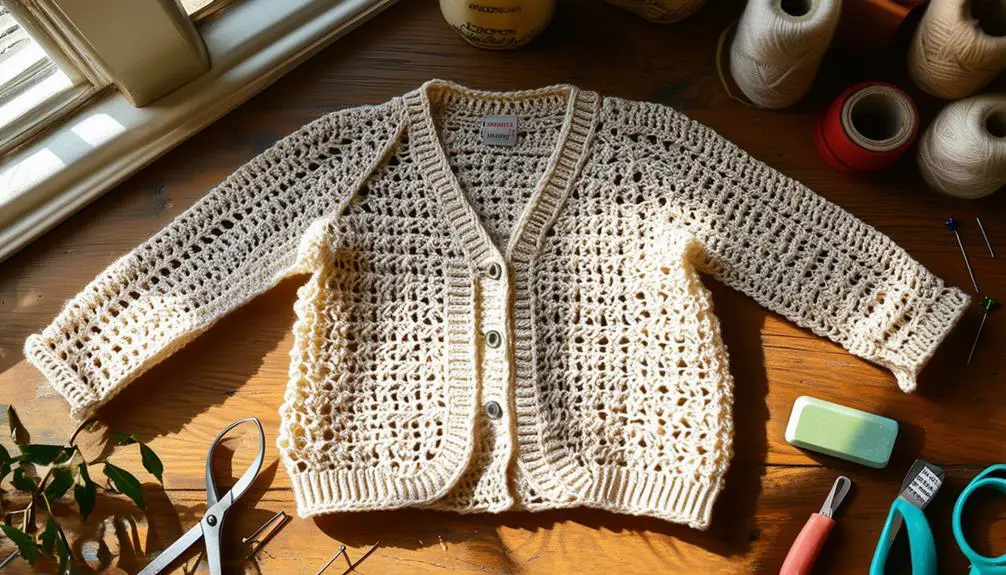
With your supplies gathered, it's time to focus on preparing your vintage crochet cardigan for alteration. Start by identifying those oversized areas that need adjusting.
Take a moment to examine features like pockets—if they're too bulky, you might want to remove them for a sleeker fit. Carefully unpick and detach any front pockets, working on one side first. This guarantees you have a clear guide to replicate on the other side, maintaining symmetry.
To enhance your understanding of the cardigan's history and potential value, consider checking for any vintage labels, as they can provide insight into provenance and authenticity vintage tag insights.
Next, grab a fitting cardigan to use as your pattern template. Lay it flat and trace its shape accurately, paying close attention to the neckline, sleeves, and overall length. You'll want to save the hem of this reference cardigan, as it'll provide polished finishing touches for your altered piece, preventing any fraying at the edges.
As you work, keep track of all buttons you remove during this process. Organize them in a small container, so you can easily reattach them later. This won't only help streamline your assembly but also allow you to retain the cardigan's vintage charm in the final design.
Pattern Tracing
Precision is key in the pattern tracing process, as it guarantees your vintage crochet cardigan will fit flawlessly after alterations.
Start by laying your favorite cardigan flat on a large surface, confirming you have enough space to accurately trace its shape and dimensions. Use tracing paper or a large piece of butcher paper to outline your cardigan, carefully noting essential details.
Here are some significant aspects to focus on while tracing:
- Sleeve length
- Shoulder seams
- Hemline
- Important features like button placements or pocket locations
Remember to include seam allowances—typically 1 cm—to account for sewing and finishing the edges of your new garment.
As you trace, take your time to mark every important detail, preserving the charm of the original design. Once you've outlined the cardigan, cut out the traced pattern pieces carefully.
Label each piece for easy identification during the sewing process. This attention to detail won't only save you time later but also guarantee your tailored cardigan retains its vintage appeal while fitting you perfectly.
Happy tracing!
Sewing Side Seams
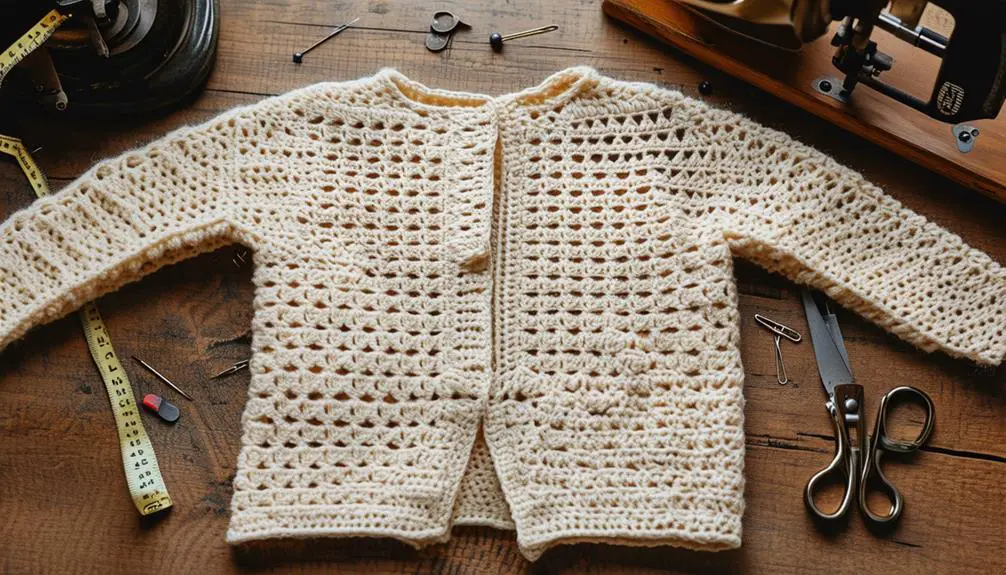
Sewing the side seams of your vintage crochet cardigan is an important step that brings your project closer to completion. Start by carefully aligning the two sides of the cardigan, guaranteeing they match perfectly.
To avoid any shifting during the stitching process, pin the side seams in place, securing the fabric where it needs to be sewn.
When you're ready to sew, maintain a seam allowance of at least 1 cm. This allowance not only guarantees a proper fit but also provides ease for any future adjustments.
After you've sewn the seams, it's vital to use overlocking stitches. This technique prevents fraying and secures the fabric edges, adding durability to your cardigan.
As you work, be mindful to sew both side seams symmetrically. This symmetry is key to maintaining the overall balance and shape of the garment.
Once you've completed the side seams, take a moment to inspect your stitching. Look for any gaps or missed areas, as these can compromise the integrity of your beautiful creation.
With these steps, you're well on your way to a stunning, tailored cardigan!
Hemline and Sleeve Assembly
Achieving the perfect hemline and sleeve assembly is vital for a polished vintage crochet cardigan. This stage not only enhances the overall look but also guarantees durability.
Here's what you need to focus on:
- Pin the hemline to the torso with a 1 cm seam allowance for a clean finish.
- Use overlocking on the hemline after sewing to prevent fraying and enhance durability.
- Properly pin the sleeves to the openings to maintain the intended fit and style.
- Sew both sleeves with a 1 cm seam allowance and apply overlocking for added strength.
As you begin, pin the hemline carefully to avoid any misalignment. Once you sew it, don't forget to overlock the edges to secure your hard work.
When attaching the sleeves, take your time to verify they sit correctly in the openings; this is vital for the cardigan's silhouette. After sewing the sleeves, repeat the overlocking process to fortify them against wear.
Pom Pom Addition
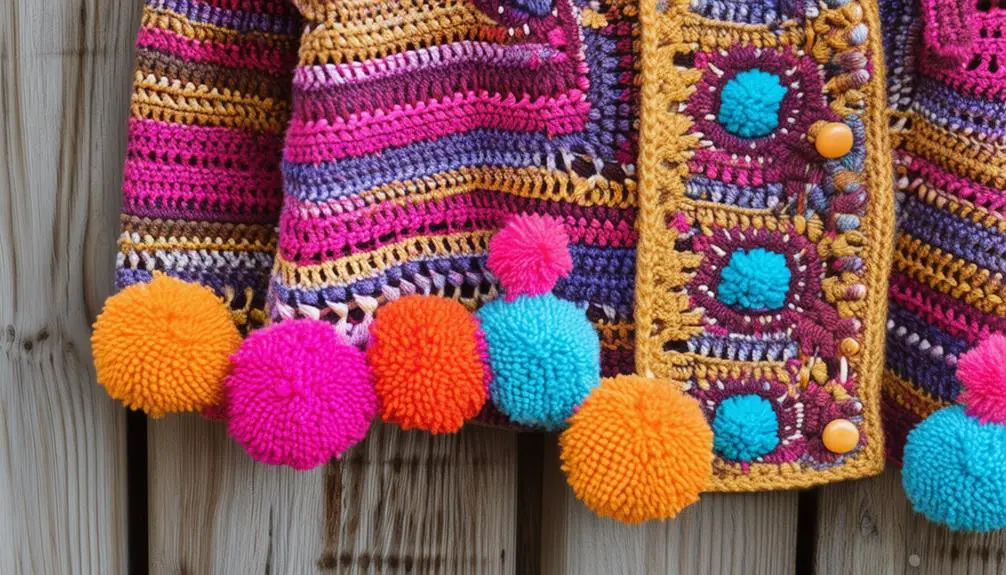
Adding a playful touch to your vintage crochet cardigan can elevate its charm and uniqueness, and there's no better way to do that than with pom poms.
To create these delightful embellishments, start by wrapping yarn around a pom pom maker several times until it's thick. Once you've achieved a plush look, carefully cut the yarn along the outer edges to reveal the pom pom shape.
Before snipping the yarn, make certain to secure the center tightly with a strand of yarn; this step is essential for maintaining the pom pom's structure and fullness.
When you've made your pom poms, position them strategically at the top base of your cardigan for a visually appealing accent.
To attach the pom pom, use a yarn needle to guarantee it's firmly secured. This guarantees it withstands regular wear and tear while adding that whimsical flair you're aiming for.
Finally, don't forget to weave in any remaining yarn ends after attaching the pom pom for a polished and finished look.
With just a few simple steps, your vintage cardigan will transform into a one-of-a-kind piece that's bursting with character.
Final Touches
Your vintage crochet cardigan deserves a flawless finish that showcases all your hard work and creativity. As you wrap up your project, focus on these essential final touches to guarantee your cardigan looks polished and professional:
- Weave in all yarn ends securely to prevent unraveling.
- Compare the original cardigan to your tailored version for fit and aesthetic improvements.
- Use straight stitches to attach any additional elements, like pockets.
- Apply overlocking to hemline and sleeve attachments for durability.
Begin by meticulously weaving in any loose yarn ends, keeping your finished piece tidy.
Then, take a moment to compare the original design with your tailored version. Assess the fit improvements and how the overall aesthetic has evolved.
If you've added pockets, make sure they're aligned with the original pattern using straight stitches for a seamless appearance.
After completing the hemline and sleeves, don't forget to overlock the seams to prevent fraying.
Finally, perform a thorough review of your cardigan, checking for any loose threads or areas that may need reinforcement.
With these final touches, your cardigan won't only be beautiful but also durable, ready for many stylish outings.
Community Engagement
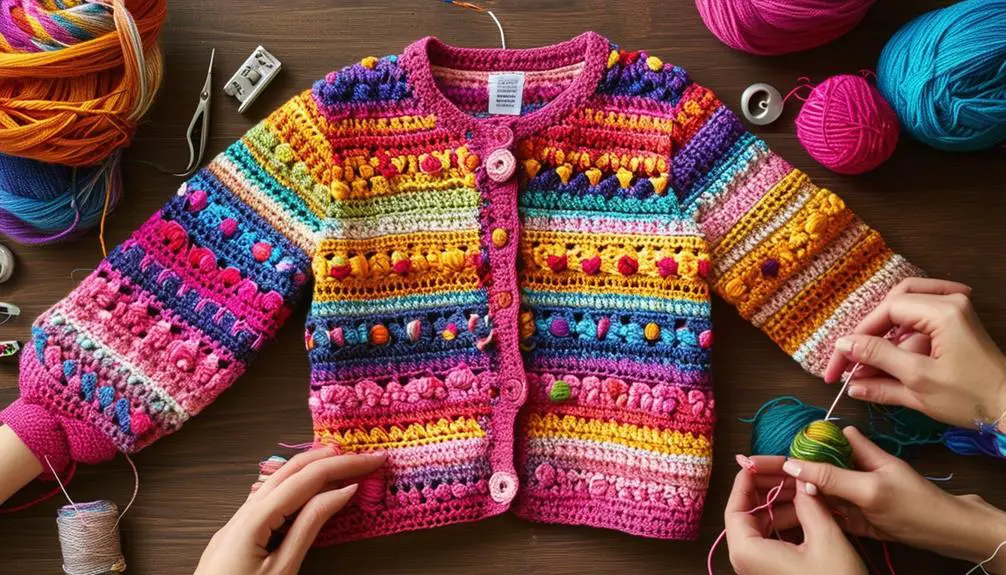
After perfecting the final touches on your vintage crochet cardigan, consider the vibrant community of fellow crocheters that can enhance your crafting journey. Engaging in local crochet groups allows you to share skills, receive valuable feedback, and learn from more experienced crafters. This supportive environment can be incredibly encouraging, especially when tackling new techniques.
If you're more inclined towards online engagement, platforms like YouTube and various crafting blogs offer a treasure trove of tutorials and videos. These resources can help you refine your crocheting techniques, boosting your confidence as you create.
Plus, social media channels such as Instagram and Pinterest serve as bustling inspiration hubs, letting you showcase your creations and connect with other passionate crocheters.
Don't overlook the benefits of participating in crafting workshops, where hands-on experiences and collaborative projects lead to innovative ideas and creative growth. Additionally, joining Buy Nothing groups can provide you with free materials and tools, fostering a spirit of sharing and sustainability in the crafting community.
Engaging with others not only enhances your skills but also enriches your overall crochet experience.
Frequently Asked Questions
Can You Tailor a Crochet Sweater?
Yes, you can tailor a crochet sweater! Carefully unpick seams, adjust the length or fit, and use a yarn needle for precision. Just make sure you maintain the crochet stitches' integrity for a polished final look.
Can Crochet Clothes Be Altered?
Yes, you can alter crochet clothes! By carefully cutting and reassembling, you can resize or reshape them. Just use the right tools, like a seam ripper and yarn needle, to guarantee a seamless finish.
What to Do if a Crochet Sweater Is Too Small?
If your crochet sweater's too small, try unpicking seams to add fabric, crocheting extra squares, or using side panels. You can also block the fabric for a better fit or transform it into a stylish crop top.
How Do You Shrink a Crochet Cardigan?
To shrink your crochet cardigan, wash it in hot water, then dry on high heat, but be careful! Alternatively, dampen it, reshape gently, and air dry for more controlled results without risking damage.


Your article helped me a lot, is there any more related content? Thanks! https://accounts.binance.com/pt-BR/register-person?ref=GJY4VW8W
Thanks for sharing. I read many of your blog posts, cool, your blog is very good. https://www.binance.com/sl/register?ref=I3OM7SCZ