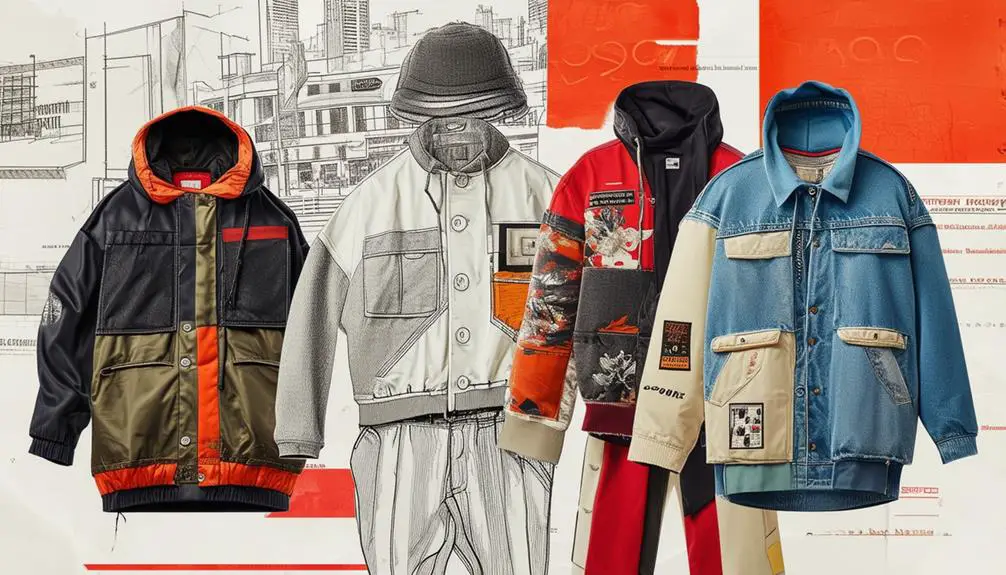
To tailor a vintage graphic T-shirt into your unique style, start by selecting a shirt with personal significance and vibrant graphics. Gather essential supplies like a sewing machine, sharp scissors, and Steam-a-Seam 2 for seamless fabric bonding. First, inspect the shirt and wash it to pre-shrink. Measure and mark areas for adjustments using tailor's chalk, ensuring not to disturb your cherished design. As you sew, choose a zigzag stitch with contrasting thread for that trendy flair. Finally, experiment with finishing touches, personalizing it to make it truly yours. There's so much more to explore about tailoring techniques and creative enhancements!
Choosing Your Vintage T-Shirt
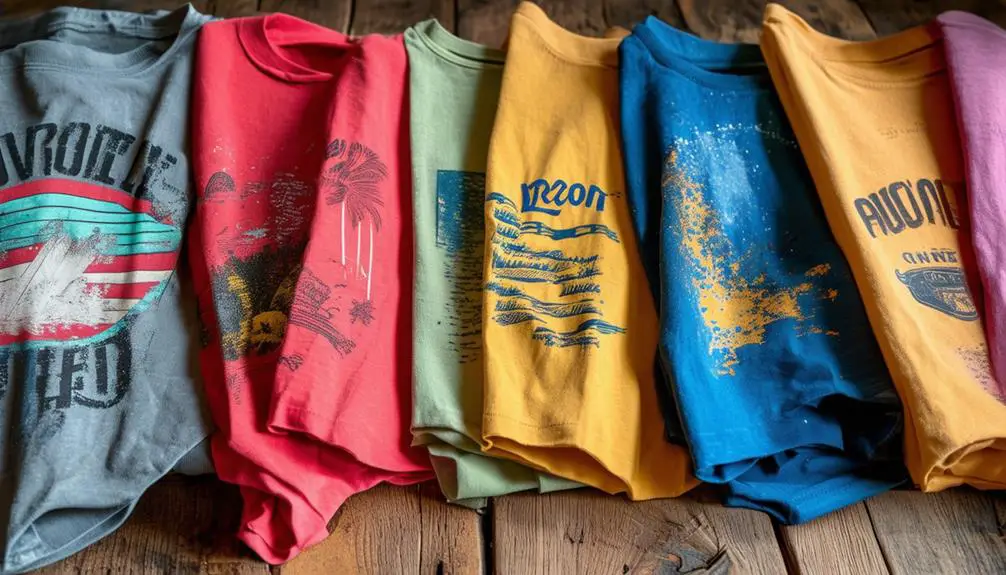
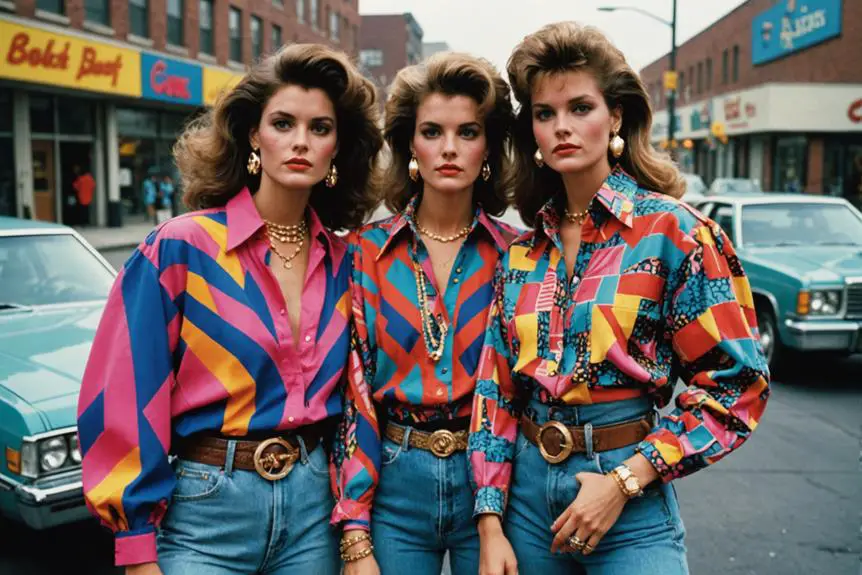
Choosing the perfect vintage graphic T-shirt is like starting on a personal treasure hunt where each shirt tells a story. You want to create an emotional connection, so look for shirts that resonate with your personal memories or reflect significant moments in your life. This connection transforms a simple tee into a cherished piece of your wardrobe.
To enhance your selection process, consider familiarizing yourself with vintage clothing trends that can help you identify authentic styles and brands.
Next, prioritize high-quality fabric. Soft cotton not only feels great against your skin, but it also stands the test of time. You'll want a shirt that's durable and comfortable, enhancing the overall wearability of your tailored piece.
When examining the graphics, make sure to choose designs that are vibrant and intact; avoid overly faded or damaged prints to keep your shirt visually appealing.
Don't overlook size and fit, either. Vintage T-shirts with a relaxed or slightly oversized silhouette are ideal, as they lend themselves to easier tailoring.
Also, pay attention to unique color patterns or design elements, since they can elevate the aesthetic of your final tailored piece. With these tips in mind, you'll be well on your way to finding that perfect vintage gem!
Essential Supplies for Tailoring
When diving into the world of tailoring your vintage graphic T-shirt, what supplies do you really need to achieve that perfect fit?
First and foremost, a reliable sewing machine is essential. It not only enhances durability but also guarantees clean, professional seams that elevate your T-shirt from basic to bespoke.
Next, gather essential tools like sharp scissors for cutting fabric and a trusty iron for adhering layers. These items are important in creating a polished finish.
Don't overlook the power of contrasting thread. It adds a stylish flair to your project while making sure your stitches stand out and remain sturdy.
For stabilizing the fabric before sewing, Steam-a-Seam 2 fusible webbing is a game-changer. It bonds the material securely while preserving the soft feel of your T-shirt, allowing you to work comfortably.
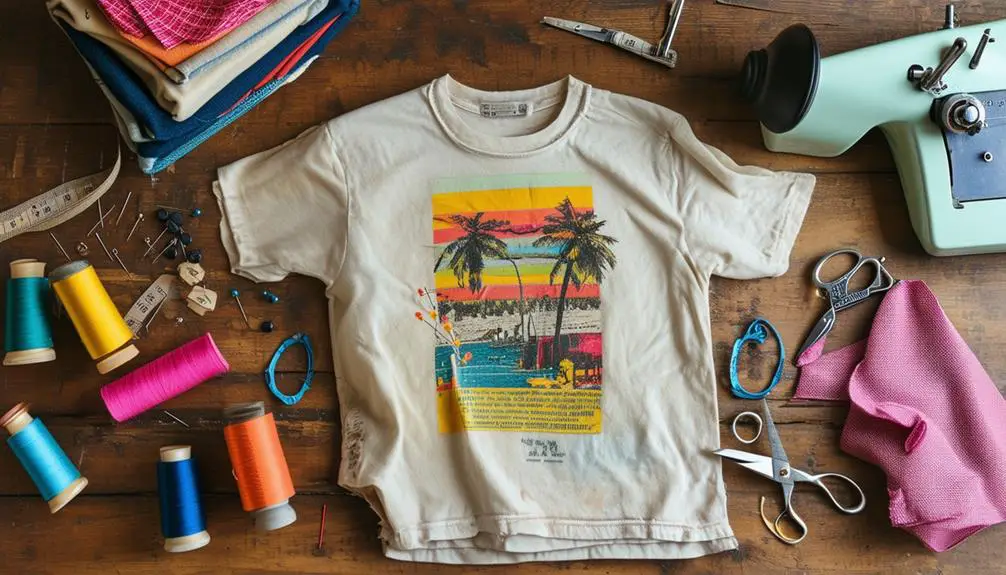
Preparing the T-Shirt for Alteration
Once you've gathered your supplies and are ready to start, the next step is preparing your vintage graphic T-shirt for alteration. First, let's look at the shirt closely—inspect every single inch for any damages or stains. If you spot anything, decide if repairs are necessary to keep the shirt's integrity intact. Vintage clothing often holds significant value, so maintaining its quality is essential.
You might also want to reflect on the historical context of the shirt to appreciate its uniqueness and style, as many vintage pieces come with their own stories and charm, like identifying vintage labels.
Next, make sure to wash and dry the T-shirt according to the care instructions. This pre-shrinks the fabric, ensuring it retains its size and shape after you've made your alterations. Once it's clean, lay the T-shirt flat on a clean surface, smoothing out any wrinkles. A clear, flat area is imperative for accurate measuring and cutting.
With a measuring tape in hand, determine how much fabric needs to be taken in or let out. Mark your desired alteration points with tailor's chalk for precision. When you're ready to cut, do so carefully, maintaining the original hemline whenever possible.
Keep the graphic design in mind to avoid disrupting its placement during the alteration process. Following these steps will set you up for a successful and stylish transformation!
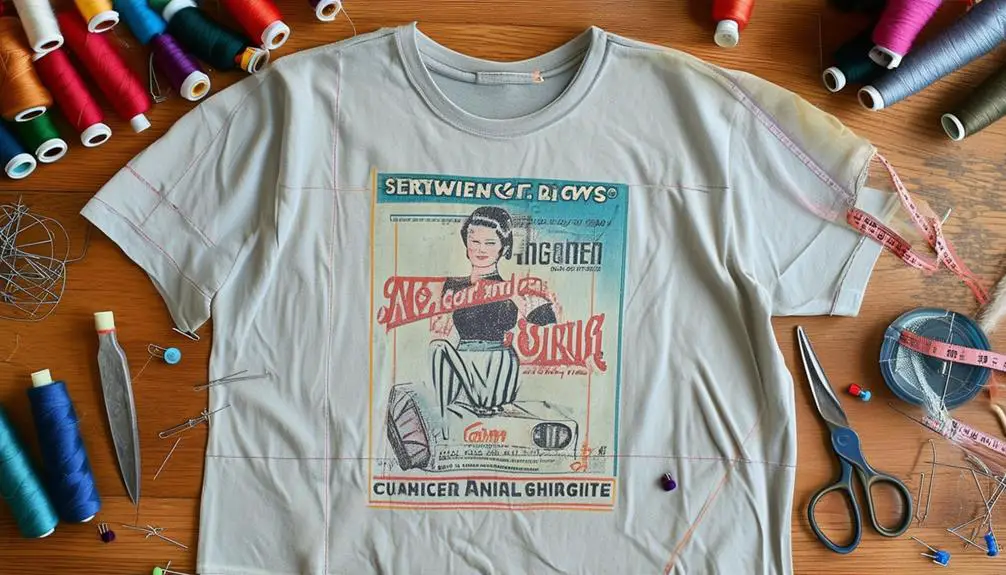
Using Steam-a-Seam 2 Effectively
Transforming your vintage graphic T-shirt with Steam-a-Seam 2 can elevate your DIY project to a whole new level. This double-sided fusible webbing acts as a dependable adhesive, bonding your fabric together while keeping the softness of stretchy T-shirt materials intact.
Follow these steps for effective application:
- Read Instructions: Always consult the Steam-a-Seam 2 packaging for guidance on heat settings and application techniques. It's vital for achieving peak results.
- Trace Your Design: Carefully trace your desired design from the old T-shirt, leaving a 1/3 inch border. This guarantees a clean cut and proper adhesion when applying it to the new T-shirt.
- Secure and Sew: Once you've adhered your design with an iron, consider sewing from the back using contrasting thread. This adds durability and visual flair, making your tailored piece truly stand out.
Sewing Techniques for a Professional Finish
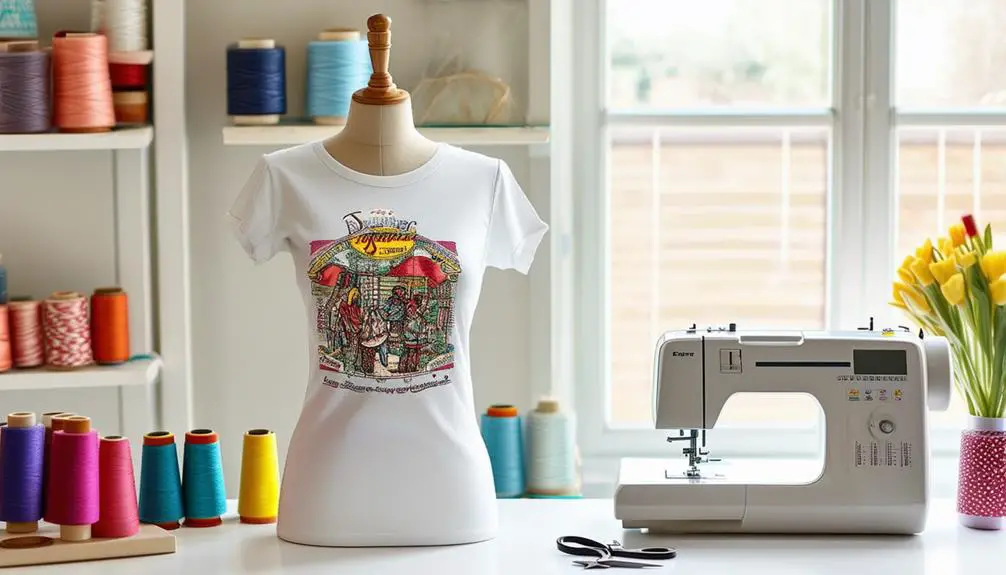
Elevating the look of your vintage graphic T-shirt comes down to mastering sewing techniques that yield a professional finish. Start by using a sewing machine with a zigzag stitch, which accommodates the stretchy fabric and prevents fraying while maintaining elasticity.
When attaching your design, opt for contrasting thread; it not only enhances visual interest but also showcases your craftsmanship. As you cut around the design, remember to leave a 1/4 inch seam allowance to keep edges clean and reduce fraying during wear and washing.
Ironing your design onto the T-shirt using a medium heat setting activates the Steam-a-Seam 2 fusible webbing, ensuring a secure bond without scorching the fabric. For the cleanest look, sew from the back of the garment. This technique helps you achieve cleaner seams and prevents visible stitching on the front.
Here's a quick reference table for your sewing techniques:
| Step | Technique |
|---|---|
| Stitch Type | Zigzag Stitch |
| Thread Choice | Contrasting Thread |
| Seam Allowance | 1/4 Inch |
| Ironing Temperature | Medium Heat |
| Sewing Direction | From the Back |
Final Touches and Personalization
With a keen eye for detail, adding final touches and personalization to your vintage graphic T-shirt can transform it into a standout piece. Understanding the history behind your shirt's vintage clothing labels can also inspire your design choices and make your creation even more meaningful.
Let's see, you can elevate your design right away by focusing on specific enhancements that reflect your style. Here are three key elements to evaluate:
- Adjustments: Use the rectangular marquee tool in your design software to select areas for fine-tuning. This helps create a polished finish before you finalize the layout.
- Gradients and Backgrounds: Apply multiple gradients to enhance visual appeal, adjusting angles and scales as needed. Actually really contemplate incorporating background graphics that complement your main design, matching colors for a cohesive look.
- Text Effects: Experiment with various text effects and layer styles. Personalizing your T-shirt this way guarantees your design mirrors your unique creativity and flair.
As you incorporate these elements, utilize the layers panel effectively by converting images into smart objects. This allows for non-destructive editing, making adjustments easier throughout the design process.
Frequently Asked Questions
How to Repurpose Old Graphic Tees?
To repurpose old graphic tees, choose one that resonates with you. Then, cut, sew, or layer it creatively onto a fresh shirt, transforming it into a unique piece that showcases your personal style and memories.
How Do You Make Graphic Tees Look Fashionable?
To make graphic tees look fashionable, pair them with high-waisted jeans or tailored trousers. Layer with a blazer, accessorize boldly, and mix textures for visual interest—your outfit will stand out effortlessly and stylishly!
How Do You Make a New Graphic Tee Look Vintage?
To make your new graphic tee look vintage, try using soft fabrics, applying tea dye for an aged effect, and distressing edges. Incorporate retro colors and wash it multiple times for that well-loved vibe.
How to Customize an Old T-Shirt?
To customize an old T-shirt, start by choosing a design that speaks to you. Cut it out, use fusible webbing for stability, and creatively stitch it onto a new shirt for a fresh, personalized look.


Thank you for your sharing. I am worried that I lack creative ideas. It is your article that makes me full of hope. Thank you. But, I have a question, can you help me?