To tailor a vintage knit dress, start by evaluating the fit, focusing on the bodice, sleeves, and waist. Gather your tools: a seam ripper, marking pen, and sewing machine. Carefully detach the skirt from the bodice, then make adjustments to guarantee a perfect fit. Tweak the sleeves by seam ripping and pinning for a more tailored appearance. For the skirt, use long basting stitches to gather it seamlessly back to the bodice. Finish with pressing seams and attaching any decorative elements. With these steps, you'll give your dress a fresh, stylish look, and there's plenty more to explore!
Assessing the Fit
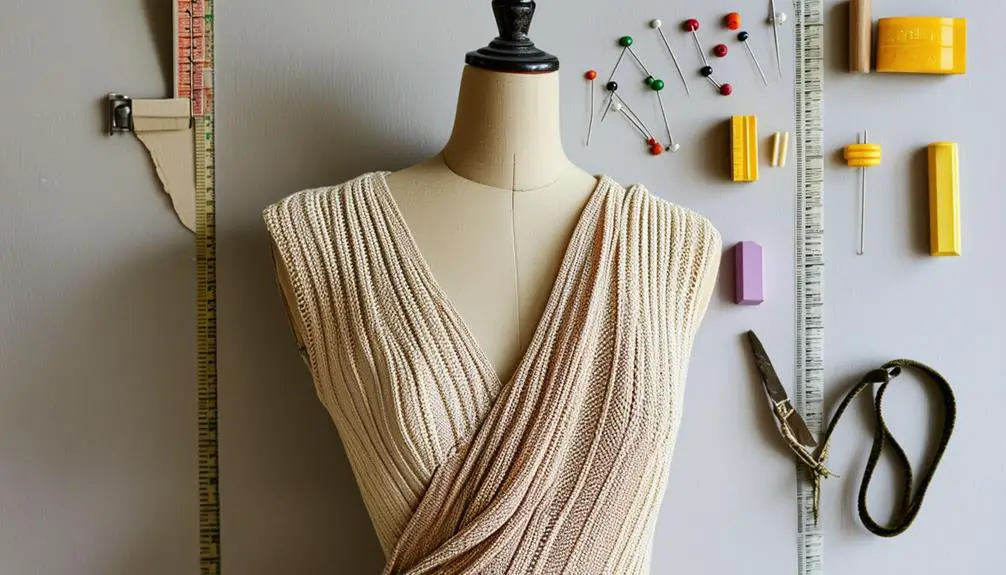
When you slip into a vintage knit dress, the first step is to really evaluate how it fits your body. Start by noting any areas that feel too loose or tight, particularly in the bodice, sleeves, and waist. You need to take a close look at these sections to pinpoint where adjustments are necessary.
Grab a measuring tape to check your bust, waist, and hip measurements against the dress. This'll help you determine the extent of the modifications needed for a flattering fit. Understanding the historical context of brands can also aid in making certain the adjustments maintain the dress's original charm.
Next, consider the length of the dress. Do you want a chic high-low hem or a classic cut? Evaluating proportions is essential here, as the right length can elevate your overall look.
Also, keep an eye out for any areas of stretching or distortion in the knit fabric, especially around seams or edges. These may require reinforcement to guarantee longevity.
Tools and Materials Needed
Gathering the right tools and materials can make all the difference when tailoring a vintage knit dress. Start with a marking pen for fabric lines; this tool is essential for making precise alterations and ensuring your adjustments are spot-on.
You'll also need a ruler to measure and draw straight lines, which helps maintain symmetry and consistency in your dress modifications.
Next, don't forget basting stitches. Using a long stitch length, they're vital for gathering fabric smoothly, allowing you to fit the skirt into the bodice effortlessly.
A reliable sewing machine is non-negotiable, as it provides the durability needed for stitching and backstitching, ensuring a polished finish on your tailored masterpiece.
Seam Ripping and Preparing
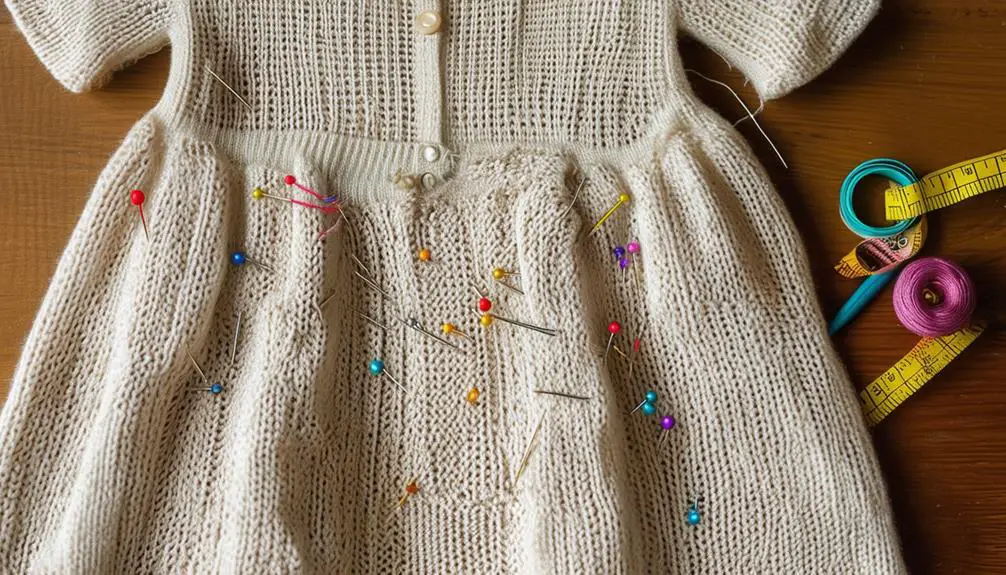
With your tools and materials ready, it's time to tackle the seam ripping process. Begin by using a seam ripper to carefully detach the skirt from the bodice, making sure you don't damage that beautiful vintage fabric. Work in a well-lit area so you can easily spot the stitches and avoid missing any threads. Take your time—identifying and removing all stitches without tearing the fabric will help maintain the integrity of your dress.
Once the seams are ripped, lay the pieces flat to assess the areas needing adjustment. This step is essential for visualizing your desired modifications, especially when considering seam allowance.
Here's a quick reference table to keep you organized during the process:
| Task | Action | Purpose |
|---|---|---|
| Identify stitches | Use seam ripper | Guarantee accurate removal |
| Detach skirt | Carefully pull apart | Prevent fabric damage |
| Gather scraps | Keep designated area for threads | Maintain a clean workspace |
| Assess adjustments | Lay pieces flat | Visualize modifications |
| Plan seam allowance | Measure and mark | Prepare for future sewing |
Modifying the Bodice
Modifying the bodice of your vintage knit dress can transform its fit and elevate your overall look. The first thing you'll want to do is seam rip the bodice from the skirt. This allows for easier adjustments and guarantees you achieve an accurate fit.
Once it's detached, measure and mark the desired alterations on the bodice. Make certain to keep everything even on both sides to maintain that symmetrical vibe.
Next, it's time to visualize your adjustments. Use a dress form or stand in front of a mirror with pins to play around with the fit. This step is vital before you commit to any permanent sewing.
Remember to maintain a seam allowance during your alterations; this extra fabric can be a lifesaver for future tweaks.
After you've reattached the bodice, inspect the waist seam closely. You want to make sure it looks seamless and chic, evaluating the overall fit for comfort.
A well-modified bodice not only enhances your dress but also boosts your confidence, making it a timeless addition to your wardrobe that you'll love to wear again and again.
Adjusting the Sleeves
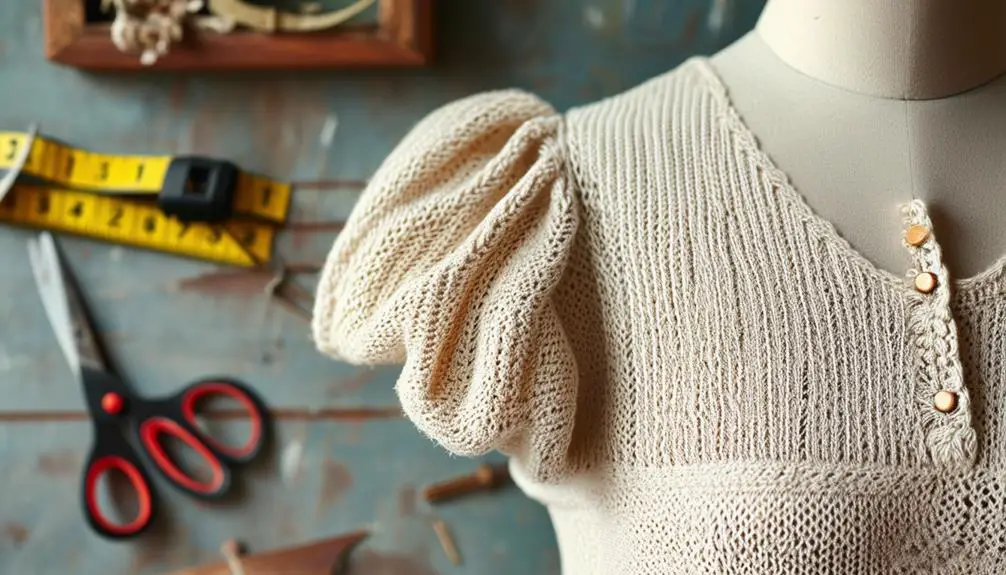
Adjusting the sleeves of your vintage knit dress can greatly enhance its overall silhouette and comfort. Begin by trying on the dress and marking the desired sleeve length with a fabric marking pen for precision. This simple step guarantees you've got a clear guide for your adjustments.
Next, carefully seam rip the existing sleeves from the bodice, taking care not to damage the knit fabric. Maintaining the original seam allowance will make reattachment smoother. If your sleeves feel too loose, you can take them in by pinning along the side seams, sewing a new seam that follows the natural shape of your arm.
For a more fitted look, consider adding a gathering stitch along the sleeve cap before reattaching them. This technique allows for a tailored fit without altering the armhole, giving your dress a polished appearance.
Once you've made the necessary adjustments, press the seams flat with an iron set to a low temperature. This will help maintain the knit's elasticity while giving your sleeves a crisp, finished look.
With these adjustments, your vintage dress won't only fit better but also feel more comfortable and stylish.
Skirt Gathering Techniques
Creating a beautifully gathered skirt transforms your vintage knit dress into a flattering piece that enhances your figure. Gathering is vital for fitting the skirt back into the bodice, as it softens any sharp angles at the waist seam.
To achieve perfect gathers, you'll want to start by using long basting stitches spaced about 4-5 inches apart. This technique allows for easy adjustments and manipulation of the fabric, similar to the craftsmanship seen in identifying vintage Betty Barclay.
As you gather, be sure to pull the threads evenly. This guarantees a smooth, consistent fit across the entire waistline of your dress. It's important to align all fabric layers properly before you begin sewing, preventing puckering and guaranteeing a neat finish.
Remember, the goal is to create a polished look that complements your vintage aesthetic.
Always start sewing at the existing seam, which helps maintain a seamless shift between the bodice and skirt. As you go, remove pins carefully to keep the fabric flowing smoothly.
With these gathering techniques, you'll not only achieve a stunning skirt but also elevate the overall charm of your vintage knit dress. Happy sewing!
Attaching the Skirt to Bodice
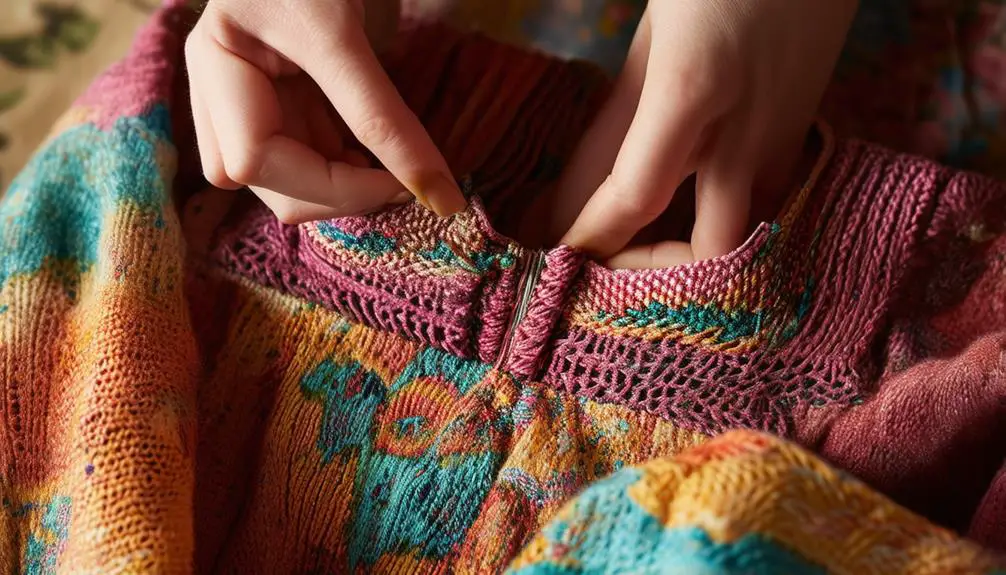
Attaching the skirt to the bodice is where your vintage knit dress truly comes to life. Start by gathering the skirt fabric with long basting stitches, spaced 4-5 inches apart. This technique creates a smooth fit at the waist seam that enhances the overall silhouette.
Make certain all fabric layers are properly aligned and pinned together before you begin sewing; this will help avoid puckering and guarantee a clean finish.
Begin your sewing at the existing seam of the bodice for a seamless shift between the two pieces. As you sew, remove the pins one by one to maintain a smooth flow of fabric, preventing any accidental tucks or folds.
It's vital to keep your attention on the waist seam during this process, as a well-executed seam is key for comfort and style.
After you've attached the skirt to the bodice, take a moment to inspect the waist seam. Make certain it appears seamless and adjust as necessary for the perfect fit.
This attention to detail will guarantee your vintage knit dress not only looks fabulous but feels great when you wear it.
Final Touches and Adjustments
Once you've secured the skirt to the bodice, it's time to refine your vintage knit dress with final touches and adjustments that elevate its beauty. Start by carefully inspecting the waist seam, guaranteeing a seamless appearance while eliminating any puckering. This detail is vital for achieving a polished look.
Next, reattach any belts or decorative elements you removed during the modification process; these accents will restore the dress's original charm and style.
To guarantee your dress looks pristine, remove any chalk marks or temporary markings used for measurements. A clean finish makes all the difference. Then, press the seams flat with an iron to enhance the overall appearance, allowing the dress to lay smoothly against your body.
Finally, double-check the fit of the bodice, sleeves, and waist. Confirm that everything feels comfortable and visually appealing, especially with the high-low design.
| Step | Action |
|---|---|
| Inspect Waist Seam | Eliminate puckering |
| Reattach Decorative Elements | Restore original charm |
| Remove Chalk Marks | Achieve a polished finish |
| Press Seams Flat | Enhance overall appearance |
With these final touches, your dress is going to turn out great!
Upcycling and Community Engagement
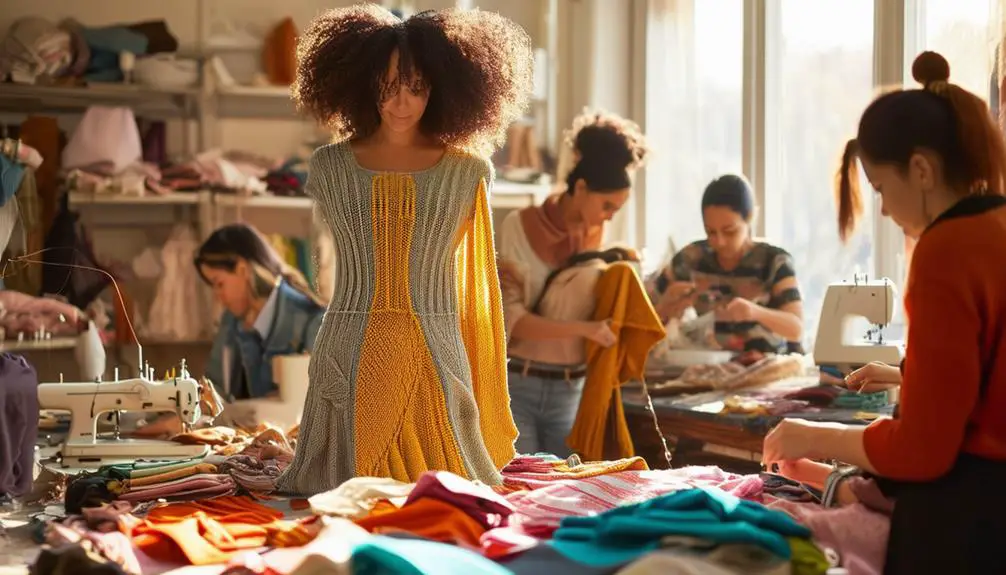
Upcycling vintage knit dresses is a fantastic way to transform cherished pieces while making a positive impact on the environment. By breathing new life into these garments, you greatly reduce textile waste and contribute to sustainability.
Learning about vintage clothing labels can further enhance your upcycling projects, as understanding their historical context can inspire your designs and choices. vintage tag identification is essential for recognizing the value of the garments you work with.
One of the best aspects of upcycling is the community engagement it fosters. Connecting with local groups focused on upcycling can provide you with valuable resources, tips, and inspiration for your personal style transformations.
Social media platforms are buzzing with upcycling challenges and hashtags where you can share your creations. This not only showcases your work but also builds a sense of community and creativity among like-minded individuals.
Participating in local workshops or online tutorials can sharpen your tailoring skills, allowing you to redesign vintage pieces with confidence.
Don't forget to explore thrift stores and vintage shops in your area; they often hold unique items ripe for upcycling.
By connecting with fellow enthusiasts and sharing your journey, you'll find that upcycling isn't just about fashion—it's about creating a more sustainable future while building lasting relationships within your community.
Let your creativity shine as you embrace this trend!
Frequently Asked Questions
Can You Tailor a Knit Dress?
Absolutely, you can tailor a knit dress! Just guarantee you maintain the fabric's stretch while adjusting seams. With careful seam ripping and zig-zag stitching, you'll create a stunning fit that flatters your unique silhouette.
Can You Alter a Vintage Dress?
Absolutely, you can alter a vintage dress! With careful measurements and thoughtful adjustments, you'll create a piece that perfectly reflects your style while preserving its unique charm. Embrace the creativity and sustainability of upcycling!
How Do You Tailor Knit Fabric?
When you tailor knit fabric, use a stretch stitch or zig-zag to maintain elasticity. Measure carefully, opt for a ballpoint needle, and avoid straight stitches to guarantee smooth, durable seams that move with you.
Can You Take up the Hem on a Knitted Dress?
Yes, you can definitely take up the hem on a knitted dress! Just mark your desired length accurately, use a zig-zag stitch for flexibility, and press it afterward for that polished, stylish finish you'll love.



Thank you for your sharing. I am worried that I lack creative ideas. It is your article that makes me full of hope. Thank you. But, I have a question, can you help me? https://accounts.binance.com/fr/register-person?ref=T7KCZASX