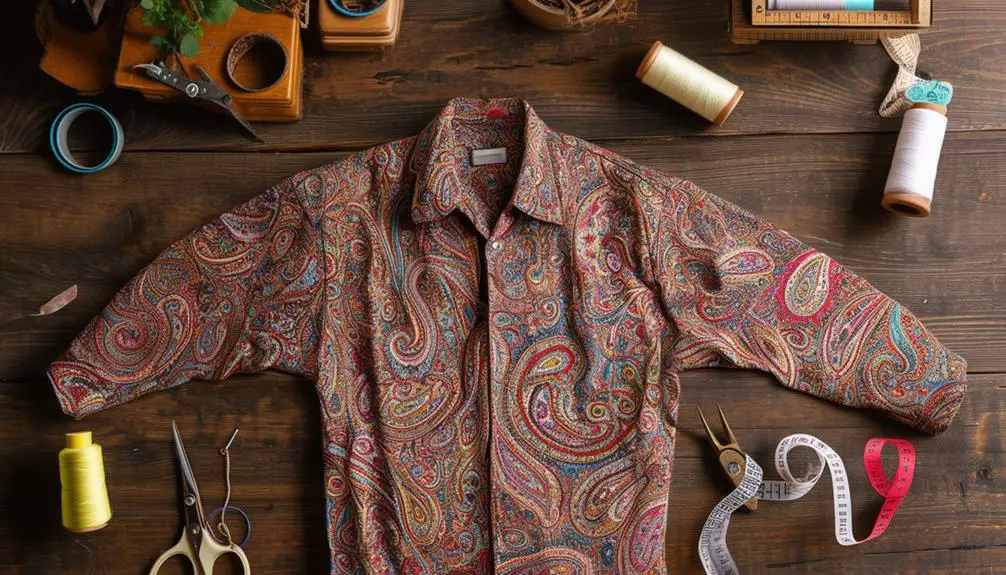
To tailor your vintage paisley shirt, start by measuring your chest, waist, and shoulders for the perfect fit. Lay the shirt flat, noting areas needing adjustment, and mark with tailor's chalk. Pin side seams and sleeves before trying it on to guarantee comfort and mobility. Use sharp scissors to carefully cut along marked lines, reinforcing seams with zig-zag stitching for durability. Once alterations are complete, press seams to enhance that gorgeous paisley pattern. Make final fit checks to guarantee everything sits perfectly. Discover more tips and tricks to elevate your styling game further into your wardrobe journey.
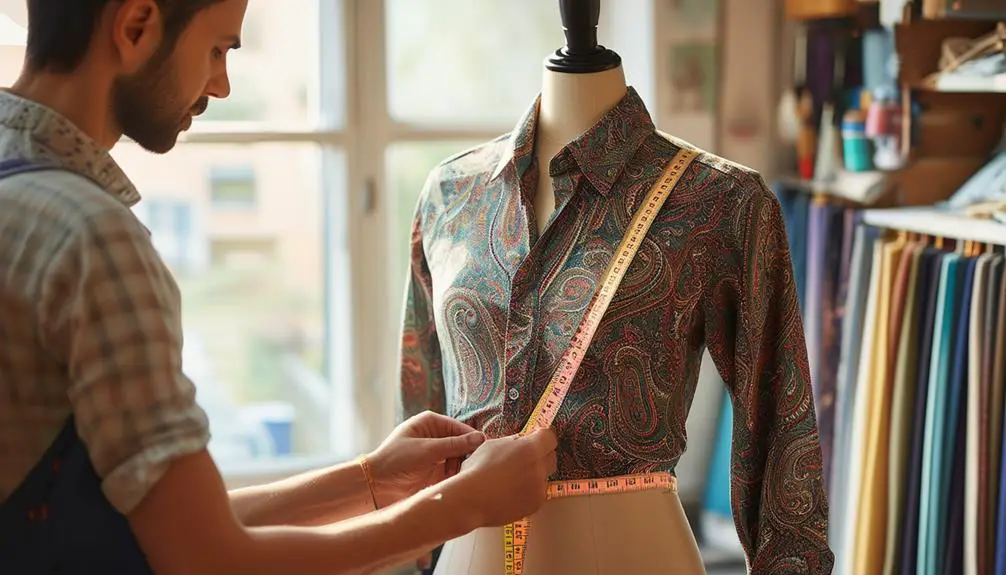
Initial Fitting Process
When tailoring a vintage paisley shirt, getting the initial fit just right is essential for achieving that stylish, polished look. Start by measuring your chest, waist, and hips—it's important, as sizes can vary greatly among vintage pieces. Understanding the unique characteristics of vintage clothing, such as vintage clothing trends, can also guide your adjustments.
Once you've got those measurements, lay the shirt flat on a surface to assess its current fit. Pay close attention to the shoulders, sleeves, and body length; these areas often need adjustments to elevate your vintage paisley button-down shirt's appearance.
Next, grab a measuring tape to mark your desired alterations, making sure you note any excess fabric that you can remove or take in for a more tailored look. Pin the areas that need altering, like the side seams or sleeve lengths, to hold the fabric in place. This step is essential, as it prevents any surprises when you try the shirt on again.
After pinning, slip the shirt on once more to confirm the fit is satisfactory. This fitting process allows you to make necessary adjustments before you commit to any permanent alterations. With these steps, you're well on your way to rocking that perfect vintage paisley shirt!
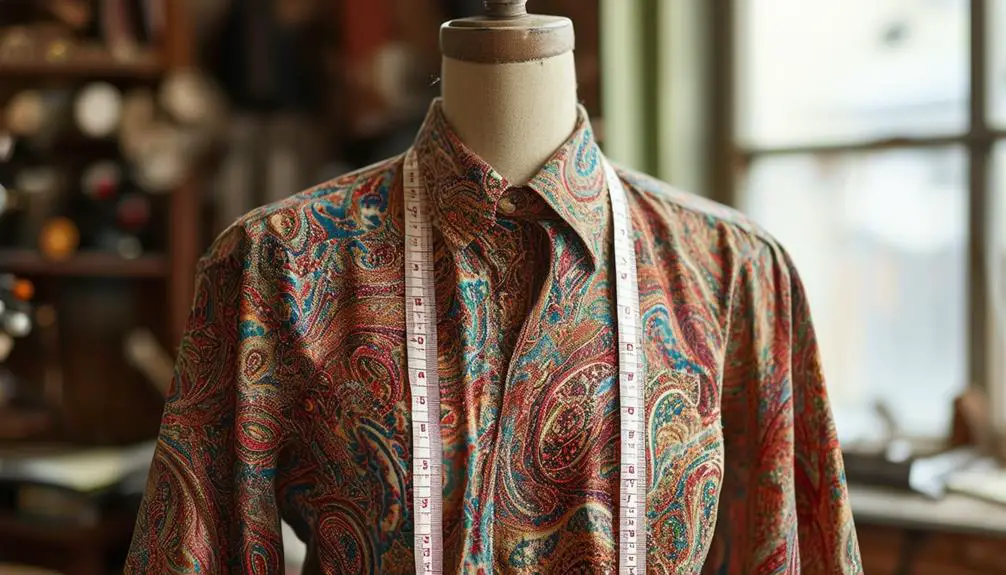
Measuring for Adjustments
Measuring for adjustments transforms your vintage paisley shirt from a simple piece into a tailored masterpiece.
Start with the collar size; it should ideally range from 15.4 to 20.7 inches. This guarantees your shirt fits snugly yet comfortably around your neck.
When working with vintage clothing, it's important to take into account how different brands, like Betty Barclay, have unique sizing and construction techniques that may affect fit.
Next, wrap the tape around the fullest part of your bust. Aim for a measurement between 41.0 to 68.5 inches for a flattering fit that celebrates your unique shape.
Now, check the shoulder width by measuring from the edge of one shoulder to the other, which should fall between 17.1 to 26.8 inches. This step is vital for a polished shoulder line.
For the shirt length, measure from the highest point of your shoulder down to your desired hemline, typically between 28.3 to 35.2 inches.
Marking and Cutting Fabric
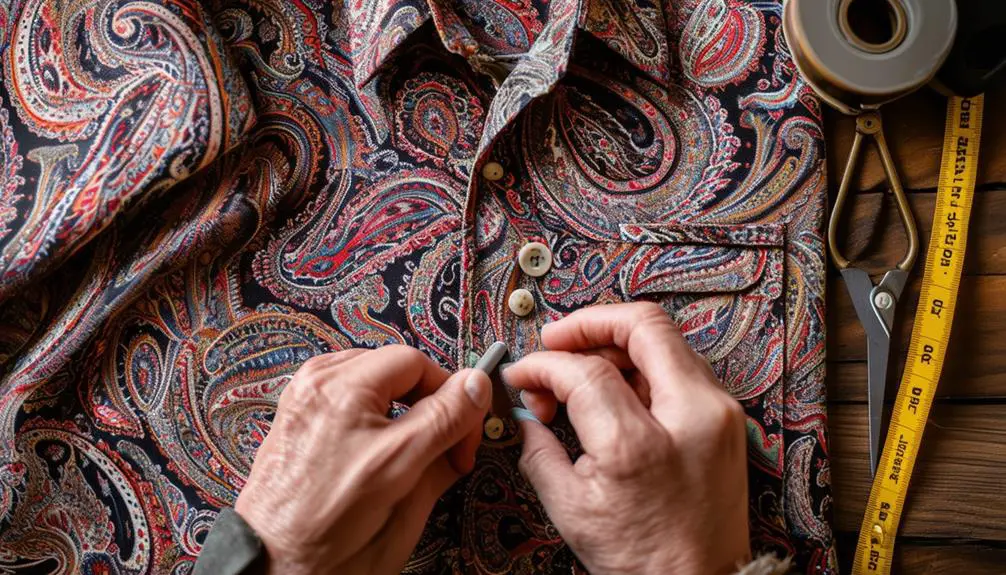
To achieve a polished look for your vintage paisley shirt, start by laying it flat on a clean surface, guaranteeing all seams align perfectly and the fabric is wrinkle-free. This step is vital for accurate marking and cutting.
Now, grab your tailor's chalk or fabric markers to outline any adjustments needed. Follow these essential steps:
- Mark Adjustments: Clearly outline where you want to shorten the sleeves or take in the sides, making sure your markings are precise.
- Double-Check Measurements: Always cross-reference your measurements with a size chart, especially for the collar size, which can range from 15.4 to 20.7 inches. This guarantees your tailored shirt fits just right.
- Cut with Care: Use sharp fabric scissors to cut along your marked lines slowly, preserving the integrity of the paisley pattern. Remember, fraying isn't your friend!
After cutting, secure any raw edges with zig-zag stitching or a serger to prevent fraying.
This attention to detail will set the stage for a stunningly tailored vintage paisley shirt that's both trendy and timeless. Happy tailoring!
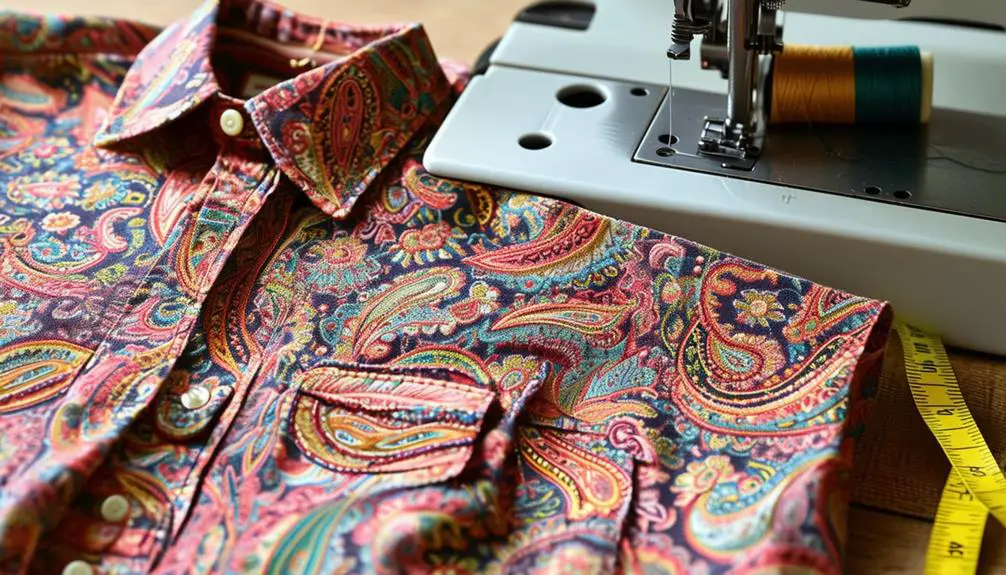
Sewing Techniques
How can you guarantee your vintage paisley shirt not only fits well but also showcases its unique charm? By mastering essential sewing techniques, you'll elevate your shirt from ordinary to extraordinary. Start by using a pattern like Kwik Sew #1191, which offers tailored adjustments, including a stylish collar stand and button placket.
While sewing, pay attention to the following techniques:
| Technique | Description |
|---|---|
| Pattern Modification | Trace and adjust sizes for a personalized fit. |
| Faux Serging | Use zig-zag stitching to finish seams cleanly. |
| Grainline Placement | Confirm correct grainline cutting for flow. |
Consider a rayon and cotton blend for your fabric, striking the perfect balance between comfort and elegance. By focusing on these techniques, you'll not only guarantee a snug fit but also maintain the vintage aesthetic that makes your paisley shirt stand out. Remember, the details matter—so take your time and savor the process. Your tailored shirt will be a true reflection of your style!
Reinforcing Seams
When it comes to reinforcing seams on your vintage paisley shirt, guaranteeing durability without compromising style is key. You'll want to focus on the areas that see the most wear, like armholes and side seams.
Here are some effective techniques to elevate your tailoring game:
- Stitch Selection: Use a straight stitch or a zig-zag stitch for added strength. This approach not only fortifies the seams but also maintains the fabric's natural drape.
- Fusible Interfacing: Consider applying a lightweight fusible interfacing on the seam allowances. This helps prevent fraying while adding stability, all without adding unnecessary bulk to your shirt.
- Color Coordination: Confirm that the thread you choose for reinforcement matches the fabric's color and type. This small detail keeps the vintage paisley aesthetic intact, making your repairs nearly invisible.
For curved seams, like those at the armholes, remember to clip the seam allowance at intervals for easier shaping.
Always test your reinforcement technique on a scrap piece first. This way, you can avoid any negative impact on your beloved paisley pattern.
Happy tailoring!
Pressing for Finish
Achieving a polished look for your vintage paisley shirt often involves frequent pressing, a step that can elevate your tailoring from amateur to professional.
Begin your pressing process with a steam iron set to the appropriate temperature for cotton fabrics, ensuring you effectively remove wrinkles without risking damage to that beautiful paisley pattern.
Start by pressing seams open first; this eliminates bulk and creates a sleek silhouette. As you work, always use a pressing cloth—lightweight cotton or muslin works wonders. This will protect your shirt from direct heat, preventing any unsightly shine or scorching that could detract from its charm.
Once you've tackled the seams, it's time for the final flourish. Give the entire shirt a last press, paying special attention to the collar stands, cuffs, and hems. These details are essential for that sharp, polished finish you want.
As you stand back to admire your work, you'll see how pressing not only enhances the structure but also brings out the intricate patterns of the paisley fabric, making your shirt a true statement piece.
Now, you're ready to wear it with confidence!
Final Fit Check
After you've completed the tailoring process, it's essential to try on your vintage paisley shirt for a final fit check, guaranteeing every detail complements your unique style.
Start by evaluating the fit across your shoulders, bust, and waist. You want to make sure everything feels just right. Pay special attention to the following:
- Collar Comfort: Confirm the collar sits comfortably against your neck without pinching. It should feel snug yet breathable.
- Sleeve Length: Check that the sleeves end just above your wrist bone. This length provides a sleek look without excessive bunching.
- Overall Silhouette: Inspect your silhouette in the mirror. The tailored shirt should hug your body shape perfectly—neither too loose nor too tight.
Next, evaluate the shirt length, confirming it falls comfortably at your hips or wherever you prefer.
Finally, perform a movement test—raise your arms and bend. The shirt should allow for comfortable mobility, letting you move freely without restriction.
With these checks complete, you can confidently sport your vintage paisley shirt, knowing it's tailored to perfection!
Frequently Asked Questions
How Do You Style a Paisley Shirt?
To style a paisley shirt, pair it with tailored trousers or high-waisted jeans. Layer under a blazer for sophistication, or roll up the sleeves for a relaxed look. Choose neutral accessories to keep the focus on the pattern.
How to Tailor Shirts That Are Too Big?
To tailor shirts that are too big, start by measuring key areas, then remove seams carefully. Pin the fabric to your desired fit, sew along new lines, and finish edges for a polished look.
Who Wears Paisley Shirts?
You'll find paisley shirts embraced by fashion-forward individuals, from celebrities to creative professionals. They're perfect for those who appreciate bold patterns, versatility, and a unique flair, making them a go-to choice for distinctive outfits.
Can You Tailor a Tailored Shirt?
Yes, you can tailor a tailored shirt! By adjusting side seams, taking in the waist, or shortening sleeves, you'll achieve a perfect fit. Just remember to measure carefully and maintain the shirt's original design.


I don’t think the title of your article matches the content lol. Just kidding, mainly because I had some doubts after reading the article.
Can you be more specific about the content of your article? After reading it, I still have some doubts. Hope you can help me.