To tailor a vintage pleated skirt, start by laying it flat and evaluating its fit. Measure the waist, length, and hips accurately, noting down all dimensions. Gather fabric chalk, safety pins, and a sharp pair of scissors. Pin the new waistline and mark cutting lines to guarantee precise alterations. As you adjust the pleats, maintain their character by sewing them down with straight stitches for durability. Iron the skirt to achieve crisp pleat definitions. By personalizing this cherished piece, you're not just enhancing your wardrobe but also joining the sustainable fashion movement—there's more to explore on preserving vintage treasures!
Emotional Attachment to Fashion
When you slip into a vintage pleated skirt, it's not just fabric against your skin; it's a portal to memories that shape who you are. The emotional attachment to fashion often weaves itself through the fabric of your life, connecting you to significant moments and milestones.
Each vintage piece tells a story, often marked by unique vintage clothing labels & identification that evoke the era from which it came. Perhaps that skirt reminds you of a carefree summer picnic or a special date night. Each fold and crease holds whispers of laughter and joy, making it hard to part with even if your size has changed.
Resizing and altering cherished garments like this skirt isn't just practical; it's a beautiful way to preserve those memories. By engaging in the alteration process, you not only adapt the piece to fit your current self but also enhance your sewing skills, deepening your bond with the garment.
This connection encourages a more sustainable approach to fashion, promoting alterations over disposal.
Assessing the Skirt's Fit
Start by laying your vintage pleated skirt flat on a clean surface, allowing you to examine its fit and condition closely. To guarantee you get the best results, use a fitting skirt of the same design as a size reference. Pay special attention to waist circumference, length, and pleat count.
| Measurement | Your Skirt | Reference Skirt |
|---|---|---|
| Waist Circumference | ||
| Desired Length | ||
| Pleat Count |
Make certain to measure your skirt's waist circumference and desired length, recording these measurements for future reference. If you're adjusting the hip area, measure that too. Pin the skirt at the desired new waistline and mark cutting lines with fabric chalk to visualize the necessary alterations.
Gathering Necessary Materials
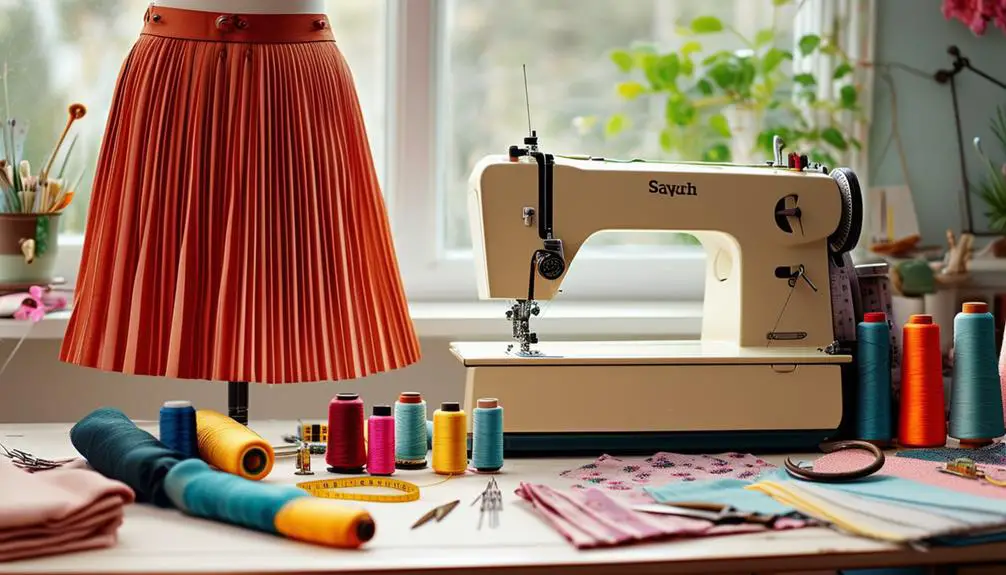
How can you guarantee your vintage pleated skirt alterations go smoothly? Start by gathering essential materials that'll make the process efficient and enjoyable.
First, you'll need fabric chalk for marking precise lines on your skirt. This handy tool helps you visualize your alterations without damaging the fabric. Additionally, understanding the characteristics of vintage clothing, such as identifying vintage Betty Barclay, can enhance your approach to alterations.
Next, grab a measuring tape to confirm you take accurate measurements, setting the foundation for a perfect fit. You'll also want safety pins to temporarily secure any adjustments as you work, preventing any accidental shifts.
A suitable needle and thread for hand sewing are vital, especially since vintage skirts often feature thicker fabrics that machine sewing may struggle with. Don't forget to collect Wonder Web or a similar fusible webbing; it adds support and stability during your alterations.
A pair of sharp fabric scissors is a must-have for cutting excess fabric cleanly along marked lines, avoiding any fraying. Finally, prepare an iron for pressing your skirt after alterations; this step will guarantee the pleats are crisp and the overall appearance is polished.
With these materials in hand, you're ready to commence your tailoring journey!
Measuring for Accurate Alterations
Wondering how to achieve the perfect fit for your vintage pleated skirt? Start by laying the skirt flat on a clean surface to assess its current size and condition. This initial step helps you visualize what needs adjusting.
To guarantee an accurate fit, grab a fitting skirt of the same design for reference.
Here's what to measure:
- Waist circumference
- Desired length
- Number of pleats
- Hip circumference
- Original pleat structure
As you measure, record all dimensions meticulously to avoid any errors.
Pin the skirt at the desired new waistline to visualize the fit and mark cutting lines with fabric chalk. This provides clear guidance during alterations.
Remember, it's essential to account for the original pleat structure while measuring; this maintains the aesthetic and design integrity of your skirt.
With precise measuring, you're setting the stage for a beautifully tailored piece that enhances your vintage style.
Planning the Alteration Process
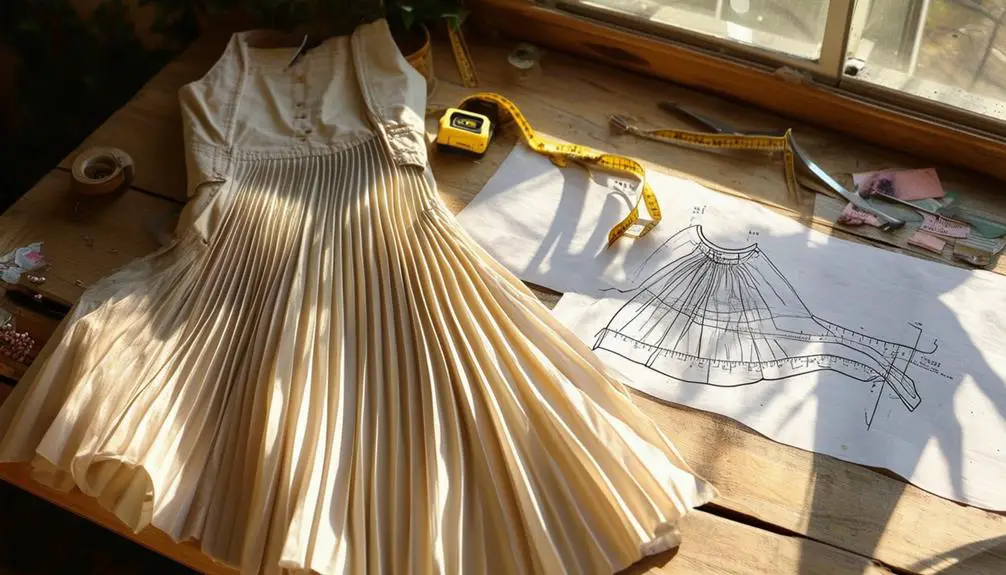
When planning the alteration process for your vintage pleated skirt, it's vital to visualize the steps ahead. Start by laying the skirt flat on a clean surface, evaluating its current size against a fitting skirt of the same design. This comparison will help you spot any size differences that need addressing.
Measure key dimensions like the waist circumference, desired length, and hip circumference, if necessary, jotting down these figures for reference.
Next, pin the skirt at your desired new waistline and use fabric chalk to mark cutting lines—this creates a clear guide for your alterations.
As you plan, consider how to adjust or remove pleats carefully, ensuring the skirt retains its original charm while achieving your desired fit.
Removing a Pleat
With your alterations planned, it's time to tackle the process of removing a pleat from your vintage pleated skirt. Start by identifying how many pleats you want to adjust and the new configuration that fits your style.
Lay your skirt flat and use fabric chalk to mark your cutting lines, pinning the skirt at the new waistline to keep everything secure.
Here's what you'll need for the task:
- Fabric chalk for marking
- Straight pins to hold your adjustments
- Safety pins for waistband folding
- Sewing machine with a straight stitch
- Iron for pressing the final look
Next, carefully fold the waistband to eliminate the selected pleat, securing it with a safety pin to help you during the sewing process.
When you begin sewing, use a straight stitch to reinforce the new waistline while keeping the pleats aligned. Be cautious not to sew through all layers of fabric.
Once you've completed removing a pleat, press the skirt with an iron to create sharp, well-defined pleats, and inspect the seams for any loose threads.
This final touch guarantees a polished, tailor-made finish.
Hand Sewing Techniques
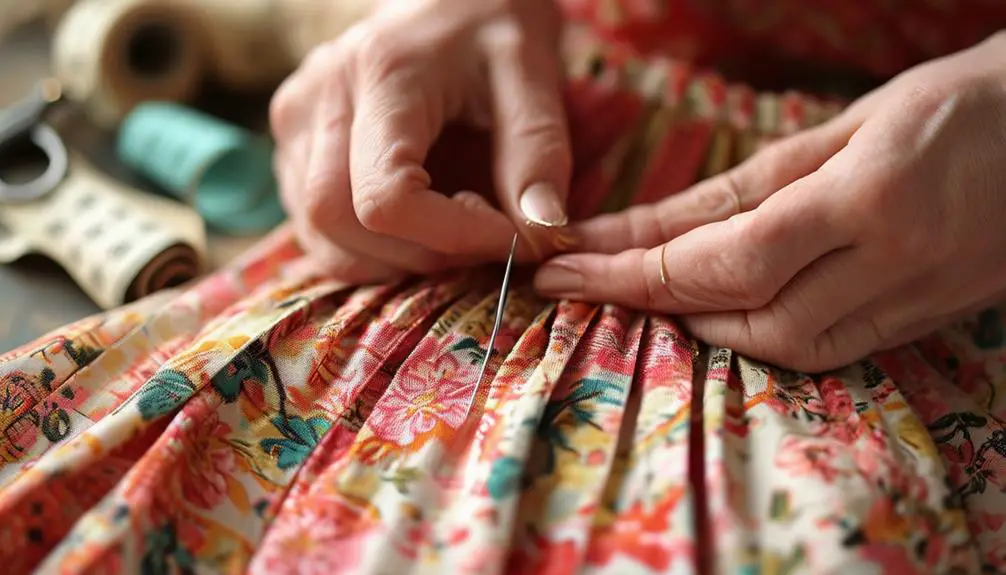
Hand sewing techniques offer a level of precision and control that's particularly beneficial when working with vintage fabrics. Unlike machine sewing, which can struggle with thick materials, hand sewing lets you navigate bulk more effectively.
Start by using a straight stitch to sew down pleats and waistlines. Make certain you only sew through the necessary layers to maintain the pleat structure.
Before you sew, pin the fabric securely. This not only keeps your layers aligned but also prevents any shifting while you work.
When adjusting pleats, take the time to re-fold and pin them into place first. This guarantees you maintain the original design and achieve even spacing.
If you're working with thicker materials that can be tricky to handle, consider employing additional techniques like Wonder Web. It provides added stability during your hand sewing process, making it easier to manage those challenging fabrics.
Adjusting and Reinforcing Pleats
Adjusting and reinforcing pleats is essential for achieving a polished look in your vintage pleated skirt. Start by examining the number and size of the pleats in comparison to a fitting garment. This guarantees you maintain the skirt's original aesthetic while adjusting it to your body.
Next, mark your desired new waistline with fabric chalk and pin the skirt to secure the new pleat configuration. After that, carefully cut away any excess fabric. When reinforcing pleats, sew them down carefully, being mindful to avoid sewing through all layers—this keeps the skirt's shape and movement intact.
Here's a quick checklist for adjusting and reinforcing your pleats:
- Identify existing pleats and their sizes
- Mark the new waistline with fabric chalk
- Pin the skirt for accurate adjustments
- Use a straight stitch for sewing new seams
- Iron the skirt for crisp, defined pleats
Once you've completed these steps, you'll have a beautifully tailored skirt that enhances both fit and visual appeal. Adjusting pleats may seem intricate, but with precision, you'll achieve stunning results.
Final Touches and Inspection
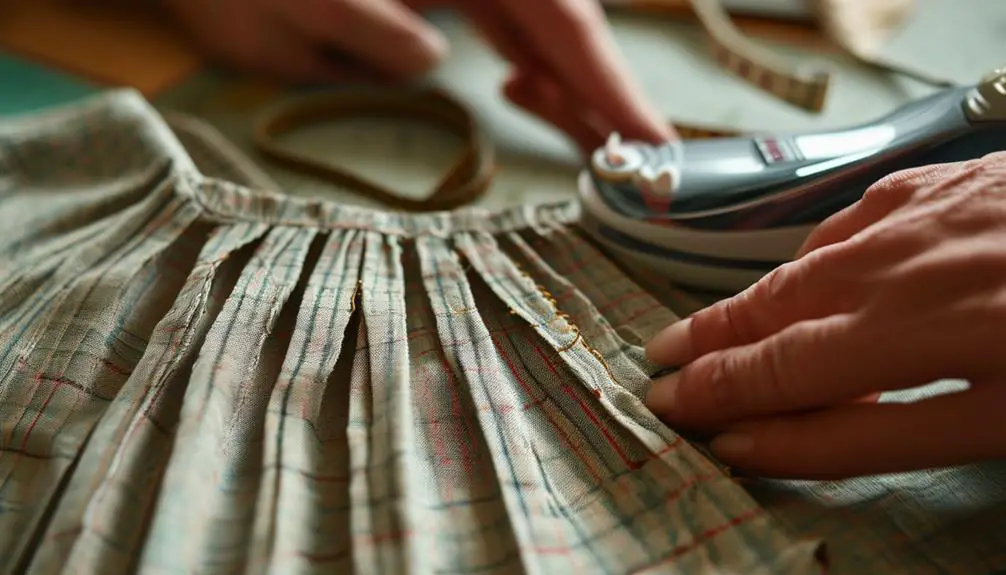
Achieving the perfect finish on your vintage pleated skirt requires careful attention to detail. Start by inspecting the pleats to guarantee they're neat and evenly aligned; this is vital for maintaining the skirt's aesthetic appeal.
During your final inspection, look for any loose threads or uneven seams—these small flaws can detract from the overall quality of your garment.
Once you've addressed any imperfections, it's time to iron the skirt thoroughly. This step is important to remove wrinkles and guarantee your pleats are crisp and well-defined, giving your skirt that polished, vintage look.
As you handle the fabric, check the fit around the waist to confirm it's comfortable. Remember, you want to allow for potential adjustments in the future, so preserving the original fabric integrity is key.
Embracing Sustainable Fashion
After ensuring your vintage pleated skirt is perfectly tailored and polished, it's time to think about the broader impact of your fashion choices.
Embracing sustainable fashion not only enhances your wardrobe but also contributes to a healthier planet. By altering vintage clothing, you extend its life cycle and greatly reduce textile waste—around 92 million tons of it generated yearly!
Additionally, understanding the history and value of your vintage pieces through vintage tag identification can enhance your appreciation for sustainable fashion.
Consider these benefits of sustainable fashion:
- Reduce Waste: Tailoring keeps garments out of landfills.
- Unique Styles: Vintage pieces offer distinct styles that fast fashion can't replicate.
- Cost-Effective: Alterations save an average of 60% compared to buying new.
- Emotional Connection: Personalizing your wardrobe fosters a deeper bond with your clothes.
- Support Local Economy: Utilizing local tailors promotes community growth.
Frequently Asked Questions
Can a Pleated Skirt Be Altered?
Yes, you can alter a pleated skirt! Start by measuring your waist and desired length. Adjust the waistline and pleats as needed, then press everything for a crisp, polished look that fits perfectly.
How to Shorten an Accordion Pleated Skirt?
To shorten an accordion pleated skirt, measure your desired length, mark it, then carefully unpin and press the pleats. Cut evenly, sew a straight hem, and iron to finalize the crisp, beautiful finish.
How to Fix a Loose Pleated Skirt?
To fix a loose pleated skirt, measure your waist, mark the new size, and pin it. Consider removing a pleat for a snug fit, then hand sew and iron for a polished finish.
How to Restore Pleats in Skirt?
To restore pleats in your skirt, first mark their locations. Then, fold and pin the fabric securely. Sew the pleats down, only through the top layer, and finally, iron them for a crisp finish.


I found your blog web site on google and examine a number of of your early posts. Continue to maintain up the superb operate. I simply additional up your RSS feed to my MSN Information Reader. Searching for forward to reading more from you in a while!…