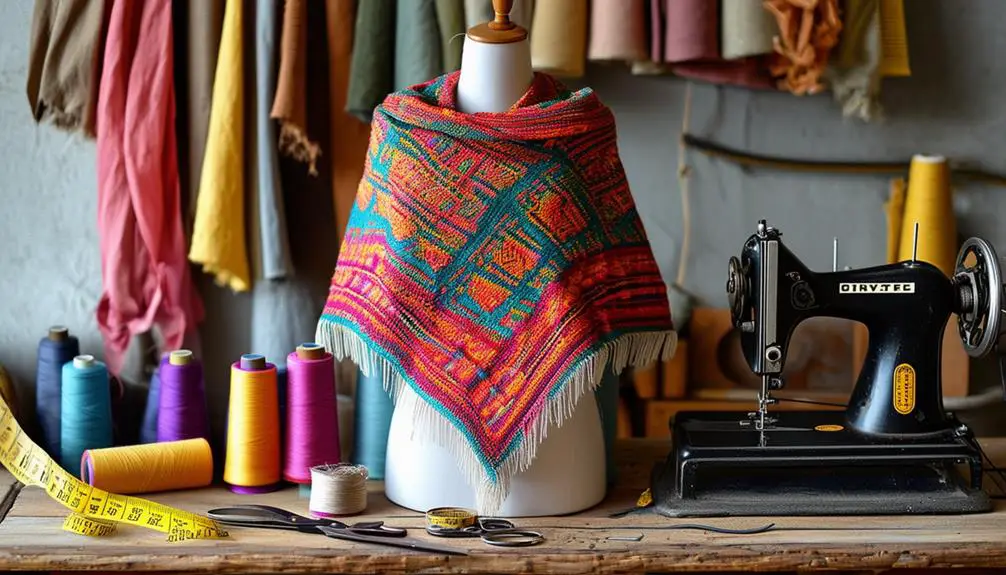
To tailor a vintage poncho, start by evaluating the fit; it should hit mid-thigh to knee for a flattering silhouette. Gather sharp scissors, pins, and a sewing machine to prepare for precise adjustments. Mark your alterations with fabric chalk and measure twice to avoid mistakes. Trim any excess fabric and finish edges with a zigzag stitch to prevent fraying. Consider adding trendy embellishments, like fringe or embroidery, to personalize your piece. Finally, style your poncho with fitted jeans or a sleek dress to highlight its unique charm, and you'll discover even more tips that will elevate your fashion game.
Assessing Fit and Style
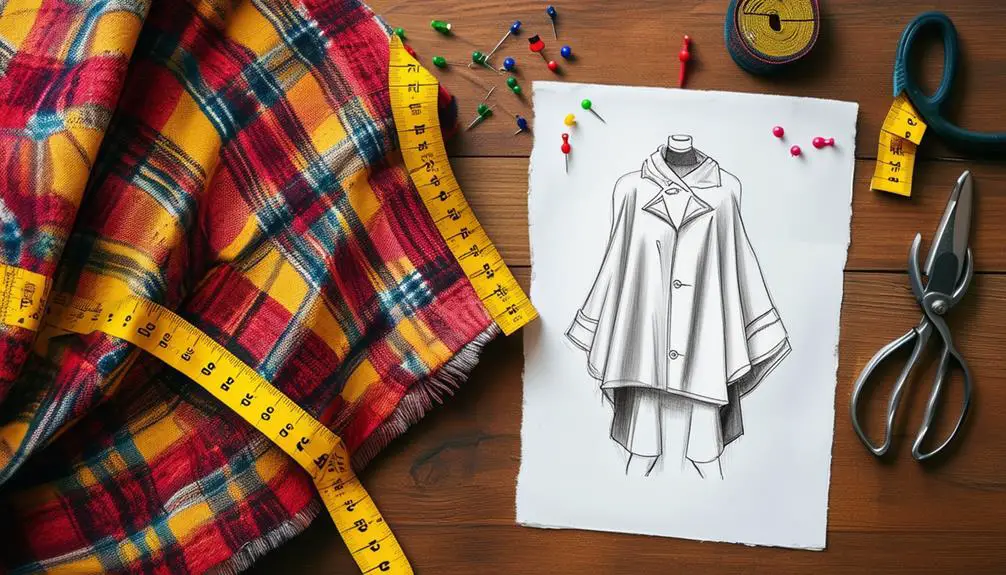
Evaluating the fit and style of your vintage poncho is essential for achieving that effortlessly chic look. Start by examining the overall fit, paying close attention to the side seams. Make sure they align well with your shoulders and chest; any areas that feel too loose or too tight can disrupt the poncho's flow.
A well-fitted poncho should ideally hit around the mid-thigh to knee, creating a flattering silhouette that enhances your figure. Additionally, consider the unique identifiers associated with vintage ponchos, such as vintage clothing characteristics that reflect the era it represents, as this can influence how you approach alterations.
Next, assess the sleeve openings. If they're too wide, your poncho may appear oversized and unstructured, taking away from its vintage charm. You want those openings to hug your arms just right, adding to the poncho's elegance rather than detracting from it.
Don't forget to evaluate the fabric drape. It should hang effortlessly, complementing your body shape without clinging awkwardly. For the best results, take accurate measurements of yourself and compare them to the poncho's dimensions. This will allow you to make precise alterations, achieving that tailored look that turns heads and keeps your style on point.
Gathering Essential Tools
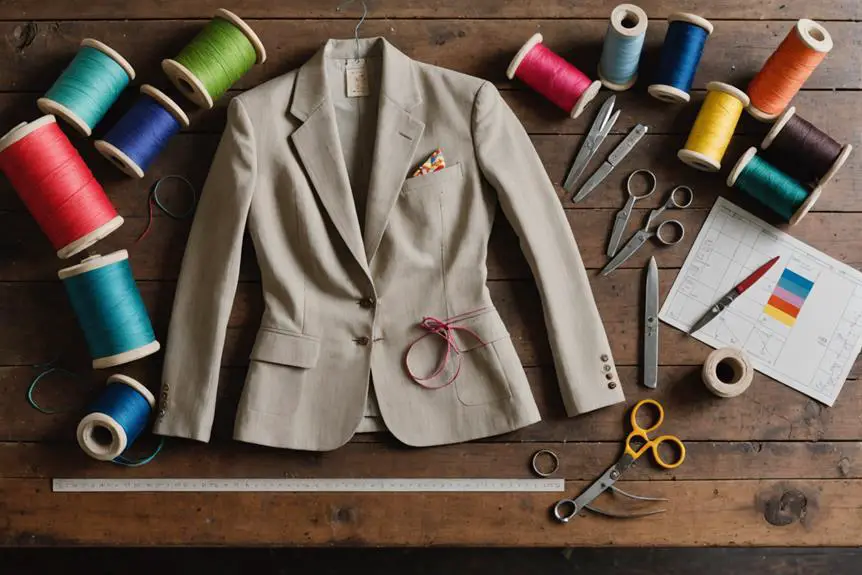
What tools do you need to transform your vintage poncho into a tailored masterpiece? First off, gather essential tools like sharp scissors to cut through fabric with precision.
You'll also need pins to secure alterations, ensuring everything stays in place as you work. A seam ripper is essential for removing any unwanted seams, allowing you to reshape your poncho effortlessly.
Don't forget a measuring square; it's important for achieving accurate measurements and straight lines. If you're dealing with thicker fabrics, zigzag scissors will help prevent fraying and keep your edges looking clean.
Make sure you have a reliable sewing machine or, at the very least, a needle and thread, so you can stitch new seams and finish hems effectively.
Having a fabric swatch or some extra material on hand is also a smart move; it's perfect for patching or matching fabrics during the alteration process.
With these essential tools gathered, you're ready to engage in customizing your vintage poncho, turning it into a unique piece that reflects your personal style!
Marking Adjustments With Precision
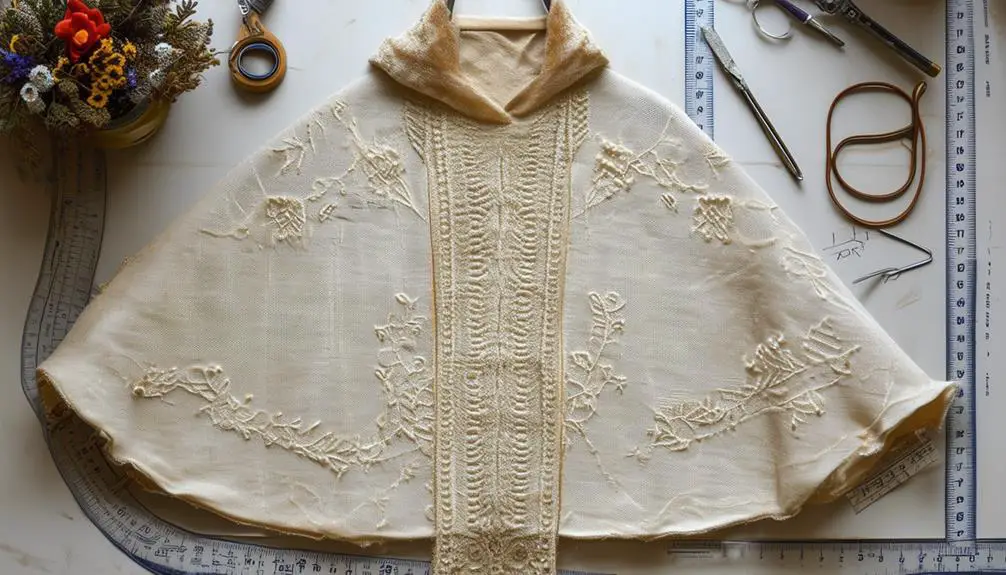
With the right tools at your side, you're ready to make precise adjustments to your vintage poncho. Start by grabbing a fabric marker to clearly outline where you'll be altering the garment. This guarantees you're able to see your lines against the fabric, making marking adjustments with precision a breeze.
If your poncho is from a recognizable brand such as Betty Barclay, it's worth noting that certain design elements may influence your adjustments. Next, employ a measuring square to establish exact measurements, maintaining symmetry and balance on both sides.
Before making any permanent adjustments, always pin the fabric pieces together. This step is vital for guaranteeing the fit is accurate, allowing for any last-minute tweaks. For temporary markings, utilize tailor's chalk; it brushes off easily, so you won't commit to permanent changes until you're completely happy with the fit.
Remember the golden rule: measure twice and mark once. This practice not only prevents irreversible mistakes but also helps you achieve that tailored look that enhances your poncho's original charm.
With these strategies in mind, you'll navigate the process of marking adjustments with precision, turning your vintage find into a personalized piece that truly reflects your style. Enjoy the transformation!
Trimming Excess Fabric
Trimming excess fabric from your vintage poncho can dramatically elevate its look and fit. Start by laying your poncho flat and measuring the desired length. Use fabric chalk to mark your cutting line, guaranteeing precision for that polished finish.
Next, grab your sharp fabric scissors and cut carefully along the marked line, maintaining a straight edge. This step is vital for a clean look.
After trimming, consider these finishing touches:
- If your poncho has a hem, fold the fabric under to create a finished hemline, enhancing its overall appeal.
- Use a zigzag stitch or a serger to finish the raw edges and prevent fraying.
- Always try on the poncho post-trim to confirm the fit is satisfactory, making any necessary adjustments for comfort.
Creating a new seam after trimming not only safeguards the fabric but also gives you a chic, tailored appearance.
Sewing Techniques for Edges
When it comes to finishing the edges of your vintage poncho, employing the right sewing techniques can make all the difference. Start by using a zigzag stitch along the edges to prevent fraying, giving your poncho a clean, professional look.
If you want a more polished finish, be certain to bind the edges with bias tape; this not only adds durability but also introduces a stylish element.
For thicker fabrics, a serger is your best friend, as it will provide a neat edge while effectively securing the seams.
If you're after a bohemian vibe, consider cutting the edges of the poncho into strips. Carefully pull the threads to create a trendy fringe effect that adds texture and flair.
After completing your sewing, always press the edges to guarantee they lay flat and maintain the poncho's tailored shape. This final step is essential for achieving a polished appearance that elevates your vintage piece.
Adding Decorative Elements
Once you've perfected the edges of your vintage poncho, it's time to enhance its charm with decorative elements that reflect your unique style. Let's go! Adding these touches won't only elevate your poncho but also make it a true reflection of you.
Here are a few ideas to contemplate:
- Fabric Paint or Textile Markers: Use them to create unique designs or patterns that truly express your personality.
- Embellishments: Incorporate lace, sequins, or patches to add a contemporary flair and visual interest.
- Fringe or Tassels: Experiment with adding these to the hemline or sleeves for a bohemian vibe and playful movement.
For a handcrafted touch, contemplate using embroidery techniques along the edges or on specific areas of the poncho.
Just make sure any decorative elements you choose are securely attached and thoughtfully placed to maintain balance and style.
Your vintage poncho can be a canvas for creativity, so don't shy away from mixing and matching!
With these decorative touches, your poncho will transform into a standout piece that showcases your artistic flair.
Showcasing Your Finished Poncho
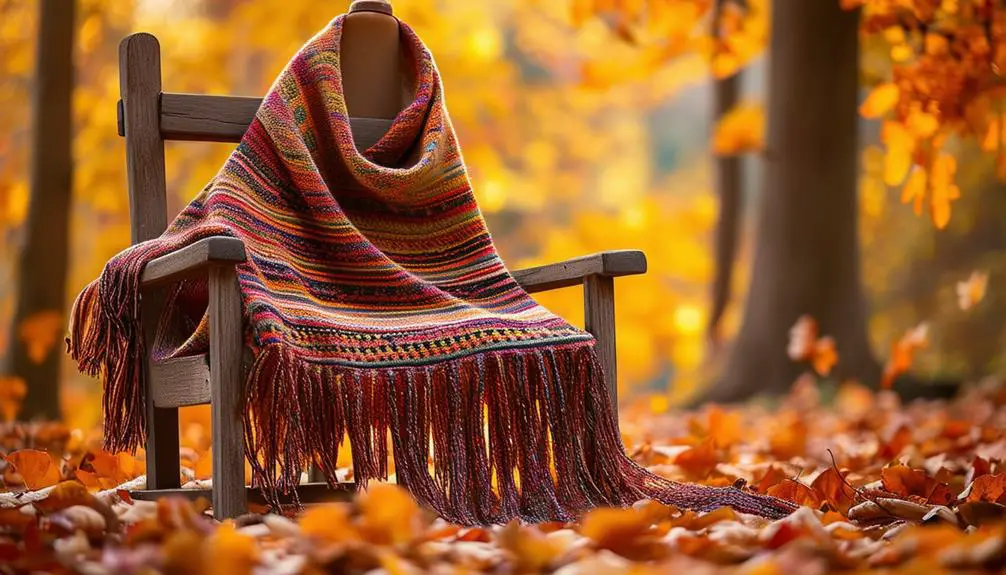
After pouring your creativity into tailoring your vintage poncho, it's time to let it shine! Start by styling it with complementary outfits that highlight its unique design and color. For a chic look, pair your poncho with fitted jeans to create a striking silhouette, or drape it over a sleek dress for an effortlessly elegant ensemble.
Remember that understanding the historical context of your vintage piece can enhance your styling choices, as vintage clothing labels often tell a story about the garment's provenance and era vintage tag insights.
Accessorize wisely; a statement necklace can draw the eye to your tailored piece, while a stylish belt cinched at your waist adds definition, enhancing the overall aesthetic. Don't forget to showcase the meticulously crafted side seam, as it speaks volumes about your handiwork.
Capture the transformation by snapping before and after photos to share on social media. This not only highlights your skills but also inspires others to upcycle their vintage finds.
Invite friends and followers to provide feedback on your finished poncho and encourage them to share their own upcycling stories. By doing so, you'll create a vibrant community of fashion enthusiasts excited about sustainable style.
Your tailored poncho is more than just a clothing item; it's a statement piece that reflects your creativity and passion for fashion!
Frequently Asked Questions
How to Alter a Coat to Make It Smaller?
To alter a coat smaller, assess the fit, then adjust shoulders and seams. Pin, sew new seams, and trim excess fabric. Finally, refine the lining and hem for a tailored, chic finish that's effortlessly stylish.
How Do You Make a Poncho Out of Fleece Fabric?
To make a cozy fleece poncho, you'll cut a rectangular piece of fabric, create a neck opening, and hem the edges. Add personal touches like pockets or embroidery to showcase your unique style.
How to Turn a Hoodie Into a Poncho?
To turn a hoodie into a poncho, grab an oversized hoodie, cut it down the center, and shape the hem. Add trim for flair, then secure any raw edges to keep it stylish and durable.
How Many Yards of Fabric Do I Need to Make a Poncho?
To make a stylish poncho, you'll need about 1.5 to 2 yards of fabric for a standard fit. For a trendy oversized look, go for 2 to 3 yards, ensuring maximum drape and movement.


Thanks for sharing. I read many of your blog posts, cool, your blog is very good.
Can you be more specific about the content of your article? After reading it, I still have some doubts. Hope you can help me. https://accounts.binance.com/register?ref=P9L9FQKY