To tailor a vintage shearling jacket, start by evaluating the fit. Wear the jacket and note any tight spots. Use a measuring tape to compare your body measurements with standard sizing charts. Grab sharp fabric scissors and a heavy-duty sewing machine to adjust seams and sleeves, ensuring you preserve the original style. Utilize tailor's chalk for clear markings and a leather needle with strong thread for durability. Hang your jacket on a padded hanger to maintain its shape, and don't forget about conditioning it every few months. Interested in how to maintain its timeless appeal and make effective repairs?
Assessing the Fit
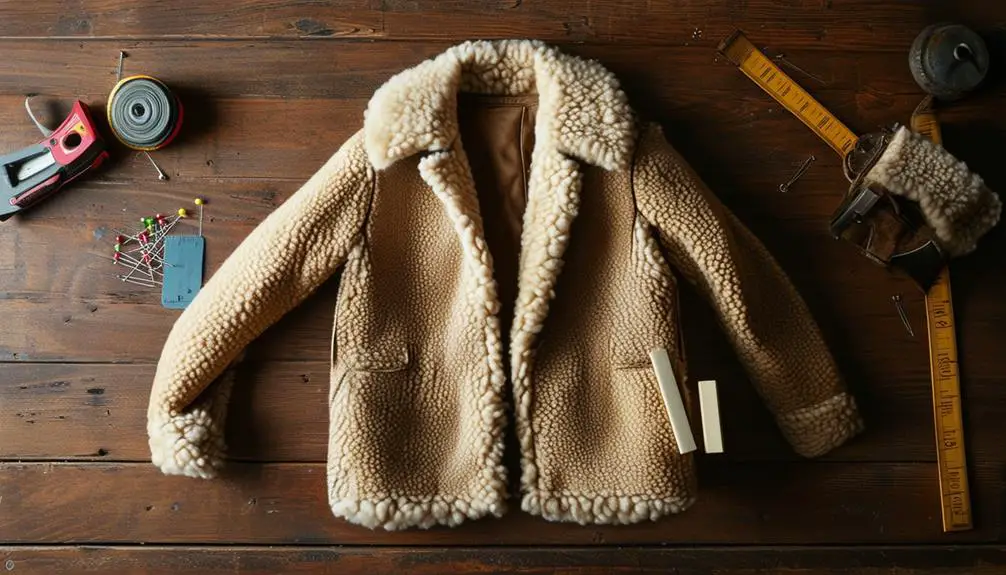
When you slip into a vintage shearling jacket, it's important to assess how it feels on your body, as this will guide you in making the right adjustments for a perfect fit.
Start by wearing the jacket and noting any areas that feel restrictive or uncomfortable. This step is vital for pinpointing where alterations may be needed.
Next, grab a measuring tape and take accurate measurements of your shoulders, bust, waist, and sleeves. Compare these measurements against standard sizing charts to evaluate the fit more effectively.
Pay attention to excess fabric around the torso and arms, as well as the jacket's overall length. A well-fitting shearling jacket should contour your body without being overly tight or loose.
Lastly, assess the jacket's silhouette as it drapes on you. The weight and thickness of the shearling can influence how the jacket fits, so make sure any adjustments you make preserve its structure and comfort.
Tools and Materials Needed
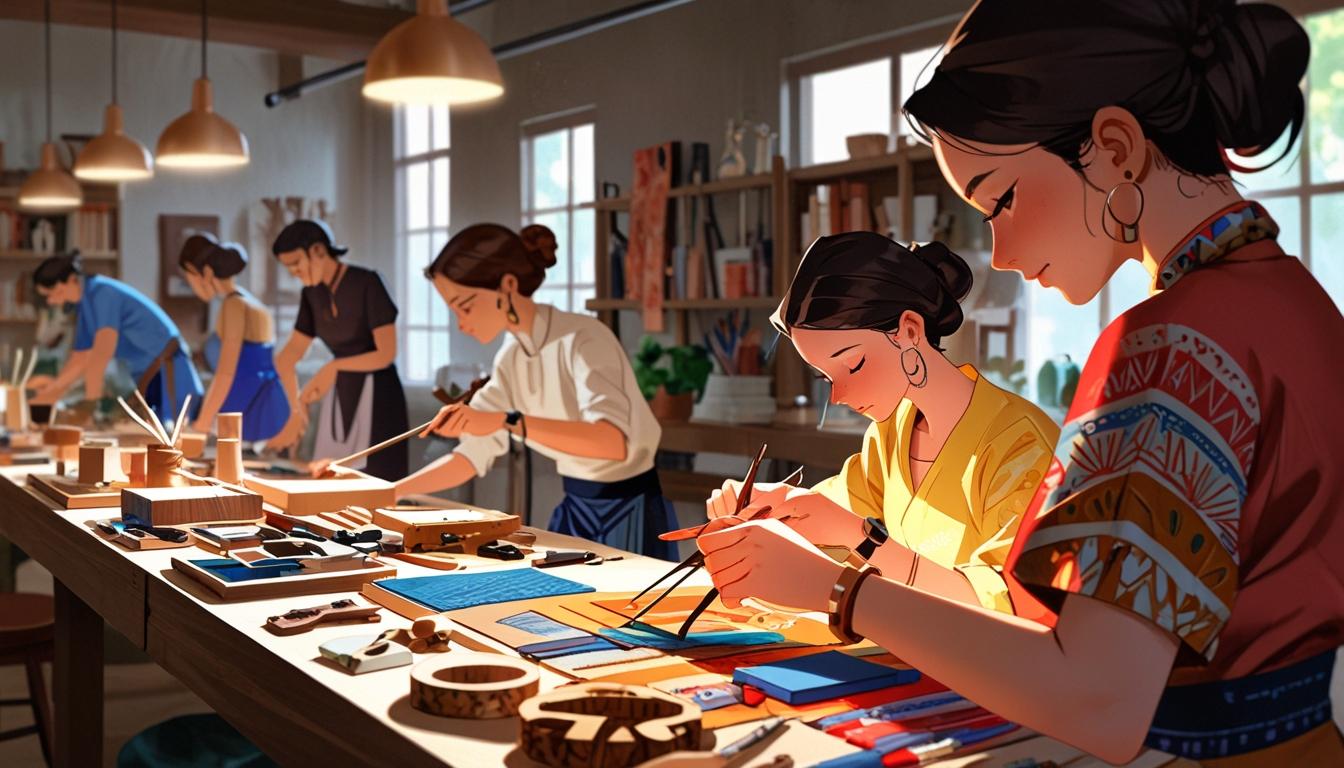
To successfully tailor your vintage shearling jacket, you'll need a few essential tools and materials at your disposal. Gathering the right supplies not only makes the process smoother but also guarantees a polished finish.
| Tool/Material | Purpose | Notes |
|---|---|---|
| Sharp Fabric Scissors | For cutting the shearling and leather | Must be durable and precise |
| Heavy-Duty Sewing Machine | Handles thick materials effectively | Confirm it has a leather needle |
| Seam Ripper | Removes old stitches if needed | Essential for adjustments |
| Measuring Tape | For accurate jacket measurements | Helps achieve the perfect fit |
| High-Quality Thread | For durable seams that match shearling color | Use polyester or cotton for strength |
With these tools, you'll be ready to tackle your vintage shearling jacket. The heavy-duty sewing machine paired with a leather needle is perfect for sewing through thick shearling without damage. Always keep high-quality thread on hand to maintain durability. Don't forget to measure accurately to confirm you get the fit just right. Patches can also help keep that vintage aesthetic while covering any repairs. Happy tailoring!
Adjusting Seams and Sleeves
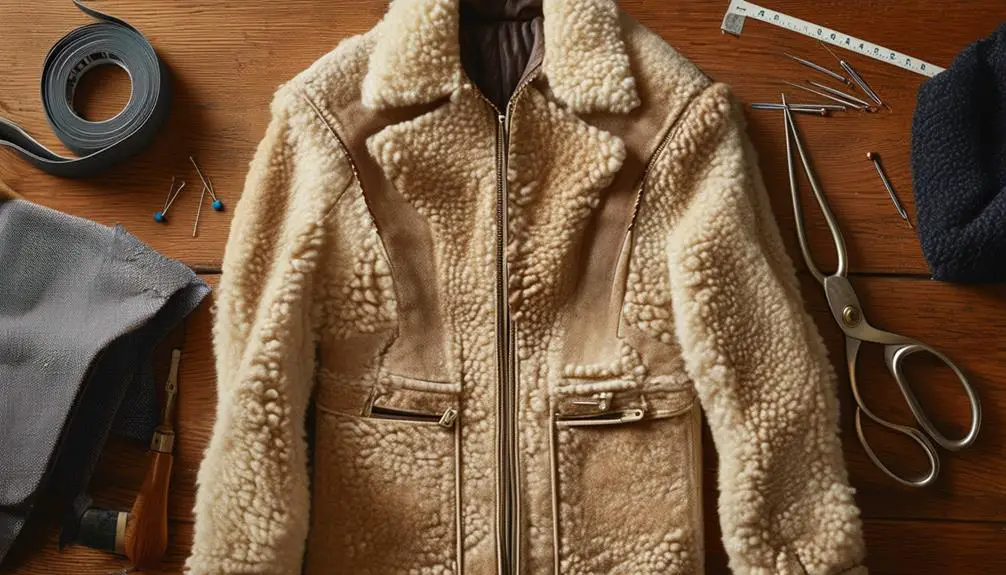
Adjusting seams and sleeves on your vintage shearling jacket requires a careful approach that respects the fabric's unique qualities while achieving a tailored fit.
Start by unpicking the original stitching along the seams. When you resew, guarantee you maintain the fabric's natural structure for a sleek silhouette.
For sleeves, it's best to shorten them from the shoulder seam rather than the cuff, which preserves the jacket's original style.
Before you cut, use tailor's chalk to mark your adjustments clearly. This helps visualize the changes, guaranteeing precision.
Remember to use a leather needle and strong thread specifically designed for shearling to avoid tearing during alterations.
After adjusting seams, don't forget to apply leather conditioner to the altered areas; this keeps the shearling supple and prevents dryness or cracking.
- Maintain the integrity of your jacket.
- Guarantee durability with the right materials.
- Visualize changes for a perfect fit.
Maintaining Jacket Shape
While you might be tempted to toss your vintage shearling jacket on a chair, taking the time to hang it properly can make all the difference in preserving its shape. Regularly hanging your shearling coat instead of folding it prevents unsightly creasing and helps maintain its original silhouette.
Opt for padded hangers that cradle the shoulders, ensuring the jacket's structure isn't distorted. Additionally, it's beneficial to reflect on the unique characteristics of vintage clothing, including the craftsmanship and construction techniques that contribute to the jacket's design and longevity, which you can learn about from identifying vintage characteristics.
Avoid direct sunlight when storing your jacket; prolonged exposure can fade its rich color and alter the leather's shape. Instead, choose a cool, dark place for storage.
Wrapping your shearling coat in a breathable garment bag protects it from dust while allowing air circulation, which is essential for maintaining jacket shape.
Before you tuck it away, make sure your jacket is clean and completely dry. Moisture can lead to mold and mildew, compromising the integrity and structure of your beloved piece.
Re-stitching Techniques
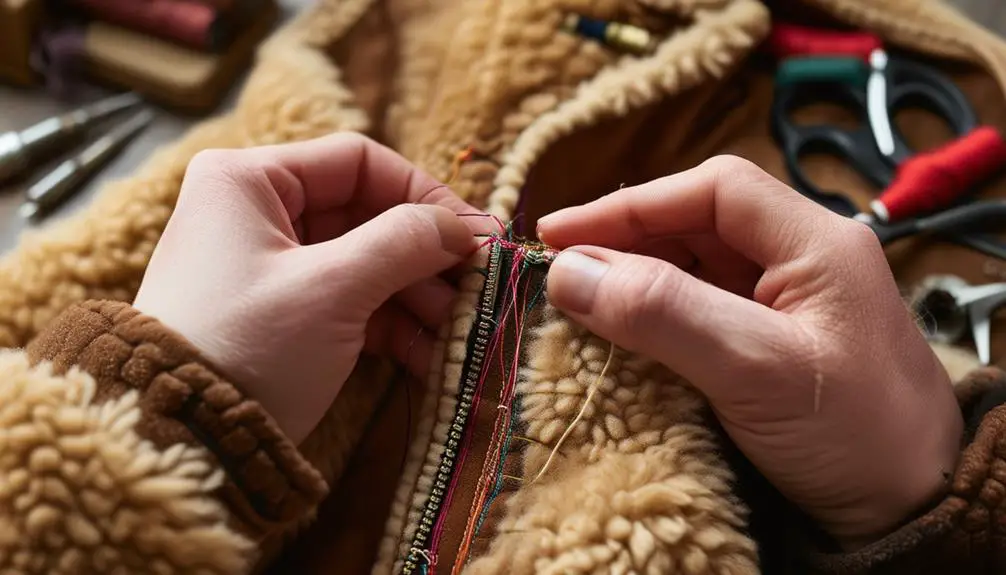
Re-stitching a vintage shearling jacket can breathe new life into your treasured piece, ensuring it remains both stylish and functional. To achieve a professional finish, follow these essential techniques.
First, use a heavy-duty needle and thread specifically designed for leather; this guarantees strong, durable stitches that withstand wear and tear.
Next, adopt the saddle stitch technique for a uniform stitch pattern. This method not only adds strength but also minimizes the risk of your stitches pulling apart under stress.
Before you begin, make sure to clean the area around the tear thoroughly, removing any dirt and oils that could jeopardize the repair's longevity.
For larger tears, consider reinforcing the area with a leather patch before stitching. This extra layer of support prevents further damage and enhances durability.
Finally, take your time with each stitch, ensuring even tension and alignment. This attention to detail contributes to a neater appearance and boosts the overall strength of your repair.
- Use the right tools for the job.
- Prioritize cleanliness for lasting repairs.
- Don't rush; precision is key to quality results.
Conditioning and Final Touches
Revitalize your vintage shearling jacket with proper conditioning and final touches that enhance its beauty and longevity.
Start by applying a high-quality leather conditioner specifically formulated for sheepskin. This step is vital for maintaining suppleness and preventing cracking. Depending on how often you wear your jacket and the environment you expose it to, aim to condition it every 6 to 12 months.
After conditioning, let your jacket air dry naturally, avoiding direct heat sources to maintain the integrity of the leather.
For the wool side, grab a soft brush and gently brush it to restore its fluffiness, enhancing the jacket's overall aesthetic appeal.
Spot cleaning is essential for keeping your shearling looking fresh. Use a damp cloth and mild detergent to clean any stains, ensuring you handle it delicately.
Once you've tackled the stains, consider applying a leather protector to shield your jacket from future wear and tear.
With these conditioning techniques and final touches, your vintage shearling jacket won't only look stunning but also last for years to come.
Frequently Asked Questions
Can a Shearling Jacket Be Altered?
Yes, you can alter a shearling jacket, but it's best to go to a skilled tailor. They'll help you adjust the fit while preserving the unique texture and character that makes shearling so special.
How to Shorten a Shearling Coat?
To shorten a shearling coat, measure the desired length and mark it. Cut carefully with sharp scissors, sew a new hem, and consider adding leather binding for durability and style. Finally, steam the hemline for a polished finish.
How Do You Style a Vintage Shearling Jacket?
To style your vintage shearling jacket, pair it with high-waisted jeans, layer a fitted turtleneck underneath, and choose bold ankle boots. Add a statement scarf for personality, keeping the focus on your jacket's unique texture.
What to Do With an Old Sheepskin Coat?
You can breathe new life into an old sheepskin coat by cleaning and conditioning it. For minor damage, try simple patching techniques, or consider upcycling it into trendy accessories that highlight its vintage charm.


Can you be more specific about the content of your article? After reading it, I still have some doubts. Hope you can help me.
Your point of view caught my eye and was very interesting. Thanks. I have a question for you. https://www.binance.com/ur/register?ref=WTOZ531Y