To tailor a vintage turtleneck sweater, start by choosing one with a high neckline. Gather your tools: pins, scissors, and an overlocker. Mark your desired cutting line with pins and create a pilot hole with scissors for a clean cut. Carefully cut the fabric, preserving its knit integrity. Fold and pin the new neckline, ensuring it's aligned perfectly before sewing. This alteration not only transforms the sweater's look but also enhances its versatility in your wardrobe. With this fresh approach, you can explore even more exciting styles and techniques to customize your vintage pieces.
Overview of Thrifted Jumpers

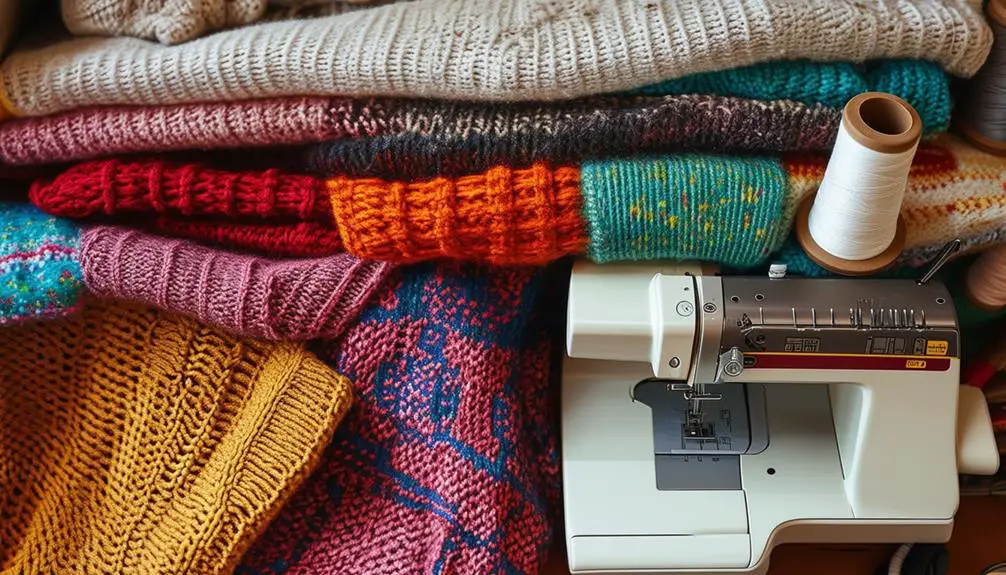
Thrifted jumpers offer a unique charm that can't be found in mass-produced clothing. During your recent thrift haul, you stumbled upon four vintage jumpers, each costing around £1.50 thanks to a buy one get one free promotion. Each piece you selected reflects a layering style that perfectly showcases your favorite blouses underneath, adding versatility to your wardrobe.
These jumpers may feature distinctive labels and designs that echo the fashion trends of their respective decades, making them not only stylish but also collectible as vintage clothing identifiers.
One jumper caught your eye for a specific reason: its high neckline didn't fit your desired aesthetic. This is where your creativity comes into play. You envision transforming it into something more personal and stylish. With essential materials in hand, including pins for marking and an overlocker for sewing, you're ready to begin the alteration journey.
The beauty of thrifted jumpers lies in the ability to personalize them according to your taste. By focusing on the neckline and making simple adjustments, you can enhance their appeal while embracing the vintage vibe.
Each alteration not only updates your look but also tells a story—your story. So, immerse yourself in your collection and let your creativity shine through these timeless pieces!
Neckline Transformation Steps
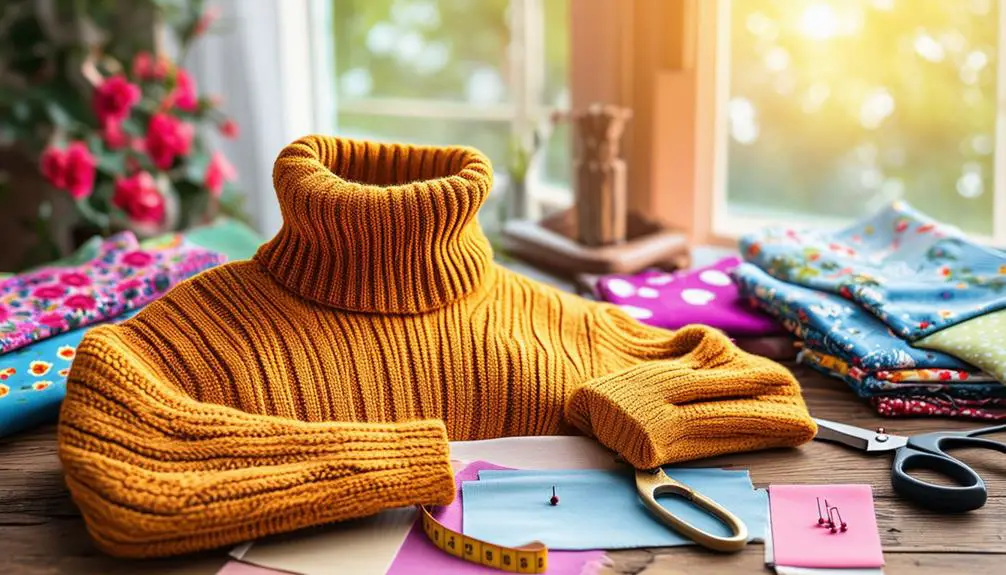
Transforming the neckline of your vintage turtleneck sweater can breathe new life into your thrifted find. Start by selecting a sweater with a high neckline that you want to alter. Gather your materials—pins, scissors, and an overlocker—and let's embark on the transformation.
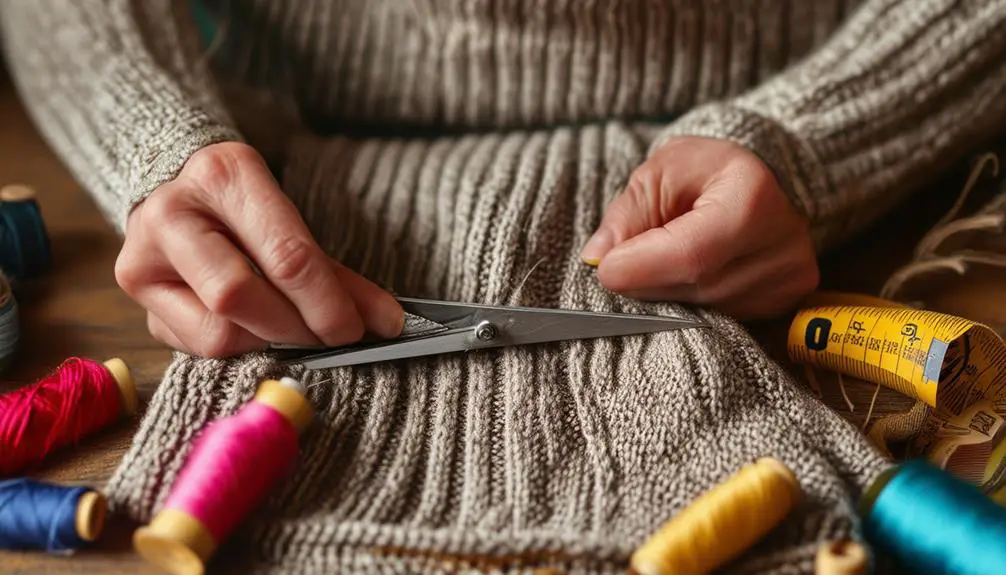
First, carefully mark the desired cutting line using pins. Consider styles you admire to guide your design. Once you're satisfied, create a pilot hole with your scissors to begin cutting the turtleneck fabric. Remember to handle it delicately to avoid damaging the knit structure. Next, unpick any seams to access more fabric, ensuring you leave a little bit of seam allowance for adjustments.
Fold and pin the new neckline in place, allowing it to fit perfectly. After securing it, use the overlocker to sew it together, creating a polished finish. Finally, compare the new neckline with the original to evaluate your work.
Here's a quick table to summarize the steps:
| Step | Action | Notes |
|---|---|---|
| Mark Cutting Line | Use pins to outline | Consider new style inspirations |
| Create Pilot Hole | Cut carefully with scissors | Maintain knit integrity |
| Fold and Pin | Secure new neckline | Leave a little seam allowance |
Now, you're ready to rock your revamped sweater!
Cutting and Sewing Techniques

Cutting and sewing techniques are essential for achieving a professional-looking alteration on your vintage turtleneck sweater. Understanding the importance of tag identification can also enhance your appreciation for the garment's history and value.
Start by carefully marking the desired neckline with pins, evaluating the existing height and width to guarantee a successful alteration. Here's a simple guide to help you through the process:
- Create a Pilot Hole: Use a seam ripper to unpick seams gently, allowing you access to additional fabric without compromising stitch integrity. This gives you extra material for your new neckline.
- Cut with Care: Once you've marked your new neckline, create a pilot hole in the fabric to avoid damaging the knit structure while cutting. This technique will keep your edges clean and precise.
- Sew for Success: After cutting, fold and pin the new neckline in place. Use an overlocker for a clean finish, ensuring the fabric is aligned correctly during the sewing process.
Don't forget to document any leftover materials from this alteration; they could be useful for future projects!
Mastering these cutting and sewing techniques will make your vintage turtleneck transformation a success.
Results of the Alteration
The results of your neckline alteration can be striking, turning a once-high turtleneck into a more flattering and versatile design. By carefully cutting and re-sewing, you've transformed the vintage sweater's neckline, enhancing its overall aesthetic.
The new shape not only offers a modern look but also makes it easier to layer with other pieces in your wardrobe. You'll notice that the integrity of the knit fabric remains intact after the alteration, ensuring both durability and comfort.
This careful attention to detail means you can wear your stylish sweater without worrying about wear and tear. When you compare the original and altered necklines, the improvement in alignment is evident, showcasing a more polished appearance.
Documenting any leftover fabric and materials from your DIY project is a smart move. Not only does it provide options for future alterations, but it also serves as a valuable reference for similar projects down the line.
This simplified alteration process encourages fellow DIY enthusiasts to embrace their creativity, allowing for personalized fashion choices that reflect individual styles while giving vintage pieces a fresh lease on life.
Future Alteration Plans

With a successful alteration under your belt, you might find yourself enthusiastic to explore new neckline styles for your vintage turtlenecks. Customizing the neckline can elevate your sweater's fashion appeal and make it uniquely yours. Consider these options for your next alterations:
- Boat Neck: This style offers a chic, wide opening that beautifully frames the collarbone.
- V-Neck: A classic choice, the V-neck elongates the neck and enhances layering possibilities.
- Scoop Neck: A softer, rounded option that adds a relaxed vibe to your vintage piece.
Using the cutting and sewing techniques you've mastered, you can guarantee consistent quality in each alteration.
Don't forget to gather inspiration from various fashion sources to identify trending styles that can be adapted to your vintage turtlenecks. Additionally, save those fabric scraps! They can be transformed into matching accessories, like headbands or wrist cuffs, adding a personalized touch to your wardrobe.
Lastly, engage with DIY communities online. Sharing your experiences and learning from others will enrich your alteration journey and inspire new projects.
Embrace the creative process and continue to enhance your fashion statement!
Frequently Asked Questions
Can Turtlenecks Be Tailored?
Yes, you can tailor turtlenecks! Adjusting the neckline height and width can enhance fit and style. It's a fun way to make your sweater uniquely yours while enjoying the creative process of altering vintage finds.
How Do You Tighten a Loose Turtleneck Sweater?
To tighten a loose turtleneck sweater, identify the neckline's width, then sew a new seam for a snug fit. Alternatively, use fabric elastic or a drawstring for a temporary, adjustable solution without permanent changes.
What to Do if Turtleneck Is Too Big?
If your turtleneck's too big, try taking in the side seams or adjusting the neckline for a snugger fit. You can also layer it over a fitted top to reduce bulkiness stylishly.
How Can I Make My Turtleneck Fit Better?
To make your turtleneck fit better, assess the neckline's height and width. Pin any excess fabric, cut carefully, and sew a new neckline for a more flattering, tailored look that enhances your style effortlessly.


Thanks for sharing. I read many of your blog posts, cool, your blog is very good.
Very nice post. I just stumbled upon your blog and wanted to say that I’ve really enjoyed browsing your blog posts. In any case I’ll be subscribing to your feed and I hope you write again soon!