To tailor a vintage utility jumpsuit, start by inspecting it for any damage and cleaning it thoroughly. Measure your body accurately and mark any areas needing adjustments with tailor's chalk. Use a reliable sewing machine, sharp scissors, and heavy-duty thread for durable seams. For fit adjustments, consider darting the waist or shortening hems. Adding personal touches like decorative buttons or unique patchwork can make it your own. Finally, style your tailored piece with statement accessories for a chic look. Discover how to enhance your jumpsuit even further and embrace its vintage charm!
Understanding Vintage Utility Jumpsuits
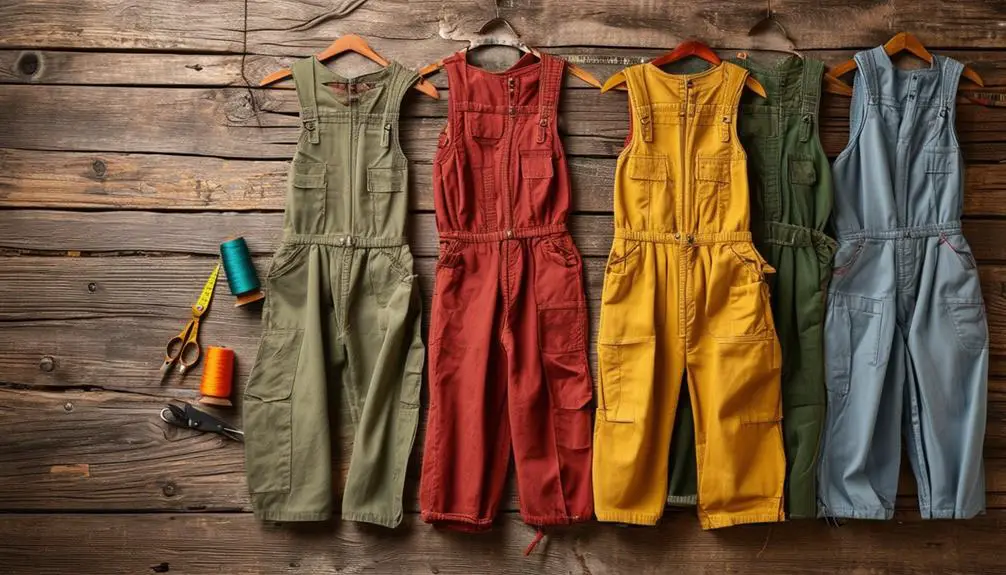
Vintage utility jumpsuits are a fascinating blend of style and function, originally gaining popularity in the 1970s. These one-piece wonders showcase a boxy design crafted from durable fabrics like denim or canvas, making them not only stylish but also incredibly practical.
The relaxed fit is perfect for a range of occasions, from casual outings to semi-formal events, while the cinched waist adds a flattering silhouette that enhances your shape. Many vintage utility jumpsuits come with unique identifiers that can help you trace their authenticity and era of origin.
You'll appreciate the multiple pockets that vintage utility jumpsuits offer, providing ample space for essentials as you go about your day. Heavy-duty stitching and sturdy closures—whether zippers or buttons—demonstrate the quality construction typical of this era. Some designs even feature unique patterns or colorblock styles that truly reflect the vibrant spirit of the 1970s.
When wearing a vintage utility jumpsuit, you'll find it easy to make a statement while enjoying comfort and functionality. By understanding these distinctive characteristics, you can better appreciate the allure of vintage utility jumpsuits and how they can serve as a versatile staple in your wardrobe.
Essential Tools for Tailoring
When it comes to tailoring a vintage utility jumpsuit, having the right tools at your disposal makes all the difference. First and foremost, a reliable sewing machine is fundamental for efficiently stitching through the durable fabric of your boiler suit, guaranteeing neat and precise alterations.
You'll want to use heavy-duty thread, which is critical for withstanding the weight and stress of the jumpsuit's fabric, assuring long-lasting seams after each modification.
Sharp fabric scissors are essential for making clean cuts, especially when trimming excess material or adjusting hems. Keep a measuring tape handy to guarantee accurate sizing and fitting adjustments; this way, you can achieve that perfect fit, particularly around the front zip area.
Lastly, don't overlook tailor's chalk or fabric markers. These tools allow you to mark adjustments on your utility jumpsuit vintage without leaving permanent stains, making it easier to visualize changes before cutting or sewing.
With these fundamental tools in tow, you're well-equipped to transform your vintage boiler suit into a personalized masterpiece that reflects your style.
Preparing the Jumpsuit for Alteration
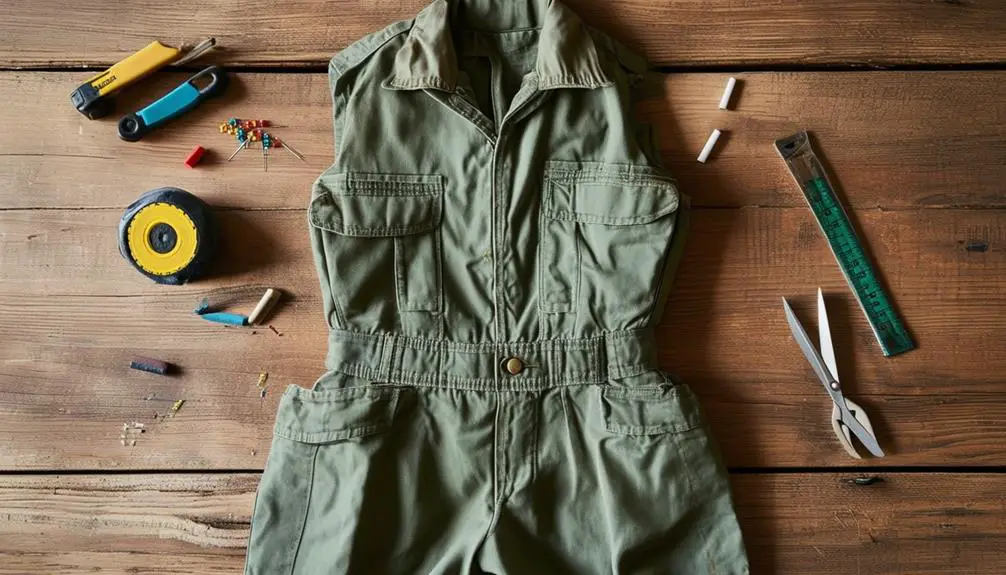
Before diving into the alteration process, it's crucial to give your utility jumpsuit a thorough inspection. Look for any existing damages, like frayed seams or stains, that might need your attention first. Addressing these issues will guarantee a cleaner, more polished final result.
Next, carefully wash and iron the jumpsuit, making sure it's clean and wrinkle-free. This step not only refreshes the fabric but also makes it easier to assess the fit and take precise measurements.
Grab your measuring tape and take accurate body measurements, including your bust, waist, hips, and inseam. These numbers will guide you in determining the necessary alterations for a better fit.
Once you've got your measurements, it's time to mark the areas needing adjustment. Use tailor's chalk or fabric markers to indicate these spots, ensuring the markings are visible yet removable after you finish altering.
Step-by-Step Sewing Process
Crafting your vintage utility jumpsuit can be an exciting journey into the world of DIY fashion. Start by selecting a durable fabric that speaks to you, like canvas or denim, and make certain you have heavy-duty thread and a sturdy sewing machine to handle those thick materials. This guarantees longevity and a polished look.
Next, carefully cut out your pattern pieces using sharp fabric scissors for clean edges. Don't forget to mark your fabric with tailor's chalk for visibility during assembly. Follow the pattern instructions closely as you stitch the bodice and pants together, paying special attention when attaching sleeves and sewing side seams with a straight stitch.
Once the main assembly is done, hem the edges to finish raw edges and prevent fraying. Add any closures, like zippers or buttons, to enhance functionality.
Making Fit Adjustments
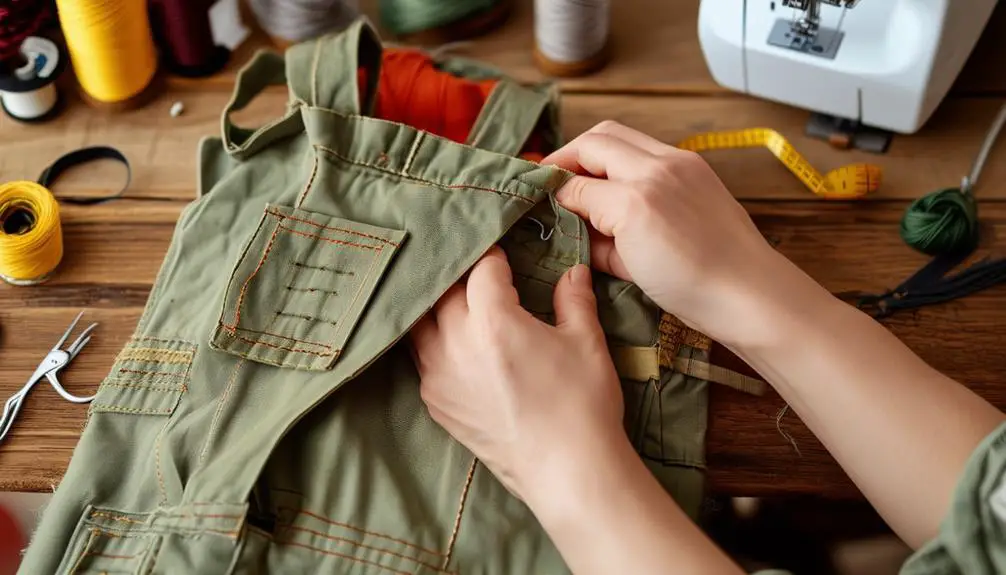
Making fit adjustments to your vintage utility jumpsuit is crucial for achieving that perfect, tailored look. Start by trying it on and using safety pins to mark areas that need adjustments.
Here are some common fit adjustments to take into account:
- Waist Adjustments: Take in the waist by sewing darts or side seams to eliminate excess fabric and enhance your silhouette.
- Hem Shortening: Measure the desired length and carefully shorten the hem. Make sure to finish the new edge to prevent fraying.
- Armhole Tightening: If the armholes are too loose, add darts or take in the side seams for a snugger fit, allowing for ease of movement.
- Final Fitting: After you've made your adjustments, always do a final fitting to confirm comfort and proper fit before stepping out.
These adjustments can greatly improve how the jumpsuit flatters your figure.
Adding Personal Touches
Once you've achieved the perfect fit for your vintage utility jumpsuit, it's time to infuse it with your unique personality. Start by adding patches or using fabric paint; these options not only personalize your jumpsuit but also help cover any wear and tear, making it a true reflection of your style.
Consider using contrasting thread for topstitching to create a bold, eye-catching design element that enhances the overall look. You can also incorporate decorative buttons or vintage-inspired fasteners, adding character and charm that speaks to your aesthetic.
If you're feeling adventurous, experiment with different lengths for the sleeves or pant legs through alterations. This not only refreshes the jumpsuit but also provides versatility for various occasions.
Don't forget about functionality! Adding pockets in unique placements or styles can enhance the jumpsuit's practicality while allowing for creative expression.
Whether you choose to embellish with whimsical patches or opt for elegant buttons, these personal touches transform your vintage utility jumpsuit into a one-of-a-kind statement piece that's distinctly yours.
Styling Your Tailored Jumpsuit
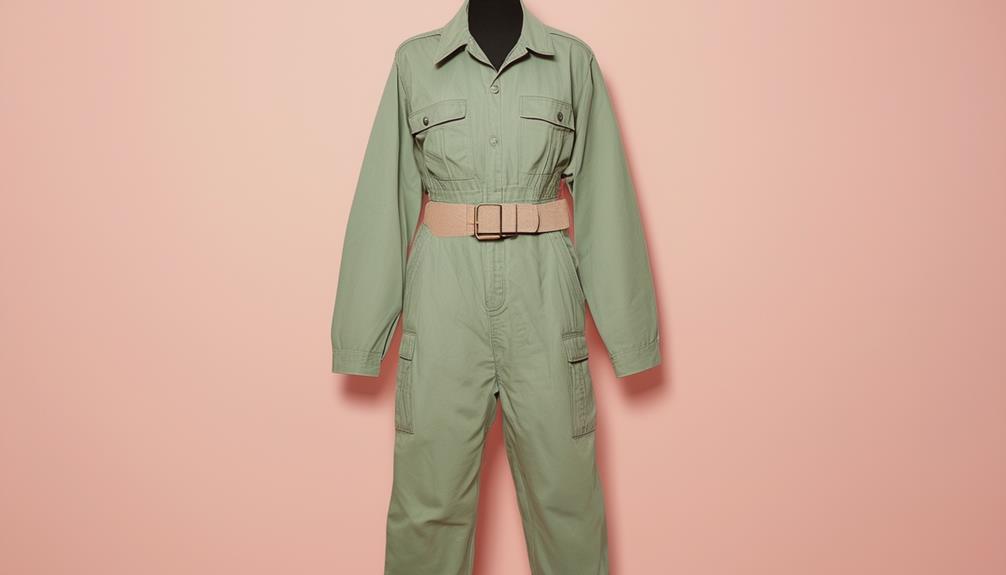
Styling your tailored vintage utility jumpsuit opens up a world of fashion possibilities that can elevate your ensemble for any occasion. Here are some tips to make your jumpsuit shine:
- Accessorize with Structure: Pair your jumpsuit with structured accessories like a bucket bag to enhance femininity and elevate your overall look.
- Stick to Neutrals: Choose neutral tones or a monochromatic palette for a chic appearance that balances comfort and style effortlessly during casual outings.
- Footwear Matters: Opt for vintage flats or stylish sneakers to maintain a polished finish while ensuring comfort throughout the day.
- Make a Statement: For a concert or event, accessorize your jumpsuit with bold statement jewelry and a vibrant lip color to add flair and personality.
If you're heading to the office, layer your tailored jumpsuit with a fitted jacket or blazer to create a professional touch, making it suitable for business casual events.
Care and Maintenance Tips
Caring for your vintage utility jumpsuit is essential to keep it looking fresh and stylish for years to come. Regular maintenance will help you enjoy your piece without worrying about wear and tear.
Here are some easy care tips to follow:
| Tip | Details |
|---|---|
| Check seams and stitching regularly | Look for signs of wear or fraying to maintain structural integrity. |
| Wash with care | Use cold water and a gentle detergent to prevent fading. Avoid harsh chemicals. |
| Air dry your jumpsuit | Hang to dry to avoid shrinkage and damage from high heat. |
Additionally, store your jumpsuit in a cool, dry place, away from direct sunlight to prevent discoloration. You might also consider using a fabric protector spray, especially during outings, to shield against stains and spills. By following these simple maintenance tips, you'll keep your vintage utility jumpsuit looking fabulous, ensuring it remains a staple in your wardrobe for years to come.
Inspiration From Vintage Trends
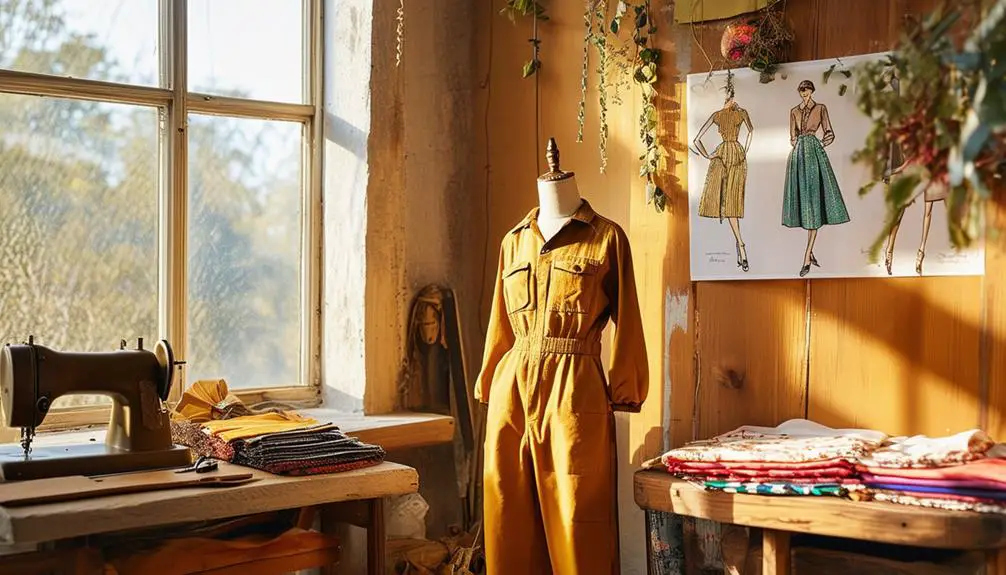
Drawing inspiration from the vibrant fashion of the 1970s, vintage utility jumpsuits blend bold colors and functional designs that resonate with today's style sensibilities.
These pieces are more than just clothing; they're a nod to an era that celebrated individuality and practicality. As with other vintage styles, identifying vintage clothing often involves recognizing unique design elements and quality craftsmanship.
If you're looking to infuse your wardrobe with a retro vibe, consider these standout features:
- Bold Colors: Look for jumpsuits in bright oranges, deep greens, or rich browns that capture the essence of the 70s.
- Geometric Patterns: Embrace playful prints, such as chevrons or florals, that add a lively touch to your outfit.
- Durable Fabrics: Opt for denim or corduroy, which not only provide longevity but also a casual, laid-back look.
- Functional Elements: Seek out practical features like large pockets and adjustable waistbands, ensuring comfort without sacrificing style.
Frequently Asked Questions
Can a Jumpsuit Be Tailored?
Absolutely, you can tailor a jumpsuit! By adjusting the waist, hem, and armholes, you'll create a fit that flatters your shape. Consider adding darts for extra style and comfort. Don't hesitate to consult a professional tailor!
Can I Make a Jumpsuit Bigger?
Yes, you can make a jumpsuit bigger! Consider adding fabric panels to the sides, replacing zippers for extra room, or using darts for a better fit. Temporary stitches can help you test adjustments before committing.
How to Make Coverall Smaller?
To make your coverall smaller, start by pinning the fit you want. Take in the side seams, shorten the hem, or add darts for a tailored look. A belt can also create a snug fit instantly.
How to Hem a Romper?
To hem a romper, try it on and mark your desired length. Cut carefully, fold the raw edge, pin it, then sew along the fold for a clean, professional finish. Enjoy your perfect fit!
