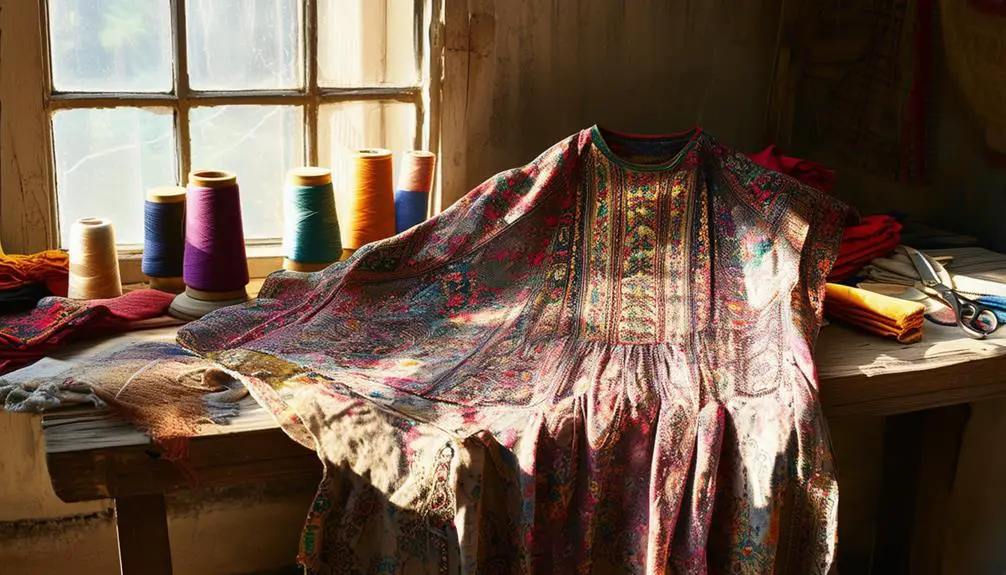
To tailor your vintage bohemian tunic, start by measuring the desired length, marking it with tailor's chalk for precision. Iron a crease at the hemline to guide your cutting. Baste the fabric in place, then adjust your machine settings for a smooth stitch. Follow a 5/8 inch hem allowance as you sew, using a blind hem stitch for an almost invisible finish. After stitching, inspect for consistency and alignment, ensuring the tunic retains its effortless drape. With a few careful adjustments, you'll create a personalized look that speaks to your style. Stick around to uncover more expert tips!
Measuring the Desired Length
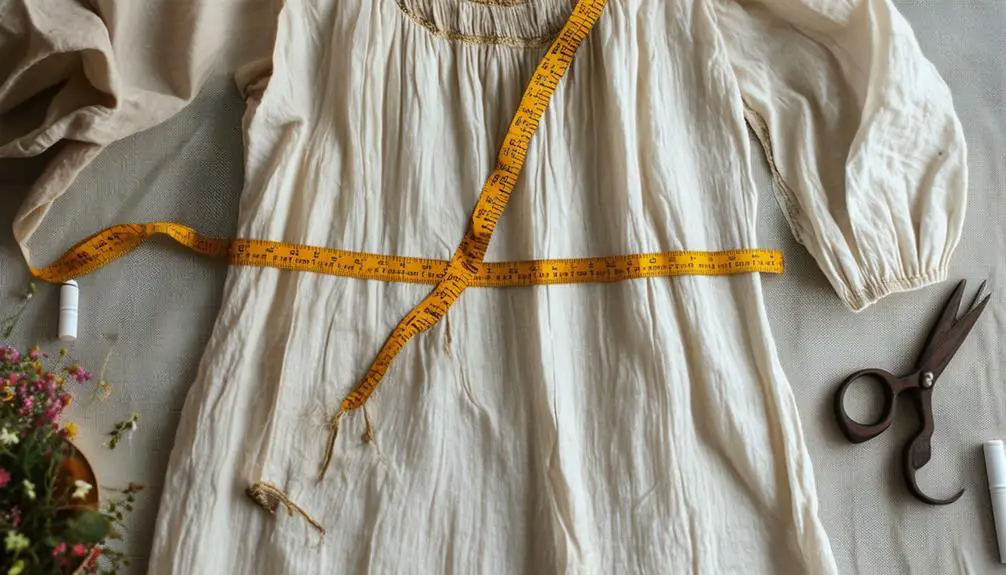
When you're ready to find the perfect length for your vintage bohemian tunic, how do you make certain it suits your style? Start by having the wearer stand straight, with the tunic in a relaxed position. Grab a measuring tape and measure from the shoulder seam down to where you envision the hemline. This guarantees you account for how the fabric drapes when worn, rather than just laid flat.
Additionally, understanding the historical context of vintage clothing can help you appreciate how different lengths may have been fashionable in past decades, especially in bohemian styles that often feature flowing silhouettes vintage clothing trends by era.
While you're measuring, it's important to think about the tunic's style. If you want that quintessential bohemian vibe, a longer length often works best. However, if you're aiming for a more fitted look, consider a shorter cut.
Once you've settled on your desired length, I'm going to recommend marking it with fabric chalk or pencil. This avoids any confusion when you're cutting and hemming later.
And remember, always measure twice to confirm your accuracy. This simple step prevents unnecessary fabric loss and makes sure your tunic turns out just right.
With your measurements set, you're one step closer to rocking that perfect vintage bohemian look!
Marking the Fabric
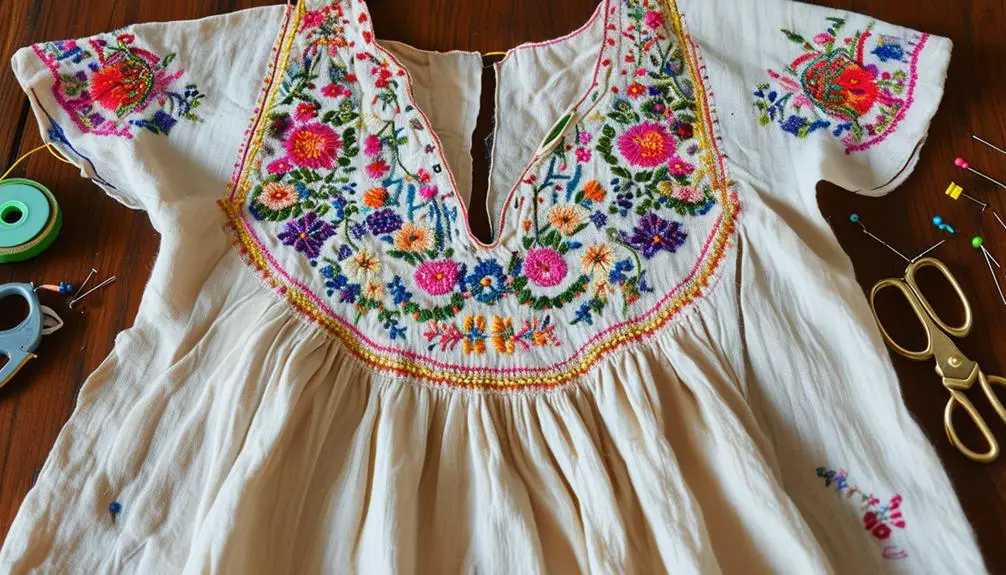
Getting the markings just right on your vintage bohemian tunic is essential for achieving that effortless, stylish look. Start by grabbing some tailor's chalk or fabric markers, ensuring they'll stand out without harming your fabric. Knowing the importance of tag identification can also guide your choices, especially if your tunic has a vintage label that tells its story.
Next, measure from a consistent point—like the shoulder seam or neckline—so your markings remain uniform throughout the garment. Using a ruler or measuring tape, create a straight line or a gentle curve to guide your cutting, which helps keep the hemline even.
Don't forget to mark any additional adjustments, such as sleeve lengths or side seams, to preserve that bohemian vibe you love. Take a moment to double-check your measurements; this step is vital. Confirming your markings before cutting will save you from irreversible mistakes that could disrupt your beautiful tunic.
Once you're satisfied with everything, you'll be ready to make those cuts with confidence. Embracing this process not only enhances your garment but also allows you to express your unique style. Trust your instincts, and soon you'll have a perfectly tailored tunic that embodies the free-spirited essence of bohemian fashion.
Preparing the Hem
To prepare the hem of your vintage bohemian tunic, start by ironing a crease at your desired new hemline. This crease acts as your guiding light, guaranteeing each cut and fold aligns perfectly with your vision.
Once you've marked that line, grab a basting stitch to temporarily hold the fabric in place. This little trick makes it easy to adjust the hem without any stress.
Here are four essentials to keep in mind:
- Lightweight Fabric: It'll make the shortening process feel like a breeze, allowing for smoother handling.
- Basting Stitch: Think of it as a safety net for your fabric—temporary yet reliable.
- Precision: Setting your machine to a stitch length of about 3 and adjusting the needle position to the farthest left gives you that polished edge.
- Finishing Touch: After you've sewn the initial stitch, removing the basting stitch and ironing the hem down guarantees a clean, professional look.
With these steps, you're well on your way to creating a stunning, tailored piece that reflects your unique style.
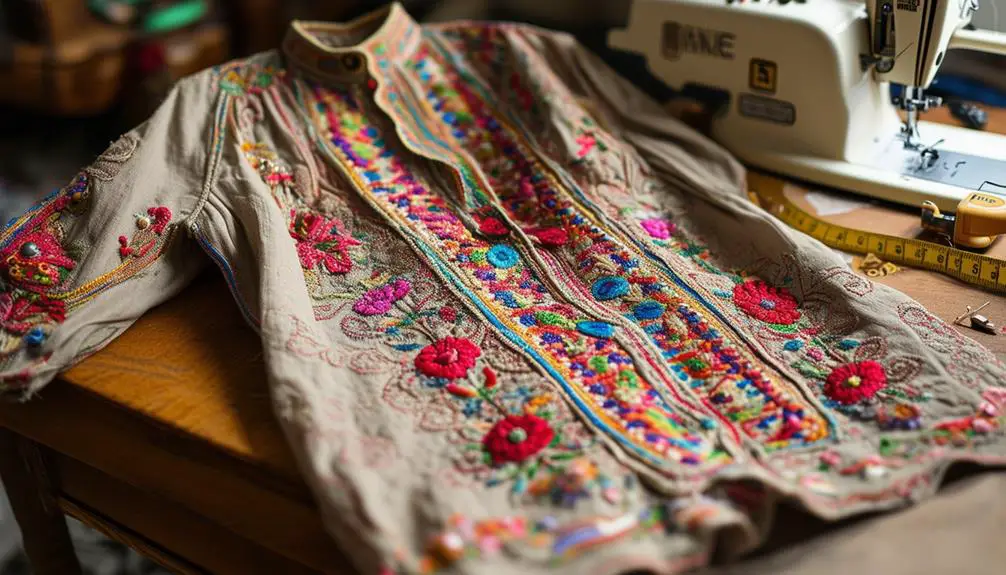
Adjusting Machine Settings
Adjusting your sewing machine settings is essential for achieving that flawless hem on your vintage bohemian tunic. Start by setting the stitch length to approximately 3. This guarantees a balanced and strong seam, perfect for the delicate fabrics often found in bohemian styles. Next, adjust the needle position to the farthest left. This will give you the precision and control you need while sewing the hem, allowing for a beautifully finished edge.
For the hem allowance, use a 5/8 inch setting. This standard measurement helps create a clean finish that complements the tunic's flowy design. Before you begin sewing, confirm the alignment with your machine's markings. Positioning the fabric correctly is key to achieving even stitching throughout.
Always double-check your machine settings to avoid mistakes during the tailoring process. Here's a quick reference table to guide you:
| Setting | Recommendation | Purpose |
|---|---|---|
| Stitch Length | 3 | Balanced and strong seams |
| Needle Position | Far Left | Precision and control |
| Hem Allowance | 5/8 inch | Clean finish on the hem |
With these adjustments, you're ready to create a stunning hem!
Initial Stitching Process

Starting the initial stitching process for your vintage bohemian tunic is an essential step in achieving that perfect fit. This phase sets the foundation for a beautifully tailored piece that reflects your unique style and pays homage to the craftsmanship found in vintage clothing labels.
Here's how to get started:
- Iron a crease into the fabric: This marks the new hemline, ensuring you've got accuracy during the shortening process.
- Baste the fabric in place: A basting stitch will temporarily hold everything together, making adjustments easier before you commit to sewing.
- Adjust your machine settings: Set your stitch length to approximately 3, and position the needle to the farthest left for precision alignment.
- Finish the initial stitch: Sew along the hemline, following the 5/8 inch hem allowance marked on your machine.
Once you've sewn the initial stitches, remove the basting stitch and give the fabric a good press with the iron. This will create a neat, clean finish and prepare you for the final hem stitching.
Embrace the excitement of transforming your vintage find into a stunning piece that's uniquely yours!
Executing the Final Hem
With your initial stitches now complete and the fabric pressed into place, you're ready to execute the final hem on your vintage bohemian tunic. Grab your blind hem stitch foot to guarantee that your stitching is nearly invisible from the right side of the fabric, giving your tunic that polished, professional look.
Begin by folding the hem along the last stitch line, aligning it carefully with the right side facing up. This alignment is vital for a clean finish. As you sew, take care to catch just the hem and a small portion of the main fabric. This technique helps maintain the tunic's lovely drape, allowing it to flow effortlessly without bulky seams.
Once you've completed the final hem stitching, inspect your work. Look for consistency in your stitches, making sure they're evenly spaced and not visible from the outside. This attention to detail will elevate your piece.
Quality Control Check
A thorough quality control check is essential to guarantee your vintage bohemian tunic meets the highest standards of craftsmanship.
This final step verifies that every detail resonates with the free-spirited essence of bohemian style while maintaining quality.
Here's what you should focus on:
- Inspect the Hemline: Verify the stitching is consistent and free of puckering or unevenness. A flawless hem enhances elegance.
- Check Stitch Visibility: Confirm that the stitches are invisible from the right side of the fabric, verifying a clean, professional finish that elevates your tunic.
- Verify Fabric Draping: Make certain the fabric flows naturally, capturing that effortless, vintage aesthetic. It should sway beautifully as you move.
- Tactile Examination: Feel for any loose threads or fabric irregularities. A smooth, polished finish reflects your dedication to quality.
Presenting the Finished Tunic
Once the final touches are complete, it's time to reveal your beautifully tailored vintage bohemian tunic. You'll want to verify the hem is evenly finished and aligns perfectly with the established crease, giving it that polished look.
As you inspect the tunic, check that every alteration has preserved its original bohemian aesthetic, maintaining the flow and drape that makes these pieces so special.
Take a moment to closely examine the stitching; it should remain invisible from the right side, showcasing a professional finish that elevates the garment.
When presenting the tunic to your client, highlight the adjustments made, focusing on how they enhance both fit and style. It's the little details that can transform a vintage piece into a standout wardrobe staple.
Encourage your client to try on the tunic, emphasizing the importance of comfort and satisfaction with the final alterations.
As they slip it on, watch their expression light up, knowing you've crafted something uniquely suited to them. This moment not only celebrates your tailoring skills but also reinforces the joy of wearing a personalized vintage piece that feels just right.
Frequently Asked Questions
How Do You Put Together a Bohemian Outfit?
To create your bohemian outfit, start with a flowy maxi dress. Layer it with a textured kimono. Accessorize with eclectic jewelry, and finish with comfy footwear and a wide-brimmed hat for that perfect free-spirited vibe.
How Do You Style Bohemian Fashion?
You style bohemian fashion by layering flowing garments, choosing earthy tones, and mixing unique prints. Don't forget to accessorize with handmade jewelry and comfortable footwear, creating a personal look that embodies free-spirited individuality and effortless charm.


Thank you for your sharing. I am worried that I lack creative ideas. It is your article that makes me full of hope. Thank you. But, I have a question, can you help me?